 Pin It
 This delightful confection combines creamy peanut butter filling with a smooth, melted chocolate coating. Simple steps include lining muffin tins, setting a chocolate base, crafting peanut butter discs, and finishing with another chocolate layer before chilling to firm. The treat offers a balance of sweet and rich flavors, making it a satisfying indulgence that's quick to prepare and sets with minimal effort.
My roommate in college used to make these late at night during exam week, and the whole apartment would smell like chocolate. She refused to share the recipe for months until I caught her in the kitchen with a bag of chocolate chips. Now they are my go to for gifts and sudden cravings.
Last Christmas I made three batches for different friends and everyone swore they must be complicated to make. Watching peoples faces when they bite through that chocolate layer into the creamy center never gets old. My nephew now requests them for every family gathering.
Ingredients
- Semi sweet chocolate: Choose high quality chocolate bars and chop them yourself for the smoothest melt and best flavor
- Coconut oil: This optional addition makes the chocolate more pliable and helps it set with a glossy finish
- Creamy peanut butter: Room temperature peanut butter mixes more easily and creates a silkier filling
- Powdered sugar: This sweetens the filling while keeping it thick enough to hold its shape inside the chocolate
- Unsalted butter: Softened butter blends seamlessly into the peanut butter mixture
- Vanilla extract: A touch of vanilla enhances the peanut butter flavor without making it taste like dessert
- Salt: Just a pinch balances the sweetness and makes all the flavors pop
Instructions
- Prepare your mold:
- Line a mini muffin tin with paper liners and set aside while you prep the chocolate layer
- Melt the chocolate:
- Gently heat the chopped chocolate and coconut oil together in short intervals, stirring until completely smooth and glossy
- Create the chocolate base:
- Spoon a small amount of melted chocolate into each liner and swirl the tin to coat the bottom evenly, then freeze until firm
- Make the peanut butter filling:
- Beat the peanut butter, powdered sugar, butter, vanilla, and salt until combined and thick enough to hold its shape
- Shape the centers:
- Roll the peanut butter mixture into small discs and flatten them slightly so they fit inside the chocolate cups
- Assemble the cups:
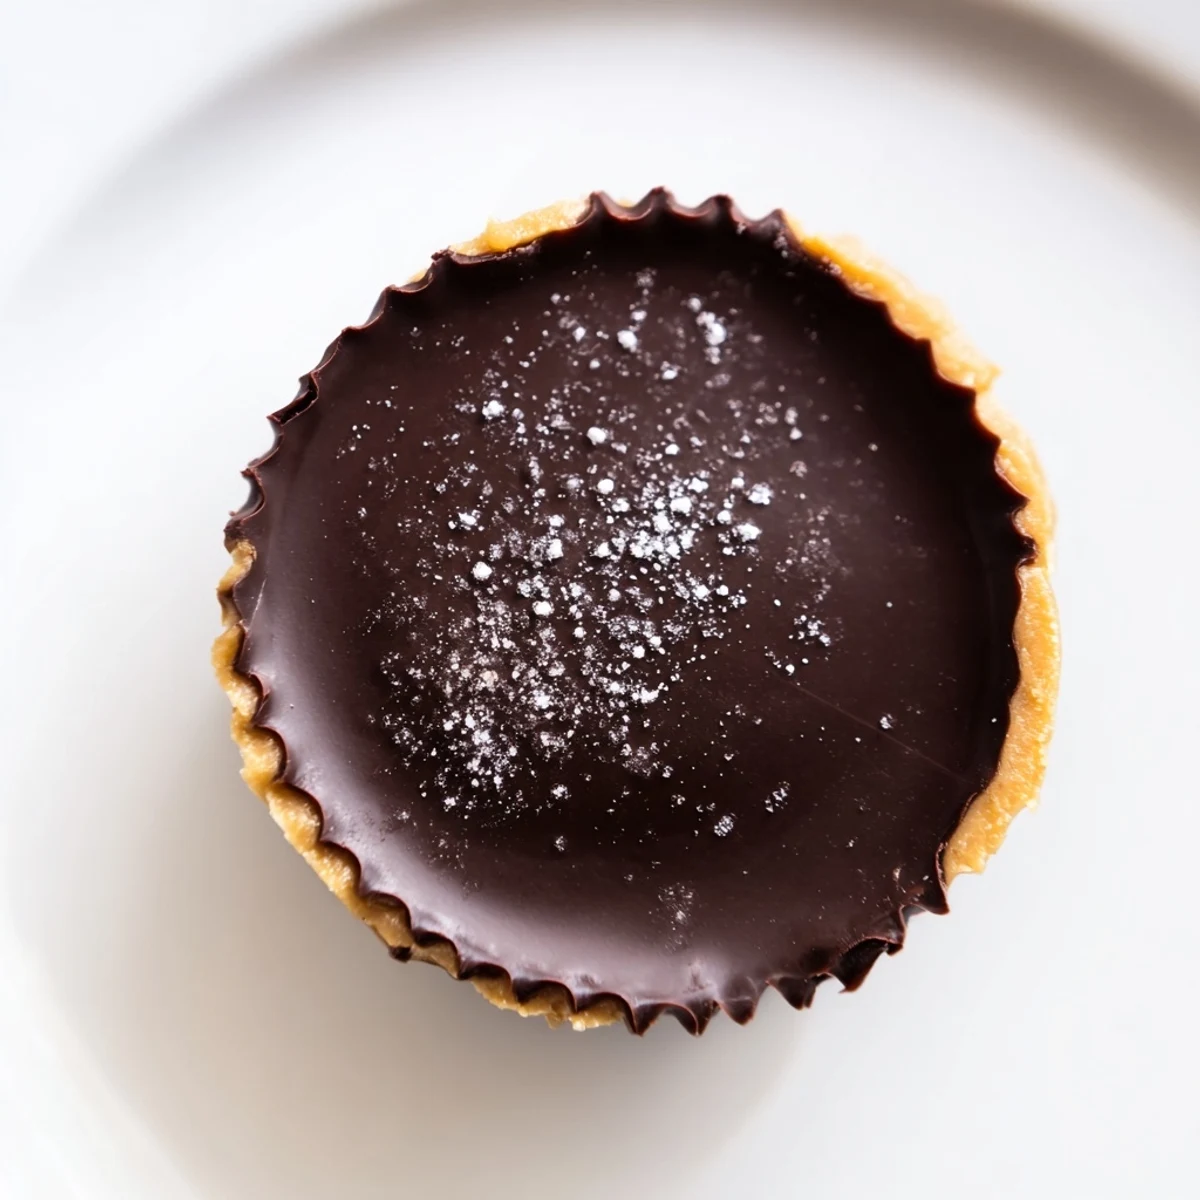
- Place one peanut butter disc in each chocolate lined cup and press gently so the chocolate rises slightly around the edges
- Seal with chocolate:
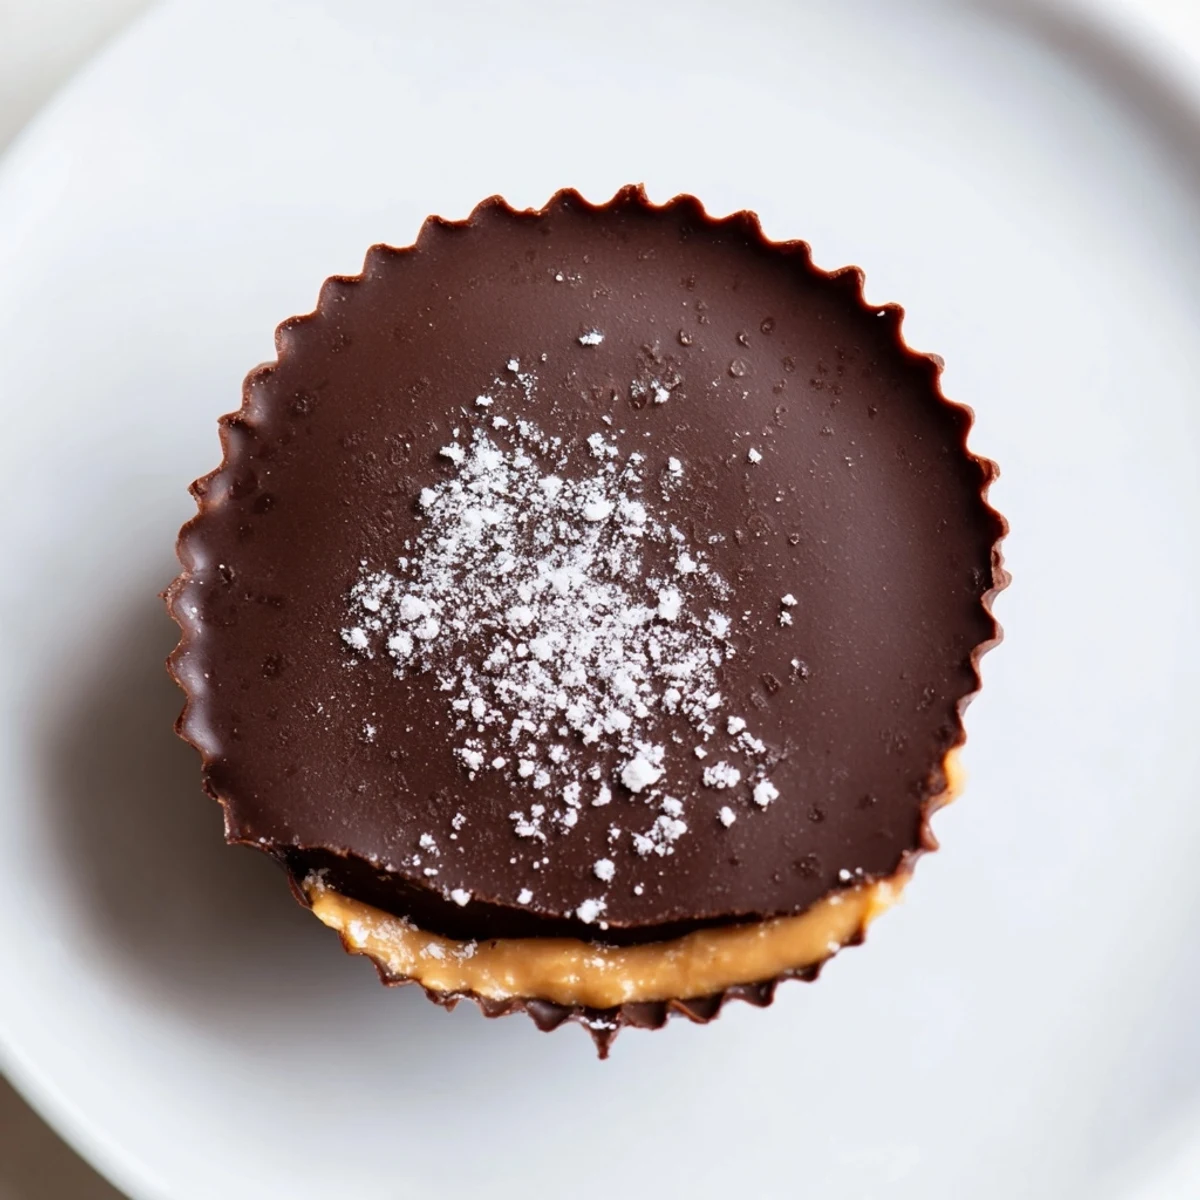
- Spoon the remaining melted chocolate over each cup, tapping the tin gently to level the surface
- Set completely:
- Refrigerate the cups for at least 30 minutes until the chocolate is firm before removing from the liners
 Pin It
 These disappeared so fast at my last dinner party that I barely saved one for myself the next day. Making something by hand that people usually buy at the store feels like a small victory.
Getting the Chocolate Layer Right
Thin enough to pour easily but thick enough to coat the sides of each liner is the sweet spot. If the chocolate is too thick it will not spread evenly, and if it is too thin the cups will be fragile. The coconut oil helps achieve this balance.
Customizing the Filling
Swapping in crunchy peanut butter adds a nice texture contrast that some people prefer. You can also mix in a teaspoon of cocoa powder to the peanut butter for a chocolate peanut butter hybrid that is rich and intense.
Storage and Serving
These keep perfectly in the refrigerator for up to three weeks and actually develop better flavor after a day or two. Let them sit at room temperature for five minutes before serving so the chocolate softens slightly.
- Layer the cups between parchment paper in an airtight container
- These freeze well for up to two months if you want to make them ahead
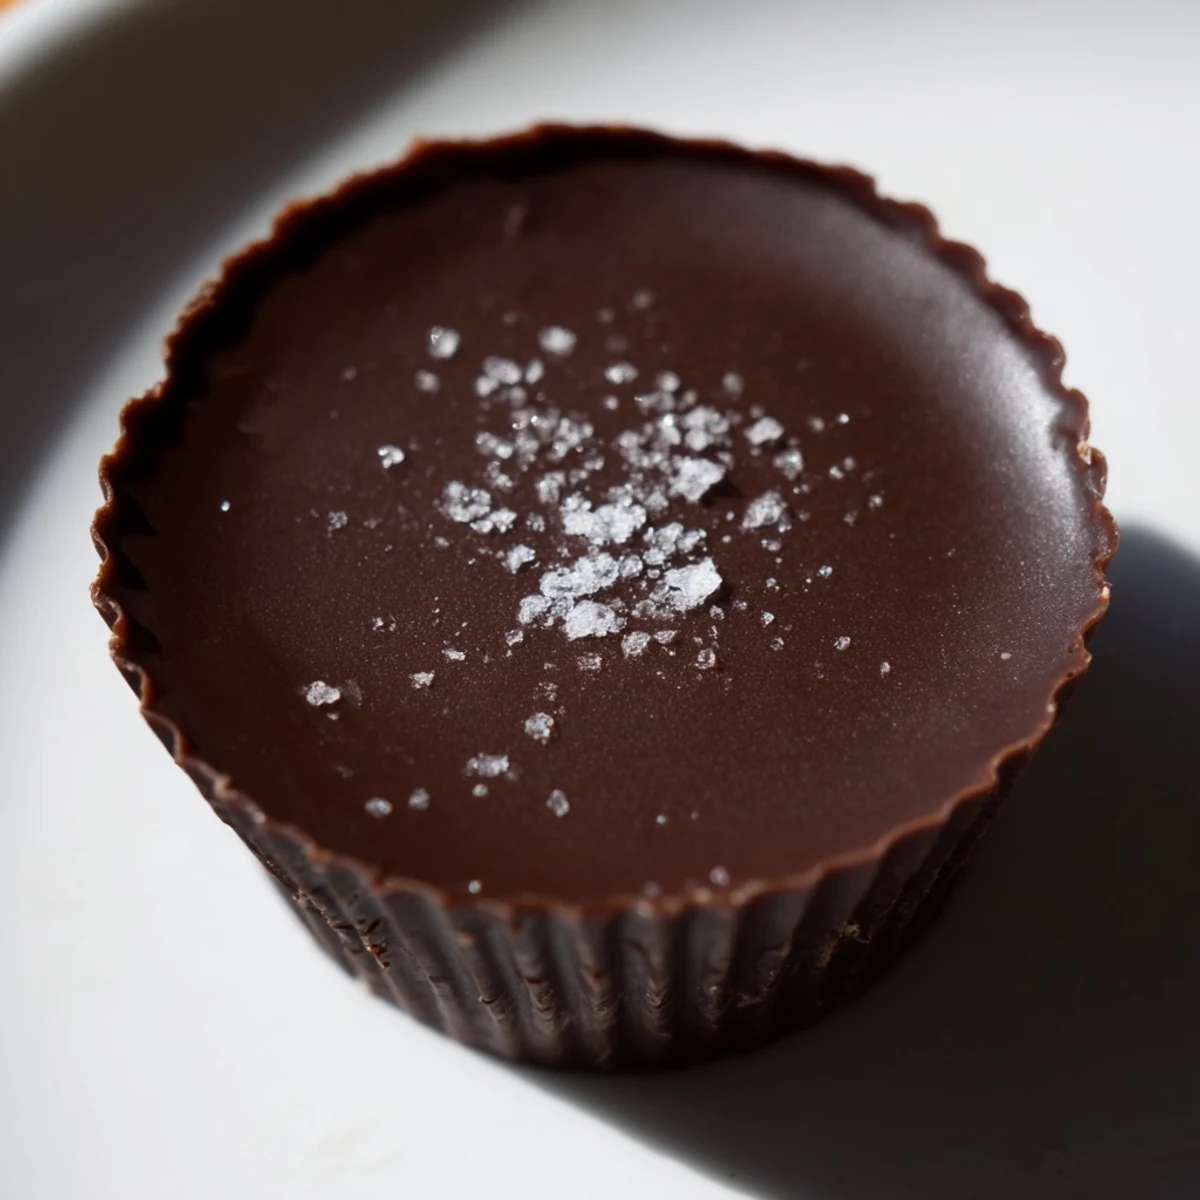
- Sprinkle flaky sea salt on top before chilling for a sweet and salty finish
 Pin It
 There is something deeply satisfying about peeling back the paper liner to reveal your handmade creation. These little cups prove that the best treats are often the simplest ones made with care.
Recipe FAQs
- → What type of chocolate works best?
-
Semi-sweet or milk chocolate provides smooth melting and balanced sweetness, ideal for coating the peanut butter.
- → Can I make these cups vegan?
-
Yes, by using dairy-free chocolate and vegan butter alternatives, you can enjoy a vegan-friendly version.
- → How do I ensure the chocolate sets properly?
-
Chilling the cups in the refrigerator for at least 30 minutes helps the chocolate harden evenly and firm up the cups.
- → Is crunchy peanut butter a good option?
-
Crunchy peanut butter adds texture and a pleasant crunch inside each cup, enhancing the overall experience.
- → What tools are needed for preparation?
-
A mini muffin tin, paper liners, mixing bowls, and a heatproof bowl or microwave-safe container for melting chocolate are essential.
- → Can I add a finishing touch to the cups?
-
Sprinkling flaky sea salt on top before chilling enhances the flavor by balancing sweetness and adding a hint of saltiness.
