 Pin It
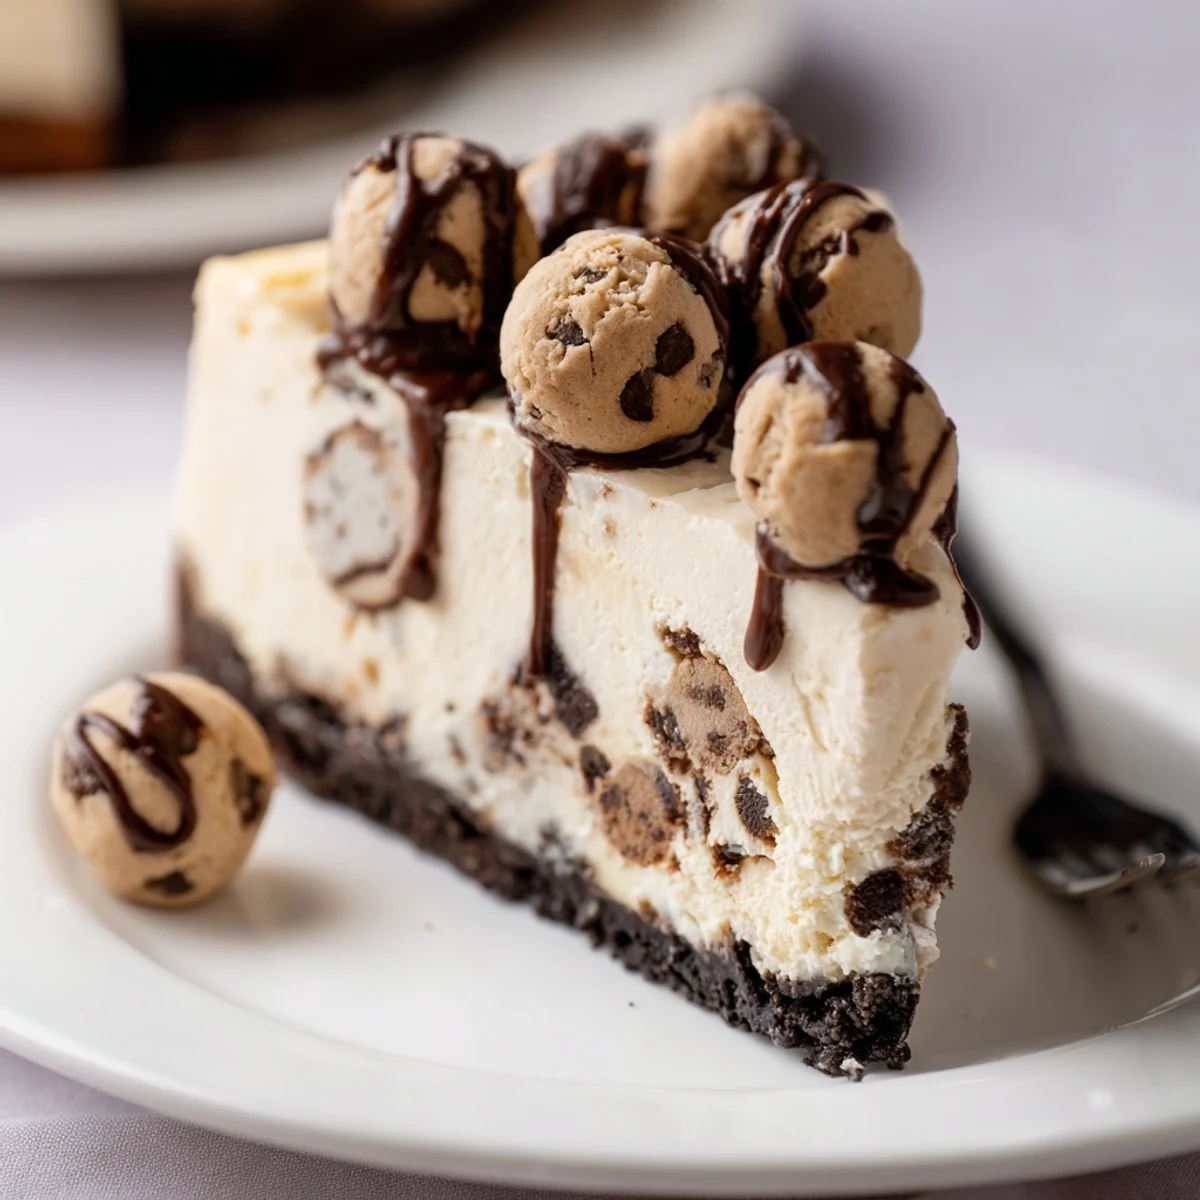
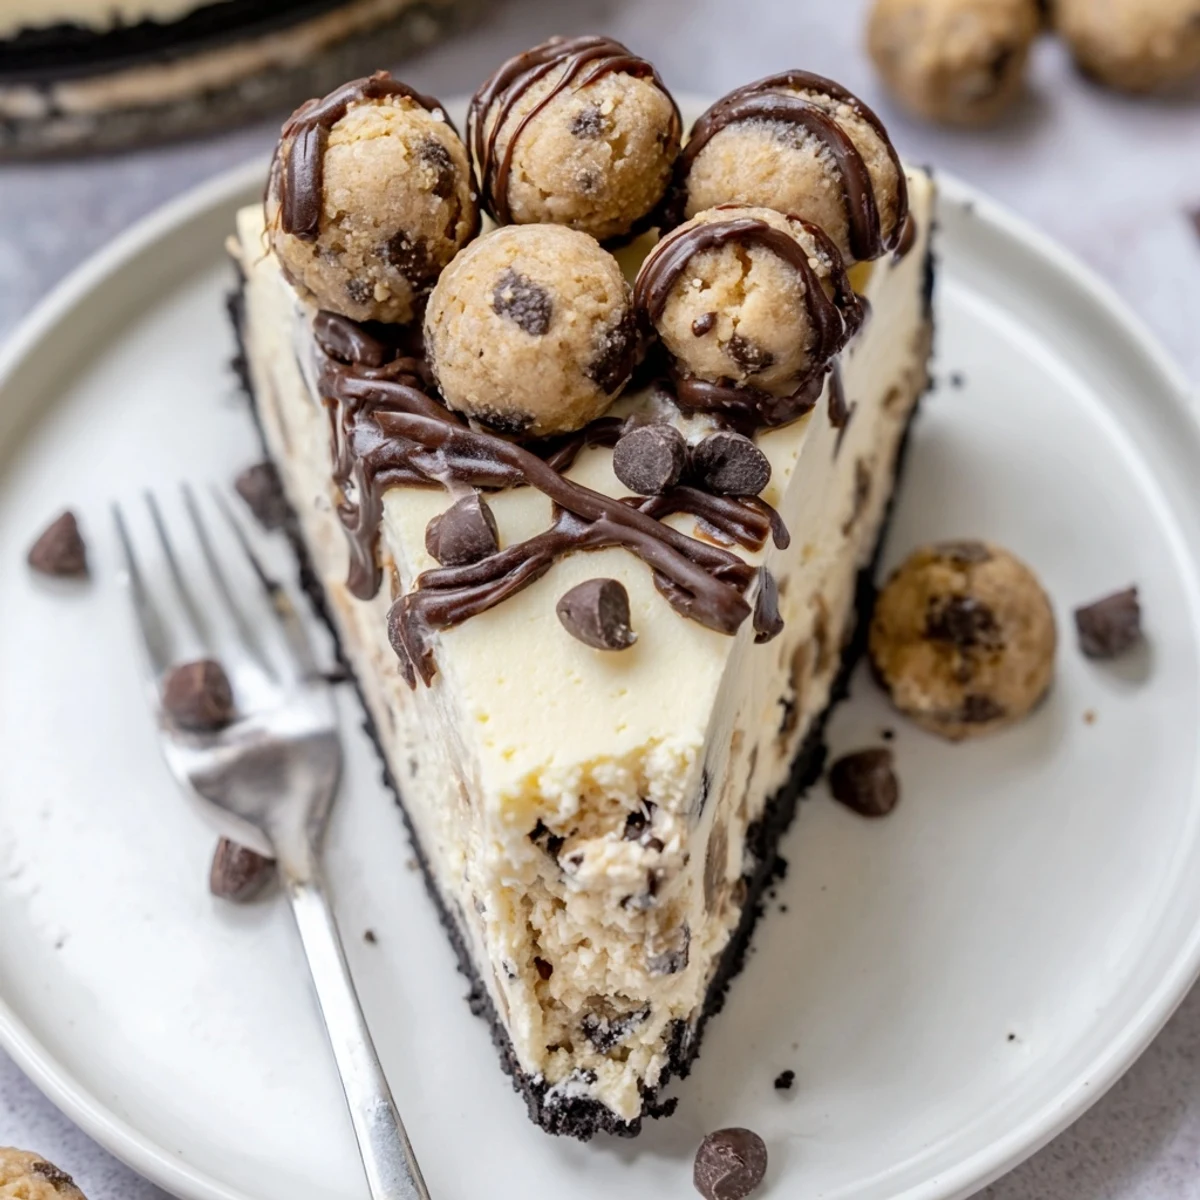
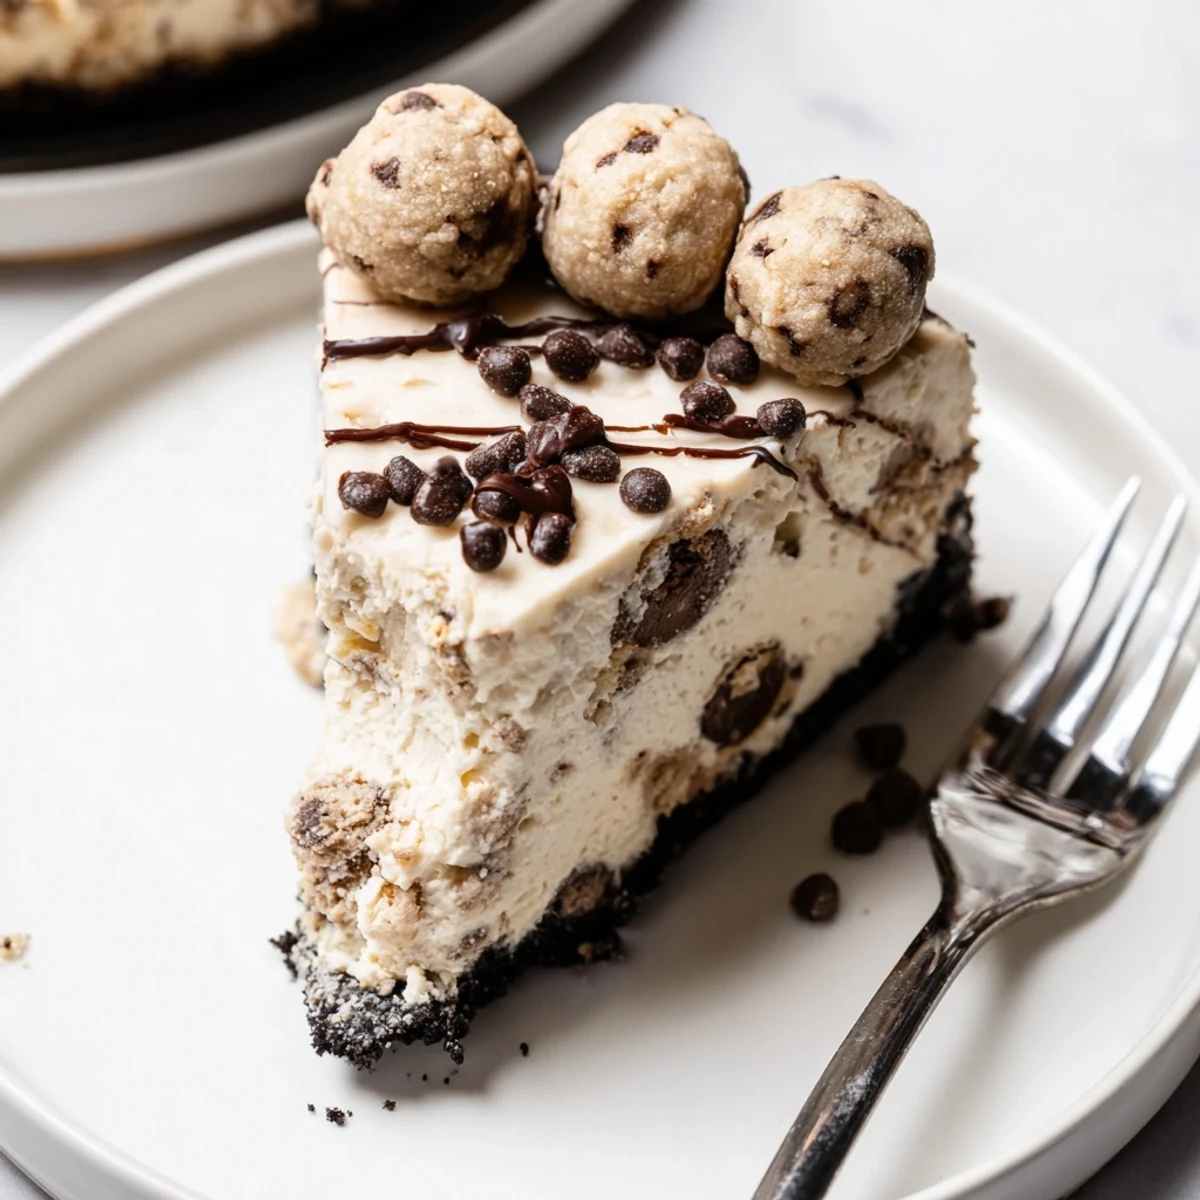
 This luscious cheesecake layers a chocolate cookie crust with a silky cream cheese filling studded with homemade chocolate chip cookie dough. Heat-treat the flour, shape most dough into small balls and fold half into the batter, reserve some for the top. Bake at 160°C (325°F), cool in the oven, then chill at least 4 hours before slicing.
Shuffling around my kitchen one rainy afternoon, the urge to create something a little over-the-top hit me. The aroma of melting chocolate and tangy cream cheese soon filled the air, and I couldn’t help but sample bits of cookie dough while assembling this mashup. Even the cat watched, curious, as I tried tucking every gooey ball of dough into its cream cheese cloud. By the time the oven timer chimed, anticipation was electric—this wasn’t just dessert, it felt like an experiment gone deliciously right.
The first time I carried this layered beauty to the table, friends actually paused mid-conversation to gape. Someone joked that it was worthy of a bake-off trophy, and the silence was quickly broken by forks scraping plates. Watching everyone hunt for cookie dough chunks made the hours of effort instantly worthwhile.
Ingredients
- Chocolate sandwich cookies: Choosing Oreos or a similar cookie ensures the crust stays crisp and chocolatey—pulse finely for an even base.
- Unsalted butter: Melt this gently to bind the crust or cream it until fluffy for the dough, depending on the step.
- Brown sugar: Its caramel notes make the cookie dough taste so much richer.
- Granulated sugar: I’ve learned the right split between brown and white sugar creates classic cookie chewiness.
- Milk: Just a splash gives the dough the perfect soft texture for rolling.
- Vanilla extract: It’s tempting to use extra—those aromatic hints really lift both dough and cheesecake.
- All-purpose flour (heat-treated): Heat-treating is non-negotiable for safe-to-eat dough—spread it on a tray and bake before using.
- Salt: A small pinch brings out all kinds of complex flavors in both crust and dough.
- Mini chocolate chips: Opt for minis so every bite has melty chips, and save some to sprinkle on top for show.
- Cream cheese: Let it come to room temperature for a silkier, lump-free filling.
- Eggs: Crack them in one at a time for a creamy, uncurdled texture—trust me, patience is key here.
- Sour cream: I adore how just a bit makes the filling luxurious but light.
- Optional extras: Cookie dough balls and more chocolate chips for topping take things over the top (and make everyone happy).
Instructions
- Set up your pan:
- Preheat your oven to 160°C (325°F) and line a 23 cm springform pan with parchment – no leaks this way.
- Prepare the crust:
- Stir the crushed cookies with melted butter until evenly moistened, then press the mixture firmly into your pan’s base—use a flat-bottomed glass for sharp corners.
- Make cookie dough:
- Cream together softened butter, brown sugar, and granulated sugar until fluffy, then blend in milk and vanilla; gently add flour and salt before folding in the mini chips.
- Shape & chill dough balls:
- Roll most of the dough into marble-sized balls and chill; sneaking one early is optional but recommended.
- Mix the filling:
- Beat cream cheese and sugar until smooth, then add eggs one at a time—blend in sour cream, vanilla, and flour only until just combined.
- Assemble layers:
- Spread half the cheesecake batter over the crust, scatter half your chilled cookie dough balls, pour over the rest of the batter, and decorate with extra dough balls up top.
- Bake & cool:
- Bake until set at the edges with a slight jiggle in the center (55-65 minutes), then let it finish cooling for one hour in the switched-off oven with the door cracked.
- Chill thoroughly:
- Allow the cheesecake to finish cooling at room temp, then refrigerate at least 4 hours (overnight is best for neat slices).
- Finishing touches:
- Top with more mini chips and cookie dough balls just before slicing—serve chilled and watch eyes widen.
 Pin It
 I didn’t anticipate how one quiet, silly “let’s make something wild” kitchen night would spark a ritual. Now, this is what I make when celebrations call for a little drama—and everyone knows to leave room for dessert.
Cheesecake Success Starts with the Little Details
Smooth cream cheese and gentle blending are lifesavers—rush this step and you can end up with lumps or cracks. Using room temperature ingredients makes the entire process remarkably easier and gives you bakery shop results with minimal effort. And don’t ever skimp on cooling time, unless you want to wrestle with sticky slices. Even after a tough day, letting the batter settle always rewards you with cleaner cuts.
Making Safe-to-Eat Cookie Dough
Before I ever tried this recipe, I didn’t realize regular flour can’t be used raw. Toasting it in the oven for just five minutes makes the dough totally risk-free for snacking or nestling into cheesecake. It’s a quick step that gives you peace of mind and a dough that tastes as good as any classic batch. Once you’ve flavored flour for edible dough, you’ll want to sneak it into plenty more desserts.
Customizing and Serving Tips
Sometimes, I swap in chopped pecans or use flavored chocolate chips for a new twist—it still turns out decadently addictive. If you’re feeling showy, a drizzle of warm chocolate sauce on each slice adds drama and makes it even more irresistible. Just remember, the cheesecake needs to be fully chilled for tidy cuts and neat presentation.
- Keep some cookie dough in the freezer for surprise toppings.
- Use a hot, dry knife for perfect, Instagram-worthy slices.
- A bit of whipped cream dresses up leftovers the next day.
 Pin It
 If you share this cheesecake, be ready for recipe requests—people will remember it long after the last slice vanishes.
Recipe FAQs
- → How do I heat-treat flour safely?
-
Spread flour thinly on a baking sheet and bake at 160°C (325°F) for about 5 minutes, or microwave in short bursts until it reaches 71°C (160°F). Let it cool completely before using to keep the dough safe for raw consumption.
- → How can I prevent the cheesecake from cracking?
-
Use room-temperature ingredients, avoid overmixing, and bake at a low, steady temperature. Once baking is complete, turn the oven off, crack the door, and let the cake cool gradually inside for about an hour before removing.
- → Can I use store-bought cookie dough or pre-made cookie crumbs?
-
Yes—pre-made dough can save time; if using raw dough, ensure flour is heat-treated and ingredients are safe to eat. Pre-made cookie crumbs work well for the crust; press firmly and chill before adding the filling.
- → How long should it chill before slicing?
-
Chill at least 4 hours, preferably overnight. Thorough chilling helps the filling set fully and makes for cleaner slices and a firmer texture.
- → Can this be frozen and how should I store leftovers?
-
Yes—wrap tightly in plastic and foil to prevent freezer burn. Freeze whole or in individual slices for up to 2 months. Thaw overnight in the refrigerator before serving.
- → What pan and tools are best for even results?
-
A 23 cm (9-inch) springform pan gives even edges and easy removal. An electric mixer helps achieve a silky filling; use a rubber spatula to gently fold in dough balls and chocolate chips.
