 Pin It
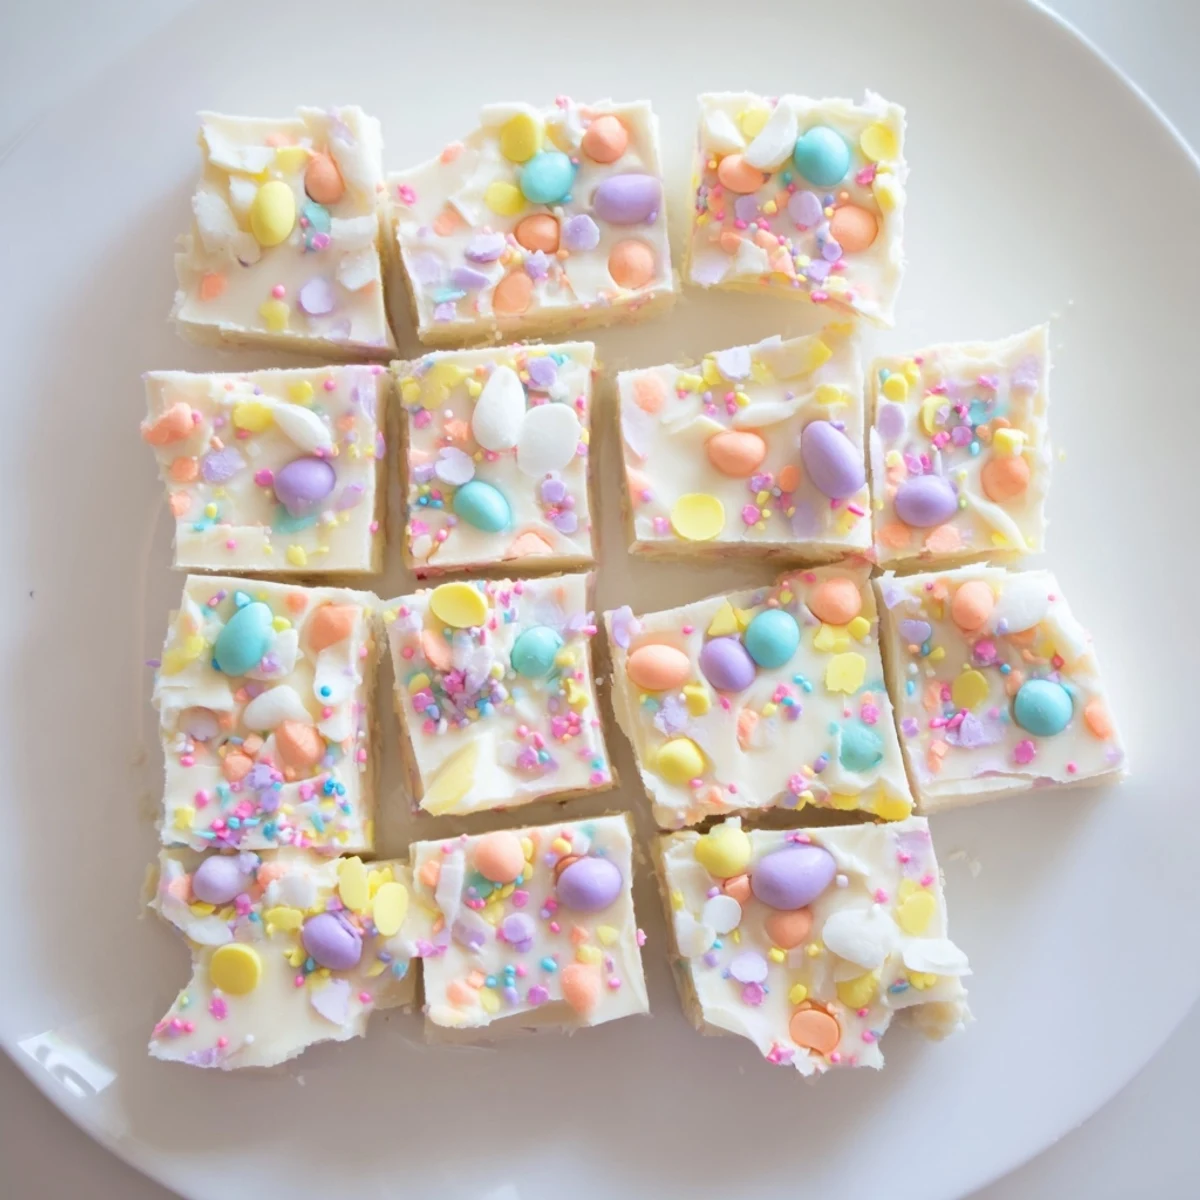
 This Easter fudge combines smooth white chocolate with sweet condensed milk for a rich, creamy base. Pastel candy eggs and sprinkles add festive color and texture. The simple stovetop method requires just 15 minutes of active preparation, with chilling time making it perfect for ahead-of-time holiday baking. This vegetarian-friendly dessert yields 24 pieces that store well in the refrigerator for up to a week.
The first time I made this Easter fudge, I was running late for a family gathering and needed something that looked impressive but came together fast. My niece walked into the kitchen, saw the pastel sprinkles everywhere, and declared it looked like spring had exploded on the counter. That spontaneous mess of color became the most requested dessert at every holiday gathering since.
Last spring, my neighbor texted me at 9 PM asking if I could bring dessert for an unexpected brunch the next morning. I whipped up a batch of this fudge while watching my favorite show, and by the time the credits rolled, it was already setting in the fridge. The best part? Everyone assumed it was some fancy confection from a bakery.
Ingredients
- White chocolate chips: I learned the hard way that using high-quality white chocolate makes all the difference in both texture and taste
- Sweetened condensed milk: This creates the silky smooth fudge texture without any candy thermometer needed
- Unsalted butter: Room temperature butter incorporates more smoothly and prevents any graininess in the finished fudge
- Pure vanilla extract: Do not skip this—real vanilla extract balances the intense sweetness and adds that professional touch
- Pastel candy-coated chocolate eggs: Roughly chop them so you get little bursts of color and chocolate in every bite
- Pastel sprinkles: These make the fudge feel festive and add a tiny crunch that everyone loves
Instructions
- Prep your pan:
- Line an 8 inch square baking pan with parchment paper, letting the paper hang over two opposite sides so you can lift the whole batch out easily later.
- Melt the base:
- Combine the white chocolate chips, sweetened condensed milk, and butter in a medium saucepan over low heat, stirring constantly until everything melts into a smooth, glossy mixture.
- Add vanilla and cool:
- Remove from heat, stir in the vanilla extract, and let the mixture sit for 2 minutes so it is not too hot when you fold in the candies.
- Fold in half the candies:
- Gently mix in half of the chopped candy eggs until they are evenly distributed throughout the fudge.
- Transfer and smooth:
- Pour the fudge into your prepared pan and use a spatula to smooth the top into an even layer.
- Add the toppings:
- Sprinkle the remaining candy eggs and pastel sprinkles over the surface, pressing them gently so they stick.
- Chill until set:
- Refrigerate for at least 2 hours until the fudge is firm and completely set.
- Cut and serve:
- Lift the fudge from the pan using the parchment overhang and cut into 24 squares with a sharp knife.
 Pin It
 My grandmother never made fancy desserts, but she taught me that the prettiest treats are often the simplest ones made with love. This fudge reminds me of her philosophy—just a few good ingredients, a little patience, and something beautiful emerges from the kitchen.
Making It Your Own
The beauty of this recipe is how easily it adapts to whatever you have on hand or prefer. Sometimes I swap the white chocolate for milk chocolate when I want something less sweet, and other times I use dark chocolate for a sophisticated twist that adults especially love.
Perfect Gift Giving
I started wrapping these fudge squares in clear cellophane bags tied with pastel ribbons for teacher gifts and workplace treats. People always ask for the recipe, and I love that such a simple homemade gesture brings so much joy during the spring season.
Storage And Make Ahead Tips
This fudge keeps beautifully in the refrigerator for up to a week, which means I can make it days before an event and cross one thing off my to do list. The flavors actually develop a bit more after a day or two, becoming even more rich and cohesive.
- Place wax paper between layers if you stack the fudge in your storage container
- Let the fudge sit at room temperature for 5 minutes before cutting for cleaner slices
- Wrap individual pieces in plastic wrap if you plan to pack them in Easter baskets
 Pin It
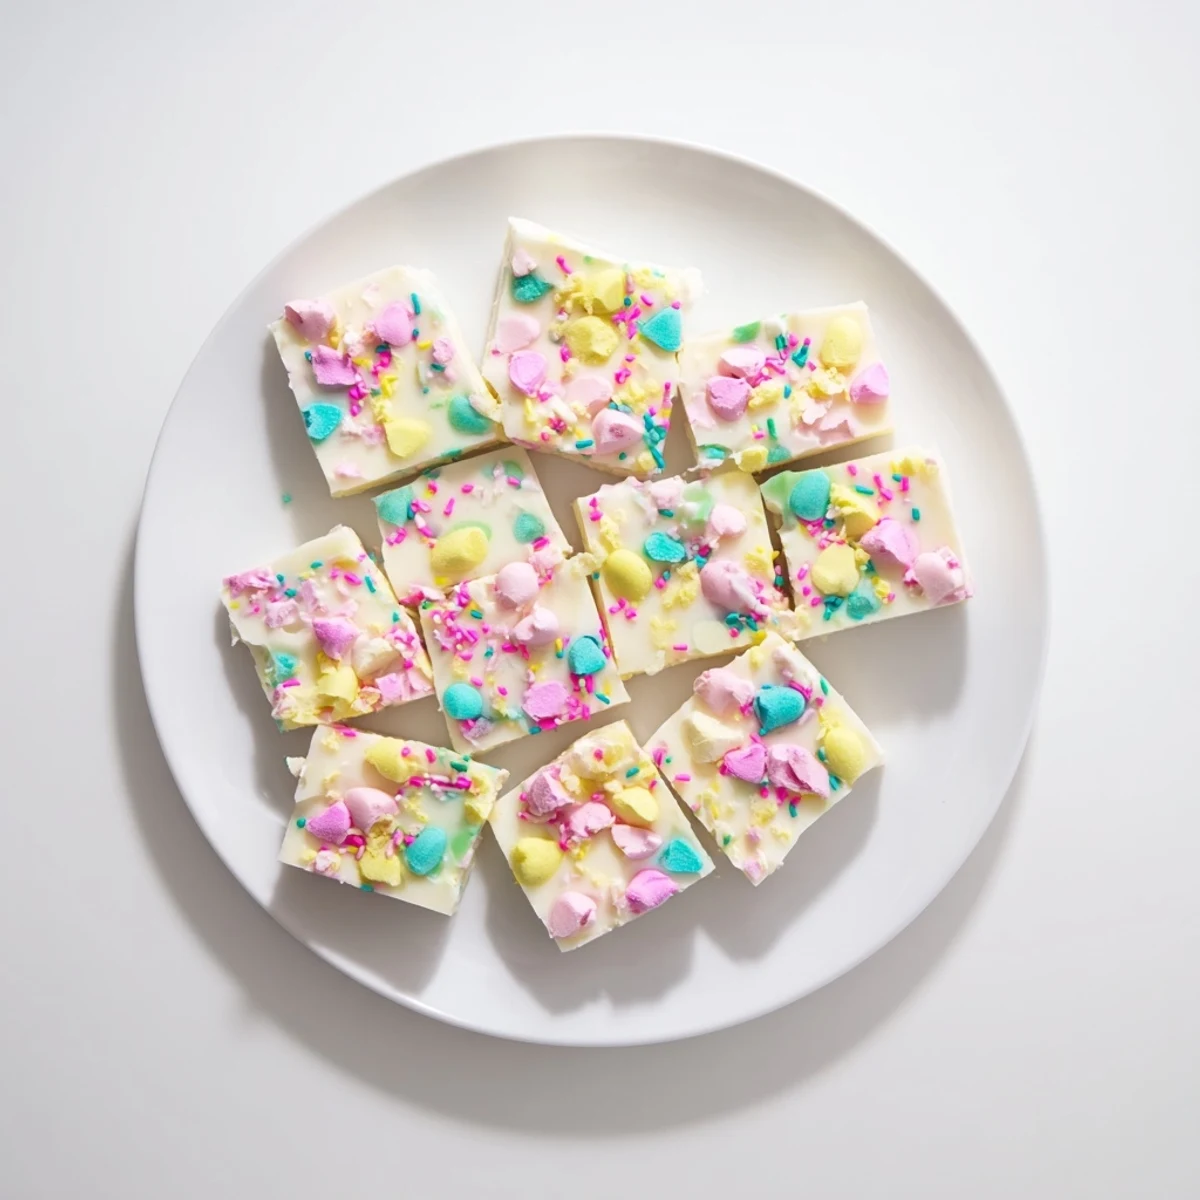
 There is something magical about setting a plate of this colorful fudge on a spring table and watching everyone gravitate toward it. These little squares of joy have become my signature contribution to every Easter celebration.
Recipe FAQs
- → Can I use different types of chocolate?
-
Yes, you can substitute white chocolate with milk or dark chocolate chips for a richer flavor profile. The texture and melting properties remain similar, though the taste will be more intense with darker chocolate varieties.
- → How do I make this nut-free?
-
To ensure this fudge is nut-free, carefully check the candy egg packaging for any nut traces or cross-contamination warnings. Some candy manufacturers process nuts in the same facilities, so choosing certified nut-free brands is essential for allergy safety.
- → Can I prepare this ahead of time?
-
Absolutely! This fudge actually benefits from advance preparation. You can make it 2-3 days before serving, as the chilling time helps it set properly. Store it in an airtight container in the refrigerator until ready to serve.
- → What's the best way to cut the fudge?
-
For clean cuts, chill the fudge until very firm, then use a sharp knife to slice through. Wiping the knife between cuts prevents sticking. You can also score the fudge before chilling for more uniform pieces.
- → Can I add other mix-ins?
-
Feel free to customize! You can add chopped nuts, dried fruit, or different types of candies. Just avoid adding too many mix-ins that might prevent the fudge from setting properly or make cutting difficult.
