 Pin It
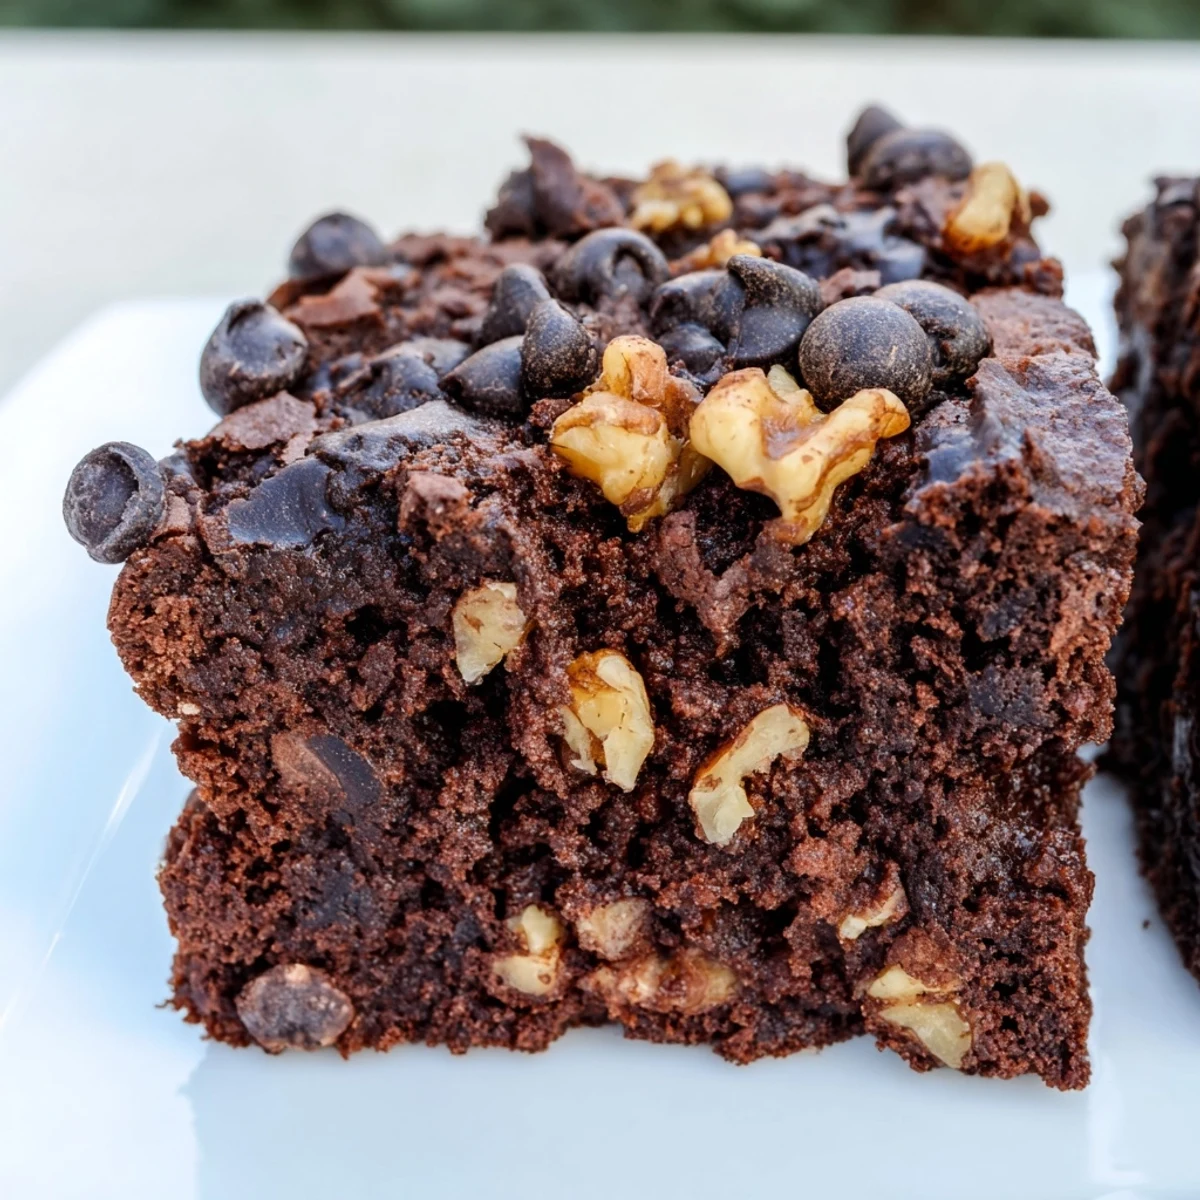
 Experience rich and fudgy brownies made naturally gluten-free with finely ground almond flour and unsweetened cocoa powder. Melted butter blends smoothly with sugars and vanilla, creating a glossy batter enriched with dark chocolate chips and optional nuts. Baked to perfection, these treats come out moist and decadent, easy to prepare in under 45 minutes. Optional tips include using coconut oil for dairy-free versions and adding espresso powder to deepen chocolate flavors.
My sister called me in a panic one afternoon, insisting she needed brownies for a dinner party that night, but her friend had just gone gluten-free. I'd never baked with almond flour before, but something about that constraint felt like a puzzle worth solving. Twenty minutes later, pulling a tray of fudgy, dark squares from the oven, I realized I'd stumbled onto something better than the original—richer, more tender, and honestly more interesting than any boxed mix ever was.
The best part came when my mom took a bite and asked if I'd finally learned to bake properly. I told her the secret was the almond flour, but really it was just finding the right recipe for a moment when someone needed help. She made them three times that month and added walnuts every single time.
Ingredients
- Almond flour: Buy it finely ground or pulse it yourself if you're feeling ambitious—the texture matters more than you'd think.
- Unsweetened cocoa powder: Don't be tempted by the sweetened kind; you're already adding sugar, and you want that deep chocolate voice.
- Baking powder: Just a tiny bit keeps these from being dense little pucks.
- Salt: A quarter teaspoon seems small, but it's the thing that makes chocolate taste like itself.
- Melted butter or coconut oil: The melted butter makes them richer; coconut oil makes them slightly more delicate, your choice depending on mood.
- Sugars: The mix of granulated and brown sugar creates depth and keeps the crumb tender.
- Eggs: Room temperature eggs mix in smoother and trap tiny air pockets that make the texture almost custard-like in the center.
- Vanilla extract: Real vanilla matters here; it softens the intensity of the chocolate.
- Dark chocolate chips: Check the label because you'd be surprised how many hide gluten in their ingredients.
- Nuts: Optional, but they add a little crunch that contrasts beautifully with the fudgy center.
Instructions
- Get your oven ready:
- Preheat to 350°F and prep your 8x8 pan with parchment or a light greasing—it makes turning out and cutting so much cleaner.
- Mix your dry team:
- In a medium bowl, whisk almond flour, cocoa powder, baking powder, and salt together until there are no cocoa lumps hiding in the corners.
- Cream the wet mixture:
- Whisk melted butter with both sugars, then add eggs one at a time, then vanilla, whisking until the whole thing looks glossy and thick—you're building air here.
- Bring them together gently:
- Stir the dry mixture into the wet, but stop as soon as you don't see streaks of flour—overworking makes brownies cake-like and nobody wants that.
- Fold in the good stuff:
- Add chocolate chips and nuts if using, using your spatula to coax everything together without unnecessary stirring.
- Get it in the pan:
- Pour batter into your prepared pan and smooth the top with a spatula so it bakes evenly.
- Bake with intention:
- Bake 23 to 26 minutes—the center should look barely set, and a toothpick should pull out with a few moist crumbs clinging to it, not clean and not wet.
- Cool before cutting:
- Let them rest completely in the pan, otherwise they'll crumble apart and you'll end up with brownies that taste amazing but look like you dropped them.
 Pin It
 I brought a batch to a potluck last spring where someone mentioned they could finally eat dessert without guilt or digestive regret. That moment stuck with me—these aren't just brownies, they're permission to indulge without compromise. It's a small thing, but it changes how you feel about sharing.
Texture and Moisture
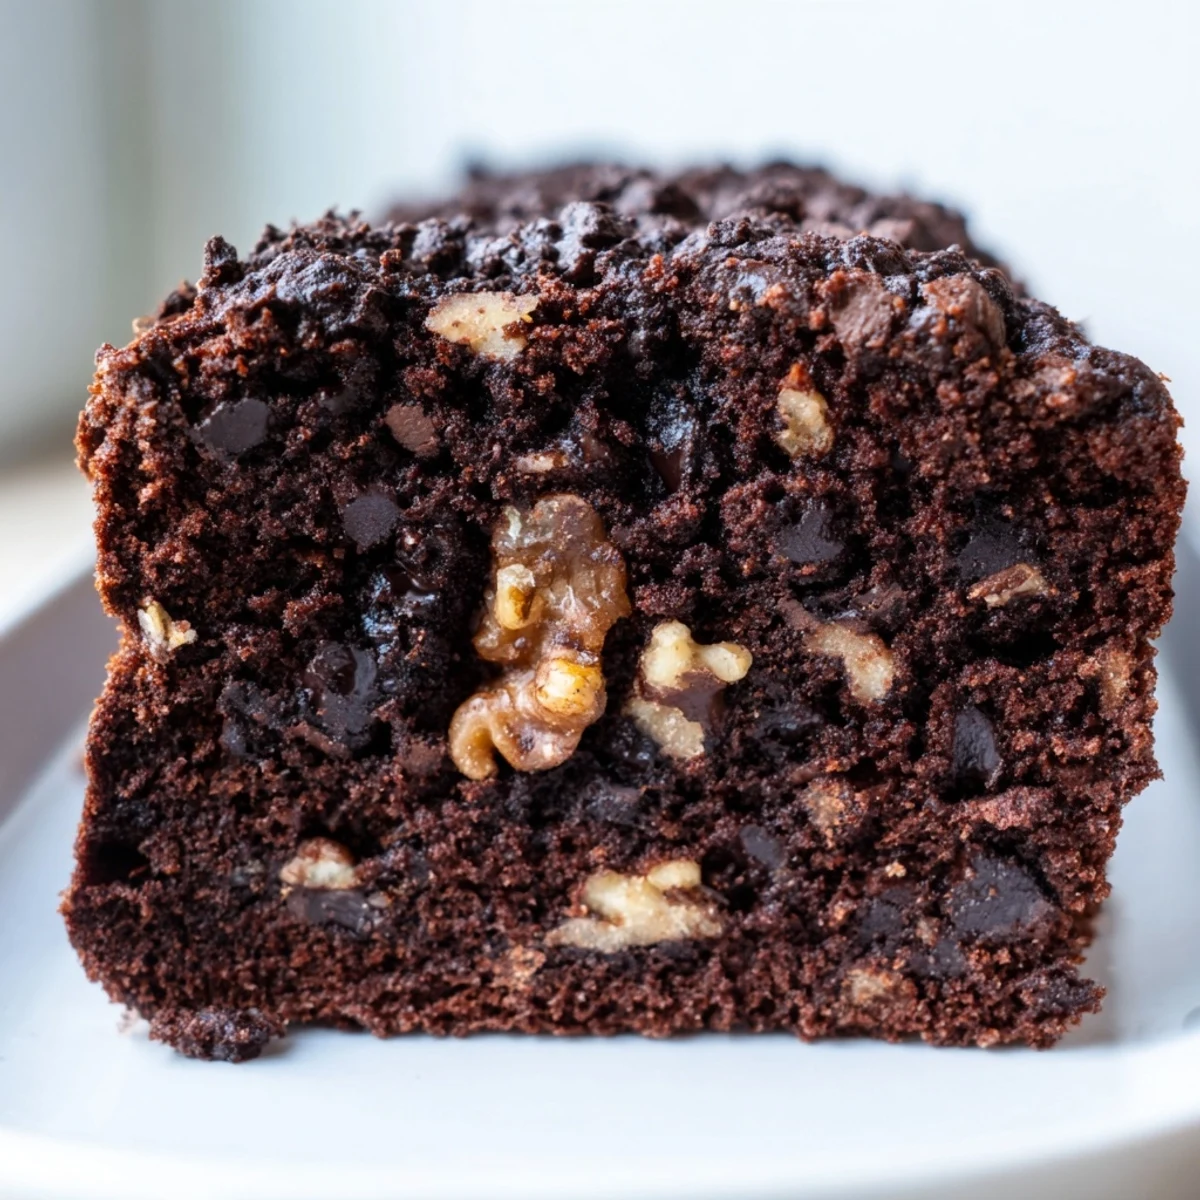
The magic of almond flour is that it absorbs moisture differently than wheat flour, creating a naturally fudgy interior without trying too hard. This is why these brownies stay soft and tender even as they cool, and why they don't dry out over a few days. The combination of the almond flour's fat content and the brown sugar keeps everything in that perfect middle ground between cake and truffle.
Flexibility and Variations
These brownies are honestly a good canvas for experimentation without falling apart. I've made them with espresso powder (a teaspoon stirred into the dry ingredients adds a grown-up edge), with a spoonful of almond butter swirled through the batter, and even with a light sprinkling of sea salt on top before baking. The core recipe is sturdy enough to handle minor changes without becoming something else entirely.
Serving and Storage
Serve them at room temperature or just slightly warm, maybe with vanilla ice cream if you're feeling indulgent or fresh raspberries if you want to feel virtuous. They keep in an airtight container for four or five days, and honestly they taste better on day two when the flavors have settled into each other. Store them away from anything strongly scented in the pantry, or they'll pick up flavors they don't want.
- Cut them into 16 squares while they're still cool, using a sharp knife dipped in hot water between cuts for clean edges.
- If you're taking them somewhere, wrap them individually in parchment so they stay moist and don't stick together.
- Freeze the extras (yes, people will make extras) for up to a month—they thaw in about twenty minutes.
 Pin It
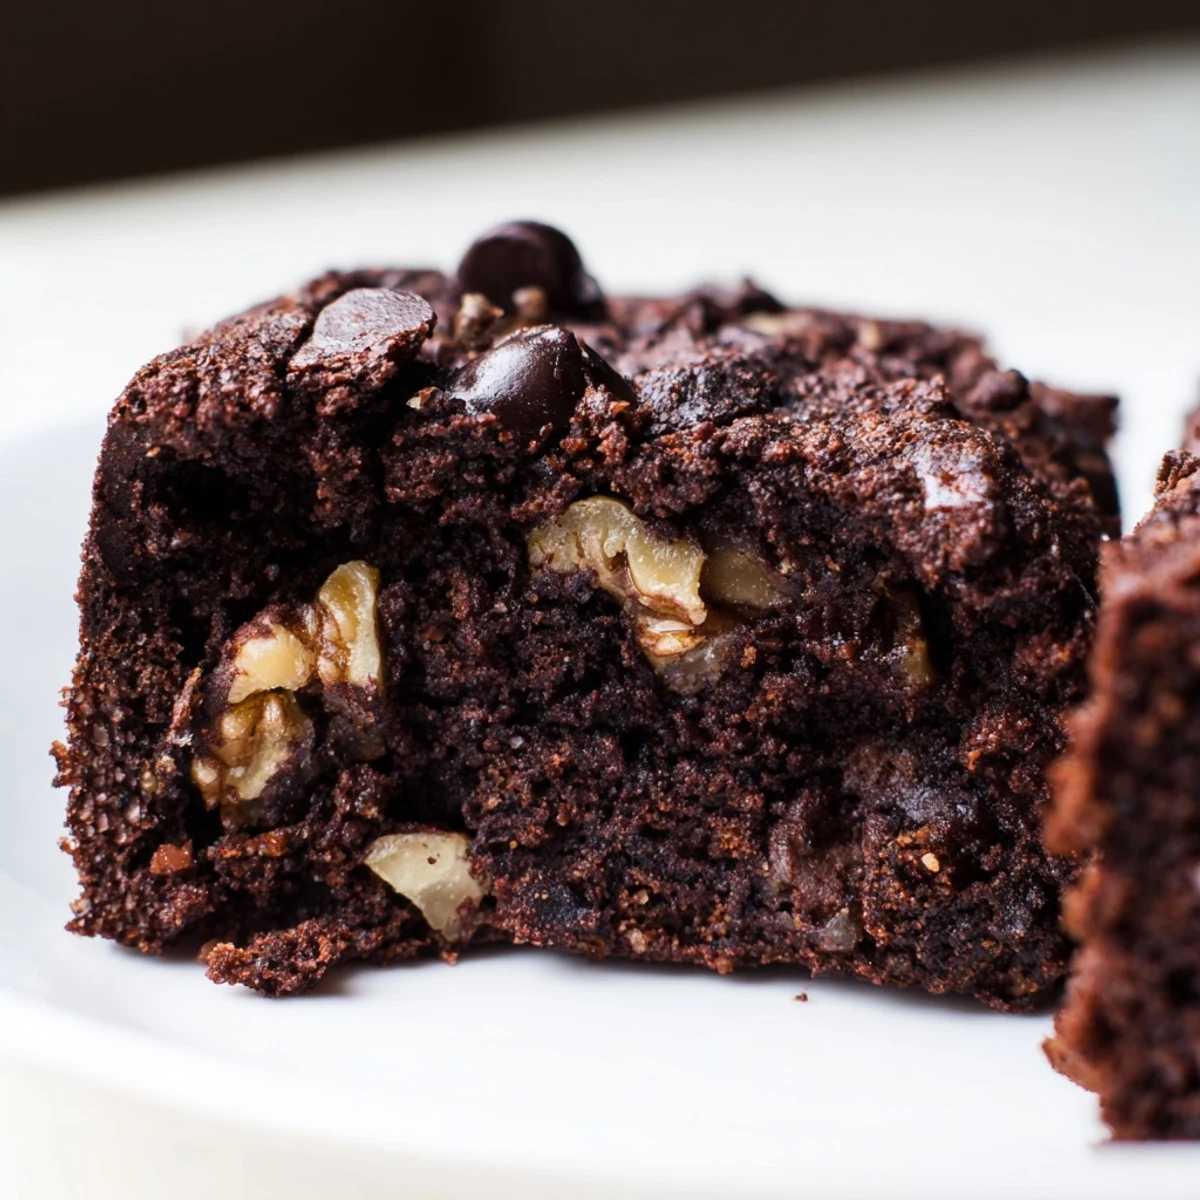
 These brownies remind me that the best recipes are the ones that solve a real problem and make someone feel seen. They're gluten-free without tasting like a compromise, which somehow feels like the whole point.
Recipe FAQs
- → What makes these brownies gluten-free?
-
Using almond flour instead of traditional wheat flour ensures the brownies are naturally gluten-free.
- → Can I substitute the butter with a dairy-free alternative?
-
Yes, coconut oil can be used instead of butter for a dairy-free option without compromising texture.
- → How can I make the brownies extra fudgy?
-
Underbake by 1 to 2 minutes to achieve a richer, fudgier texture.
- → Are nuts required in the batter?
-
Nuts like walnuts or pecans are optional and can be folded into the batter for added crunch and flavor.
- → What enhances the chocolate flavor best?
-
A pinch of espresso powder intensifies the chocolate notes without adding a coffee taste.
- → How long should cooling take before cutting?
-
Allow the brownies to cool completely in the pan to set properly before slicing into squares.
