 Pin It
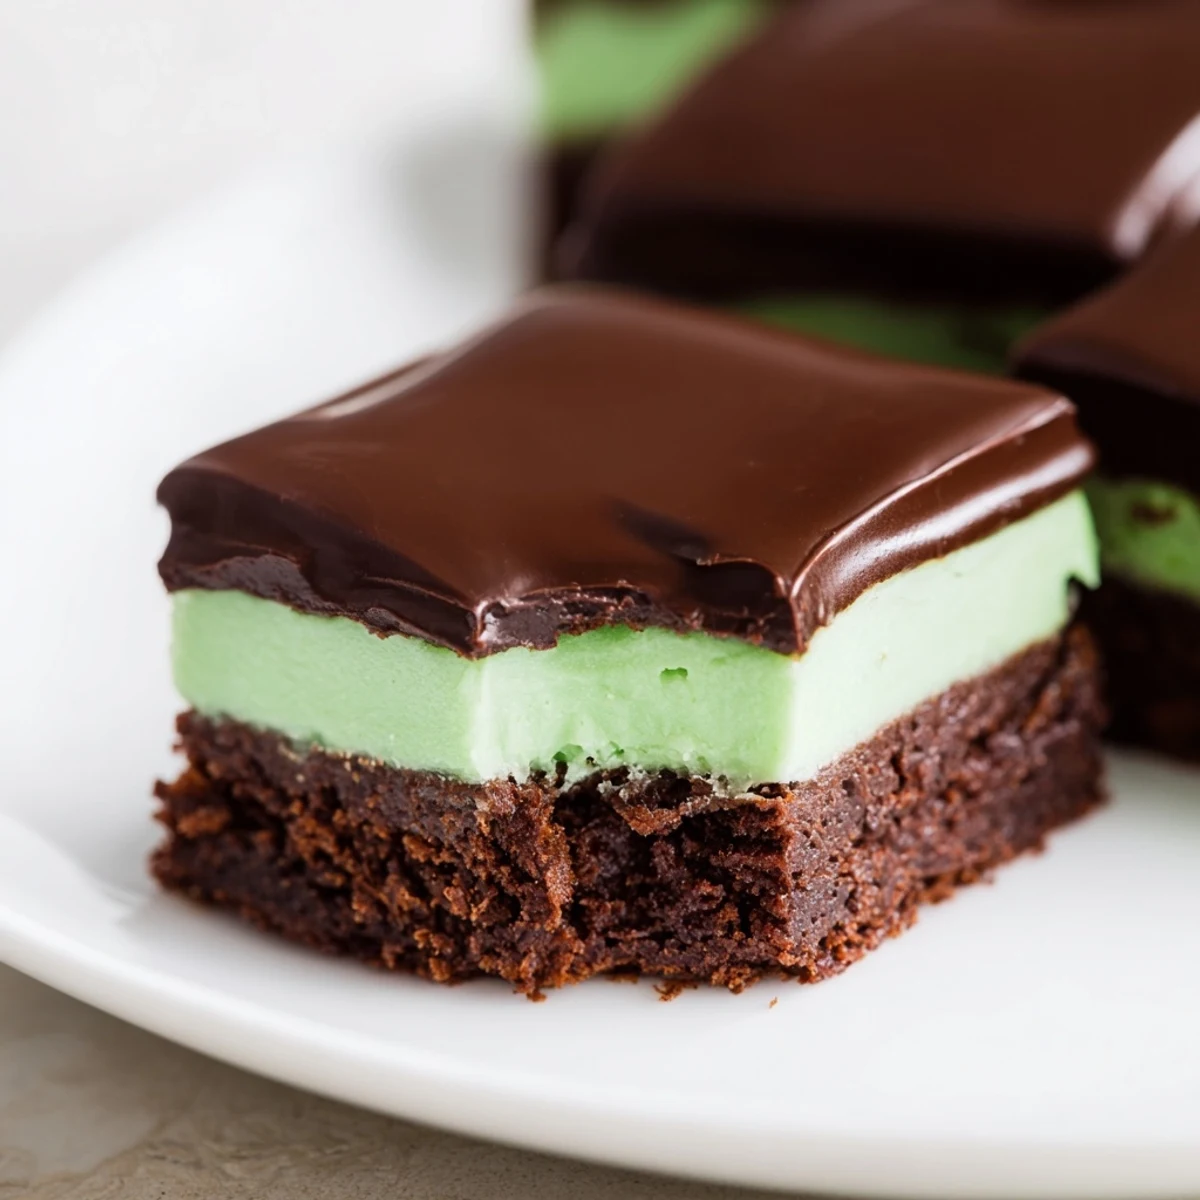
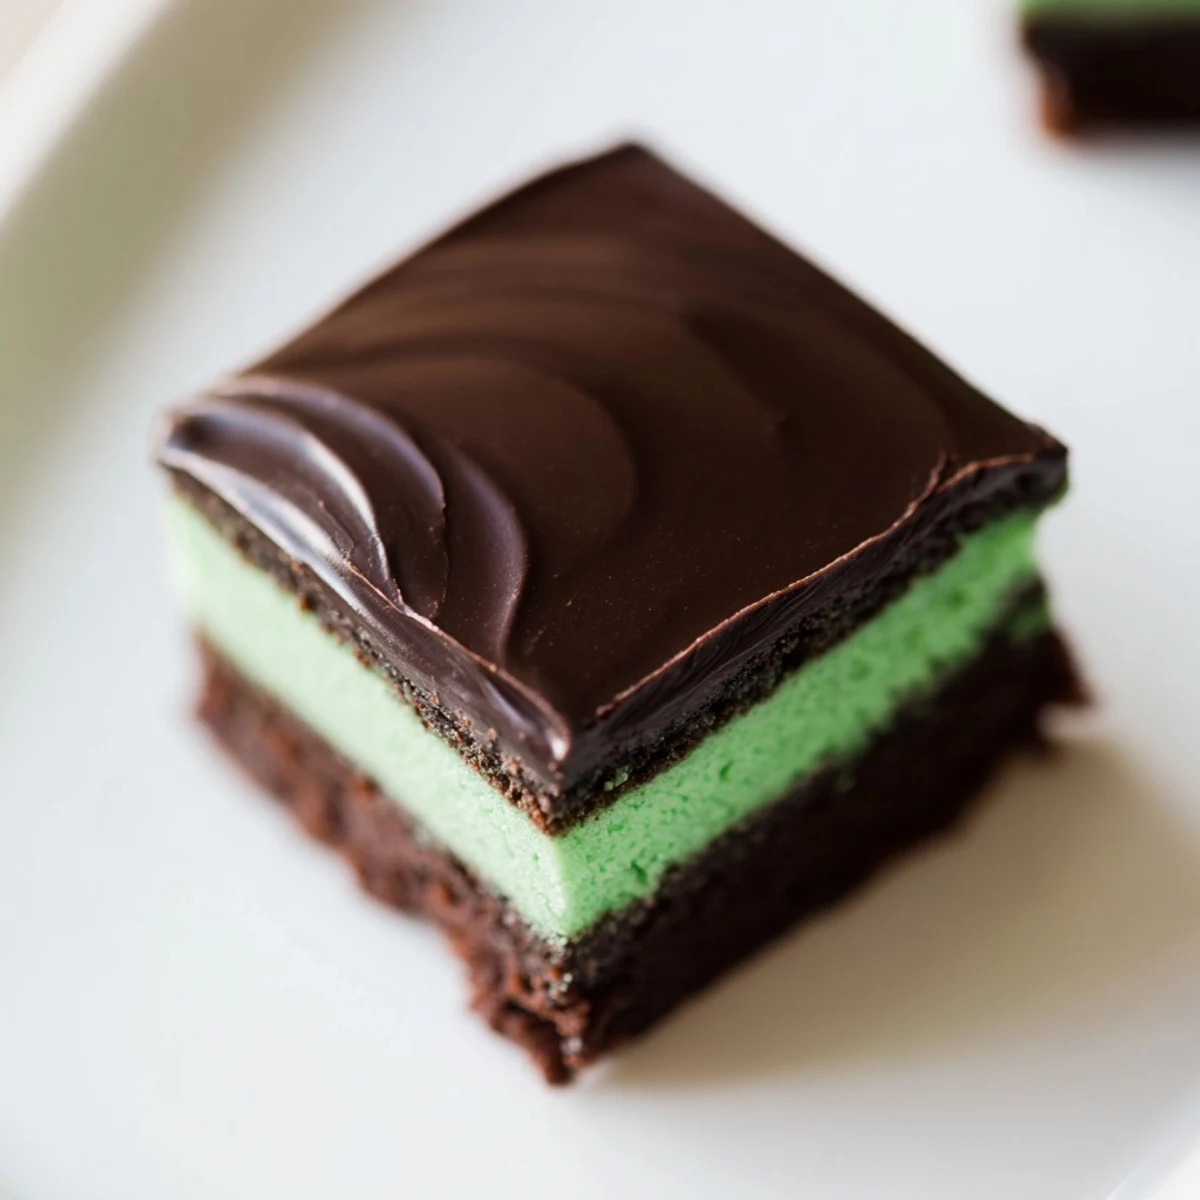
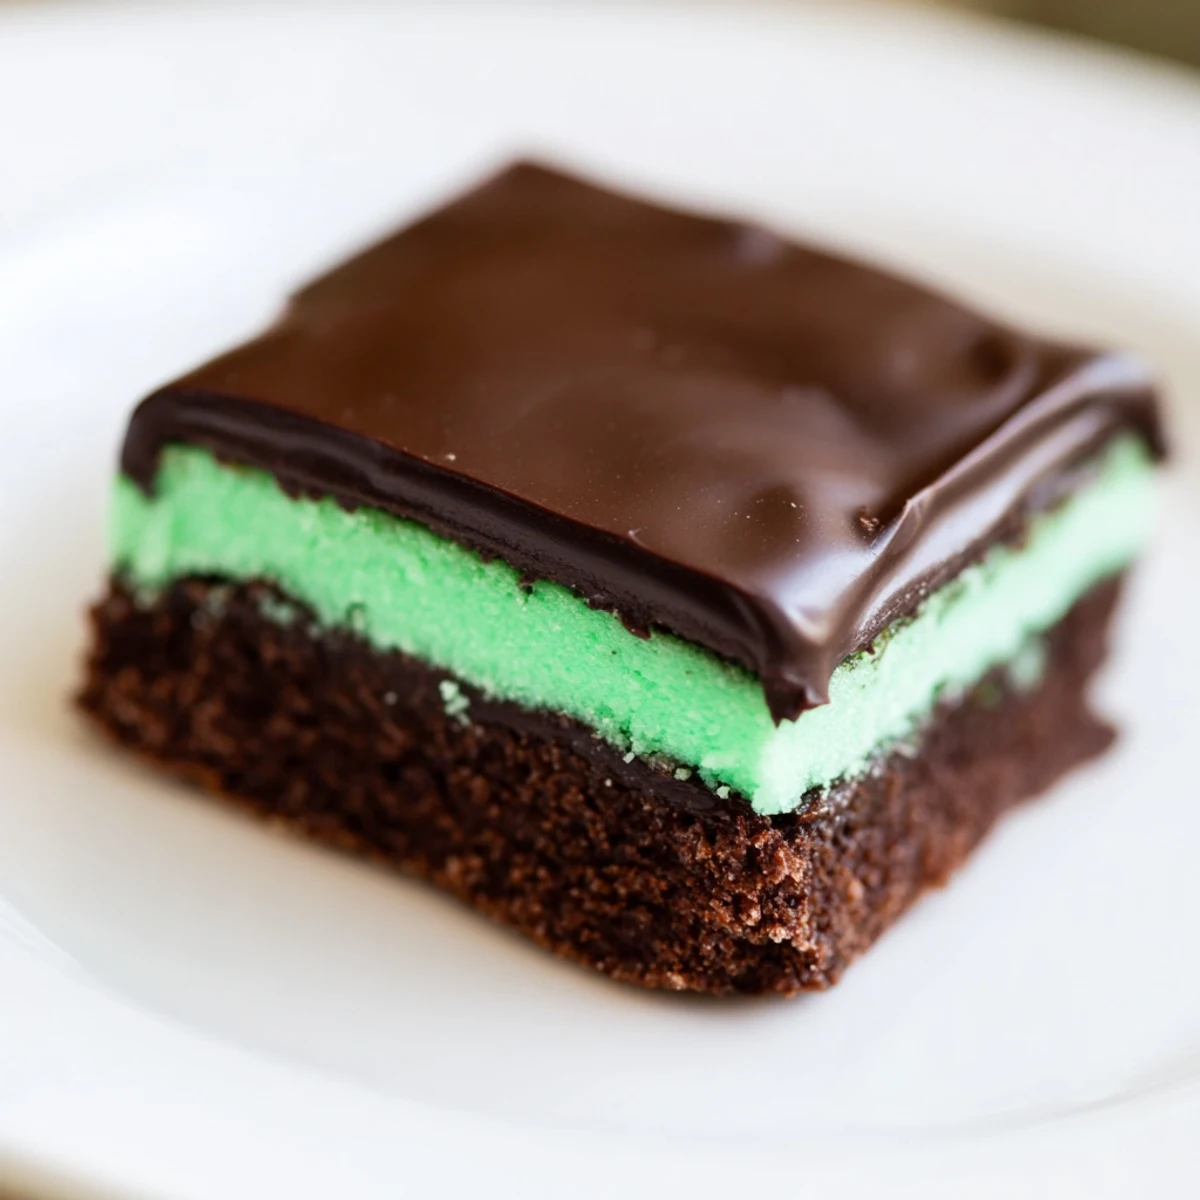
 Create an impressive three-layer dessert featuring dense, fudgy brownies as the base, topped with a light and fluffy mint cream filling, and finished with a smooth chocolate ganache. The entire process takes two hours including cooling and chilling time, making it ideal for advance preparation.
This vegetarian dessert yields 16 servings and offers medium difficulty, requiring basic baking and frosting techniques. The combination of textures—chewy brownie, creamy mint, and glossy ganache—creates a sophisticated treat that impresses guests while remaining straightforward to execute at home.
I first discovered these three-layer mint brownies at a holiday potluck where they were the first dessert to disappear. The contrast between the fudgy chocolate base, cool mint center, and glossy ganache topping captivated me instantly. I begged for the recipe and have been making them for special occasions ever since, watching as friends' eyes widen at that first perfect bite.
Last St. Patricks Day, I brought a batch of these to the office and watched as even the most diet conscious colleagues surrendered to their charm. The vibrant green layer made them festive, but it was the collective mmms and requests for the recipe that confirmed these brownies transcend ordinary desserts.
Ingredients
- Unsalted butter: Using unsalted butter in all three layers gives you complete control over the salt balance, which I learned after a too salty batch taught me this crucial lesson.
- Peppermint extract: A little goes a long way, so I always recommend adding it drop by drop until you reach your perfect mint level without crossing into toothpaste territory.
- Green food coloring: The visual cue of green makes the mint flavor seem more pronounced, an odd psychological trick I noticed when I once made these without coloring and guests swore they tasted less minty.
- Heavy cream: This creates that melt in your mouth quality in both the mint layer and ganache, giving a silky texture impossible to achieve with milk alone.
Instructions
- Prepare your brownie base:
- Melt the butter slowly over low heat, watching for that moment when it turns completely liquid but doesnt sizzle. The brownie batter should look glossy and thick when poured into the pan, spreading to the corners with gentle encouragement from your spatula.
- Find that perfect bake:
- Look for that sweet spot when a toothpick shows moist crumbs but not wet batter, usually around 27 minutes in my oven. The edges will just begin to pull away from the sides of the pan, giving you that telltale sign of brownies ready to cool.
- Create the mint magic:
- Beat that softened butter until it looks like fluffy clouds before adding your powdered sugar. When adding the peppermint extract, pour it into the measuring spoon over the sink in case of accidental overflow, as too much can quickly overwhelm the entire dessert.
- Master the ganache:
- Pour the hot cream over your chocolate and resist the urge to stir immediately. That patient two minute wait allows the chocolate to melt properly, resulting in a smoother ganache without grainy texture or streaks.
- The final chill:
- Give these layers time to properly set in the refrigerator, at least 30 minutes before cutting. For the cleanest cuts, wipe your knife with a warm, damp cloth between slices to prevent the layers from smearing together.
 Pin It
 One Christmas, my daughter helped me make these brownies for her school bake sale, carefully counting the drops of food coloring with the concentration of a scientist. When her teacher called later asking for the recipe because they sold out in minutes, I saw her little chest puff with pride, and these brownies became her signature contribution to every school event thereafter.
Seasonal Variations
During winter holidays, I sometimes crush candy canes and sprinkle them over the ganache before it sets, creating a beautiful texture contrast and festive appearance. For summer gatherings, I sometimes add a drop of lemon oil to the mint layer, creating a subtle brightness that pairs surprisingly well with garden cocktails and afternoon tea.
Storage Solutions
These brownies actually improve after a day in the refrigerator as the flavors meld together and the textures become perfectly set. I once made them three days before a party in a moment of desperate time management, and they were possibly even better than when freshly made, with the mint flavor developing a more nuanced profile.
Serving Suggestions
While these brownies stand perfectly on their own, Ive discovered they reach new heights when served with unexpected companions. A small scoop of vanilla bean ice cream alongside creates a temperature play that enhances both desserts.
- Let brownies sit at room temperature for 10 minutes before serving for optimal flavor release.
- Cut smaller portions than you think necessary, as these are surprisingly rich and satisfying even in modest sizes.
- Consider dusting plates with a tiny amount of cocoa powder before placing brownies for an elegant presentation.
 Pin It
 These triple layer mint brownies have become my most requested recipe, the one friends text me for at midnight when theyre planning their own gatherings. Each time I make them, theyre a reminder that sometimes the most impressive desserts arent about complicated techniques but about thoughtful combinations of flavor and texture.
Recipe FAQs
- → How do I prevent the mint layer from sliding when applying the ganache?
-
Chill the mint cream layer for at least 30 minutes until firm before pouring the ganache. This ensures the filling holds its shape and provides a stable base for the chocolate topping.
- → Can I use peppermint oil instead of peppermint extract?
-
Yes, but use peppermint oil sparingly—it's more concentrated than extract. Start with 1/4 teaspoon and adjust to taste, as a little goes a long way in the mint cream layer.
- → What's the best way to get clean brownie squares?
-
Chill the finished brownies for at least 30 minutes after the ganache sets. Use a sharp knife dipped in hot water and wiped clean between cuts for neat, precise squares.
- → How long do these keep and how should I store them?
-
Store covered in the refrigerator for up to 5 days. Keep them chilled since the mint cream and ganache soften at room temperature. Layer with parchment paper to prevent sticking.
- → Can I make this ahead for an event?
-
Absolutely. You can bake the brownie base a day ahead and refrigerate it. Add the mint layer 8 hours before serving, and apply the ganache 2-4 hours prior. This allows flavors to meld while keeping everything fresh.
- → How do I achieve a stronger mint flavor without making it artificial-tasting?
-
Increase the peppermint extract to 1 teaspoon in the cream layer, and consider adding a tiny pinch of chocolate to enhance the mint notes. Taste as you mix to balance flavor intensity.
