 Pin It
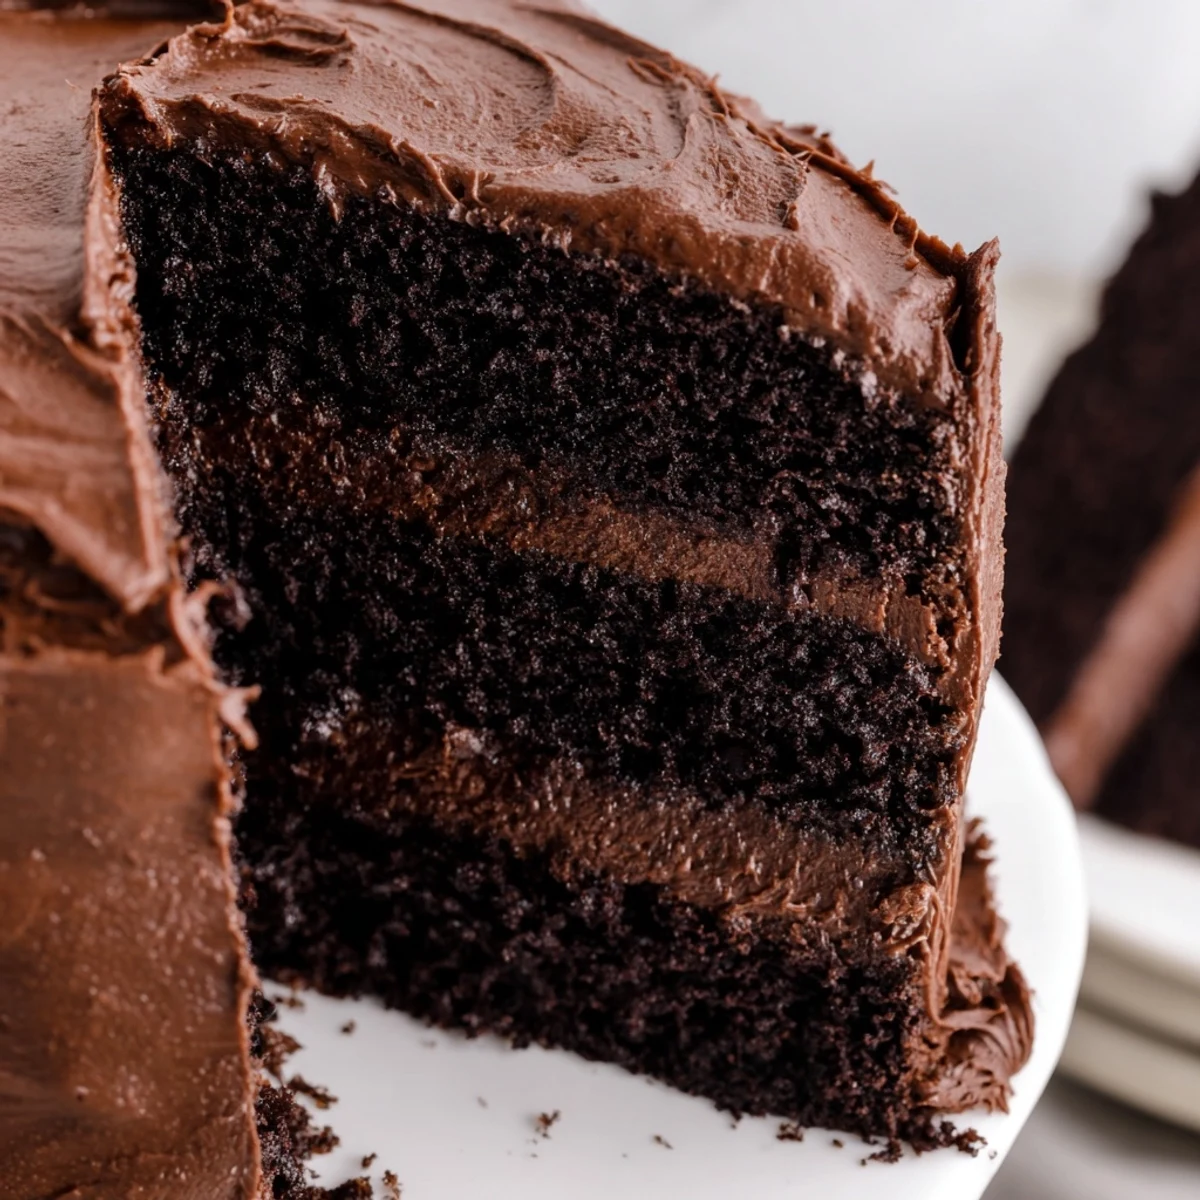
 Indulge in this classic American chocolate cake that delivers rich, moist decadence in every bite. The batter combines cocoa powder with boiling water for an incredibly tender crumb, while the creamy chocolate frosting adds the perfect sweet finish. Ideal for birthdays, holidays, or any celebration requiring an impressive homemade dessert.
My apartment smelled like chocolate heaven for three days straight after I first attempted this cake, and my roommate actually asked if I'd started a small baking business on the side. The batter is impossibly runny when you pour it into the pans, which completely freaked me out the first time, but trust the process here.
I made this for my nephews birthday last year and watched three kids go completely silent while eating, which is basically the highest compliment a child can give food. My sister accidentally left with the empty serving platter because she needed the recipe immediately.
Ingredients
- All-purpose flour: The structure builder here, and sifting it first prevents those dreaded flour lumps in your batter
- Granulated sugar: Sweetens and tenderizes, creating that perfect cake crumb we all want
- Unsweetened cocoa powder: The star of the show, and I recommend going for good quality here since chocolate flavor is everything
- Baking powder and baking soda: The dynamic duo that makes your cake rise beautifully and create those tender crumbs
- Salt: Dont skip this, it actually intensifies the chocolate flavor in ways that seem counterintuitive but work
- Large eggs: Room temperature eggs will blend more smoothly into your batter
- Whole milk: Adds moisture and richness, though Ive used almond milk in a pinch with decent results
- Vegetable oil: Keeps the cake incredibly moist for days, unlike butter which can firm up when chilled
- Pure vanilla extract: Always worth spending a bit more on the real stuff versus imitation
- Boiling water: The secret ingredient that bloomed the cocoa and created that impossibly moist texture
- Unsalted butter: Softened to room temperature makes all the difference for smooth, spreadable frosting
- Powdered sugar: Sift it first or your frosting will have stubborn little lumps that refuse to blend
- Whole milk: Adjust this until you reach your perfect frosting consistency
Instructions
- Prep your pans and oven:
- Get your oven to 350°F and grease two 8-inch round pans like your life depends on it, then line the bottoms with parchment paper for easy removal later.
- Mix the dry ingredients:
- Sift together your flour, sugar, cocoa, baking powder, baking soda, and salt in a big bowl, breaking up any clumps with your fingers.
- Combine wet ingredients:
- Add the eggs, milk, oil, and vanilla, then beat on medium speed until everything is smooth and well combined.
- Add the magic water:
- Slowly pour in that boiling water while mixing, and watch your batter turn into something terrifyingly thin and glossy.
- Bake until perfect:
- Divide the batter between your prepared pans and bake for 30 to 35 minutes, until a toothpick comes out clean from the center.
- Cool completely:
- Let the cakes rest in their pans for 10 minutes before turning them out onto wire racks to cool completely.
- Make the frosting:
- Beat that softened butter until creamy, then gradually add powdered sugar and cocoa until combined and smooth.
- Adjust and frost:
- Beat in vanilla, salt, and just enough milk to make it spreadable, then layer and frost that beautiful cake.
 Pin It
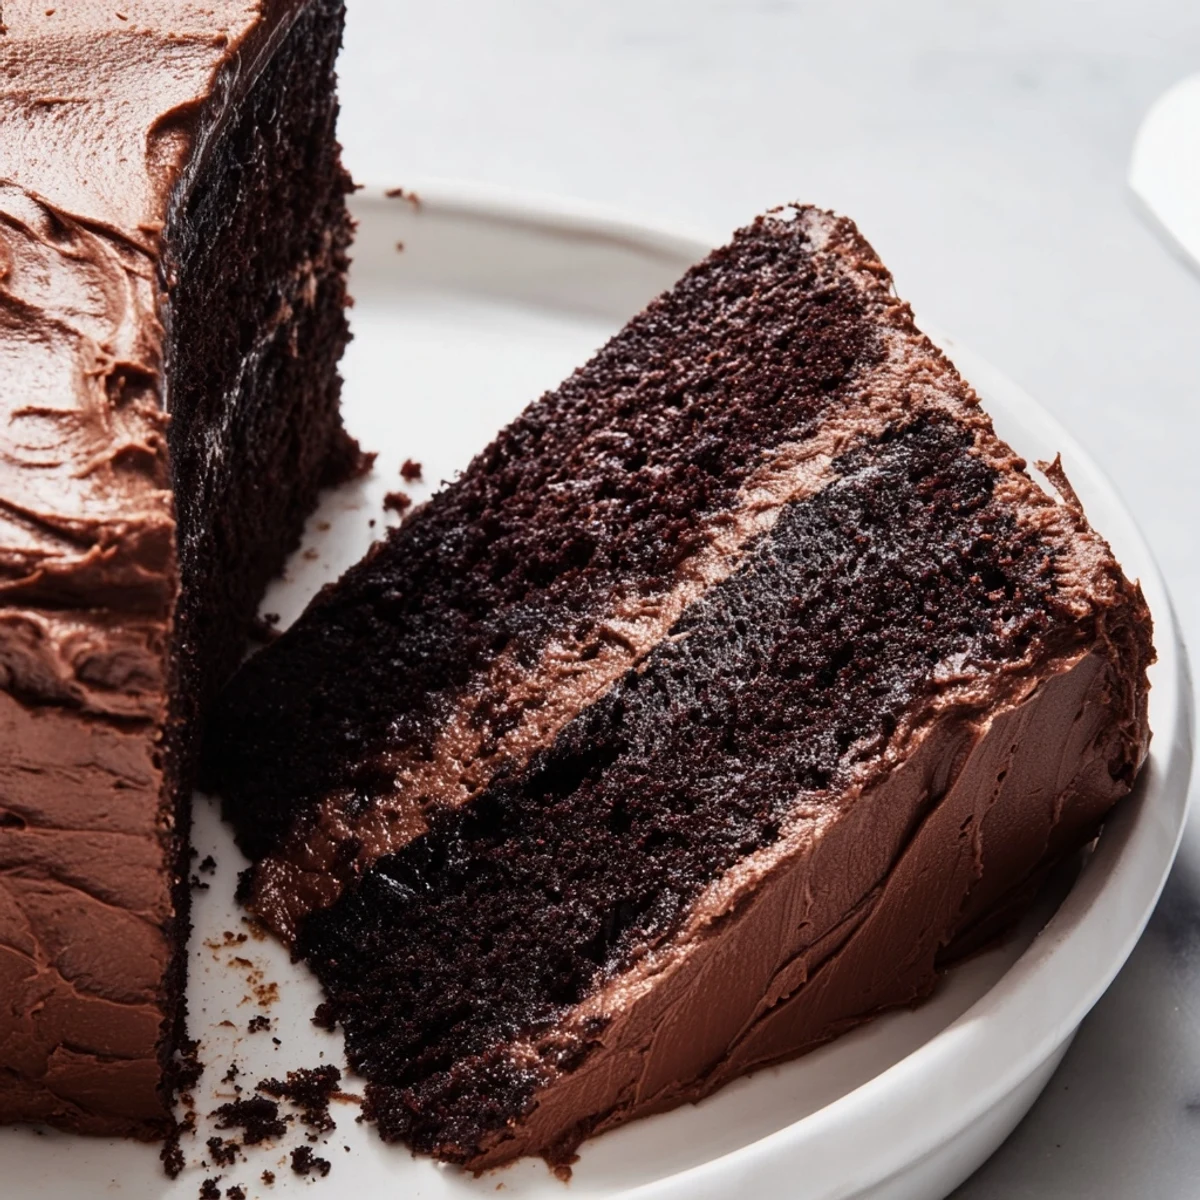
 This cake has become my go to for every celebration, mostly because people genuinely assume it came from a bakery. Theres something magical about serving a homemade dessert that looks and tastes this impressive.
Making It Ahead
Ive baked the layers a day ahead and wrapped them tightly in plastic wrap, which actually made them even more moist and easier to frost. The frosting can sit at room temperature for a couple hours without getting weird, but refrigerate the fully assembled cake if youre holding it longer than that.
Flavor Twists
Sometimes I add a teaspoon of espresso powder to the batter or frosting to deepen the chocolate flavor without making it taste like coffee. A handful of chocolate chips folded into the batter creates these little pockets of melted chocolate throughout.
Serving Ideas
This cake needs nothing else to shine, but fresh berries or a scoop of vanilla ice cream never hurt anyone. A dusting of cocoa powder or some chocolate shavings on top makes it look extra fancy for special occasions.
- Slice with a sharp knife dipped in hot water for clean, professional looking cuts
- Let the cake sit at room temperature for 30 minutes before serving if refrigerated
- Store any leftovers covered at room temperature for up to three days
 Pin It
 Hope this cake becomes your forever recipe too, the one people request year after year.
Recipe FAQs
- → How do I know when the chocolate cake is done baking?
-
Insert a toothpick into the center of the cake. If it comes out clean or with just a few moist crumbs, the cake is ready. The sides should also pull away slightly from the pan edges.
- → Can I make this cake ahead of time?
-
Yes, you can bake the layers up to 2 days in advance. Wrap them tightly in plastic wrap and store at room temperature. Frost the cake on the day you plan to serve it for the freshest taste.
- → Why add boiling water to chocolate cake batter?
-
Boiling water blooms the cocoa powder, enhancing its chocolate flavor. It also creates a thinner batter that results in an exceptionally moist, tender cake with a fine crumb texture.
- → How should I store leftover chocolate cake?
-
Store covered at room temperature for up to 3 days. For longer storage, refrigerate for up to a week or freeze individual slices wrapped in plastic for up to 3 months.
- → Can I make this chocolate cake dairy-free?
-
Absolutely. Substitute the whole milk with almond, soy, or oat milk. Replace the butter in the frosting with vegan butter or coconut oil. The texture remains wonderfully moist.
- → What's the best way to frost this chocolate cake?
-
Ensure cakes are completely cool before frosting. Apply a thin crumb coat first, chill for 15 minutes, then add the final layer of frosting. This keeps crumbs from showing in the finish.
