 Pin It
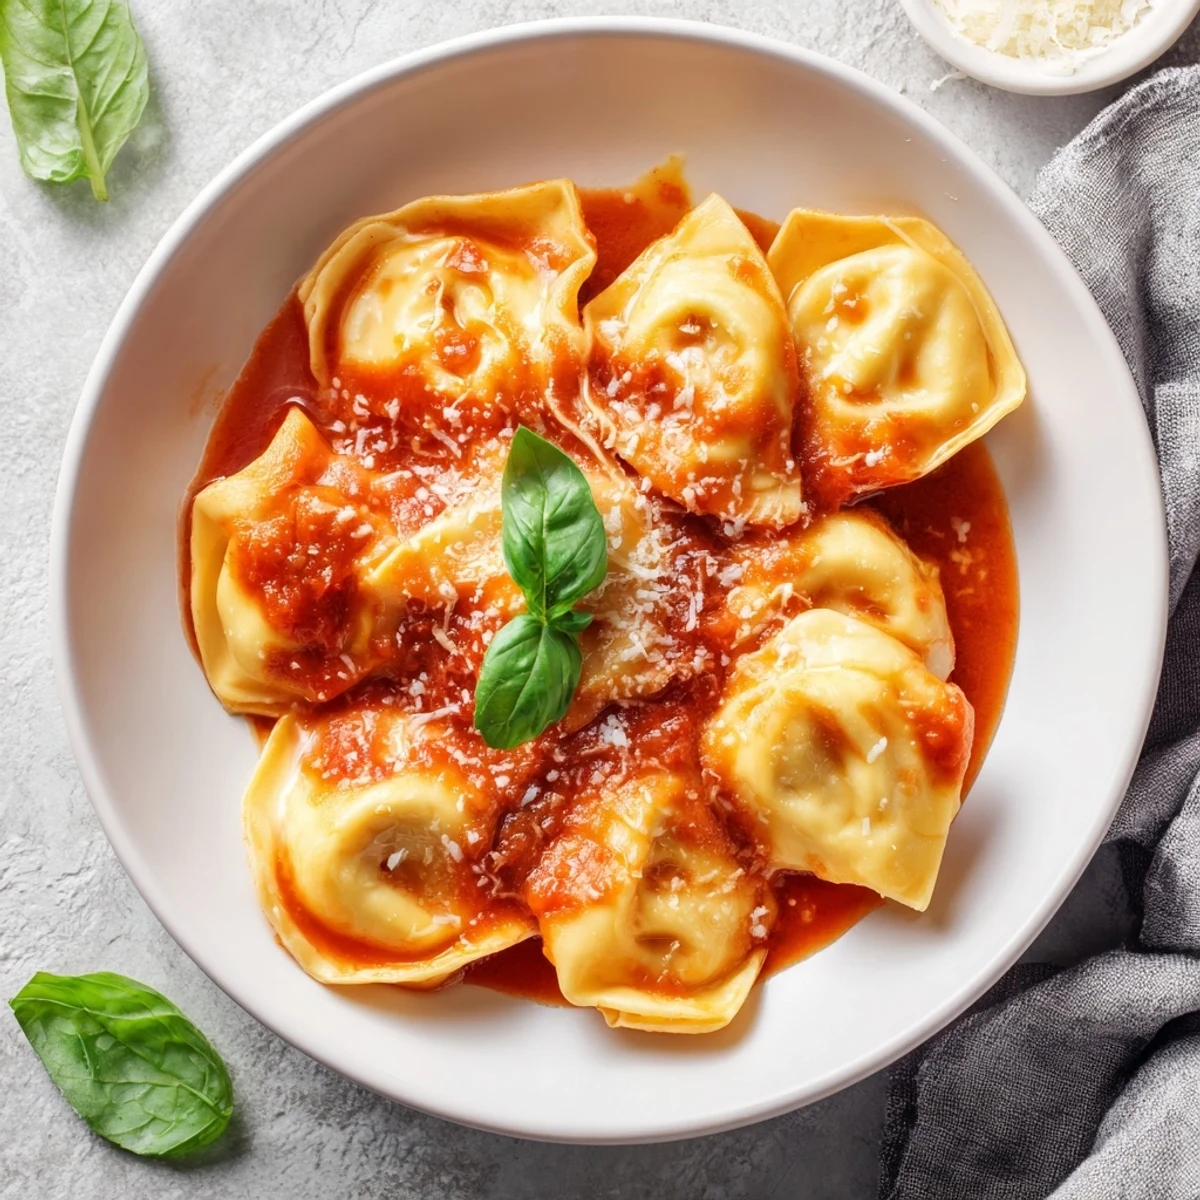
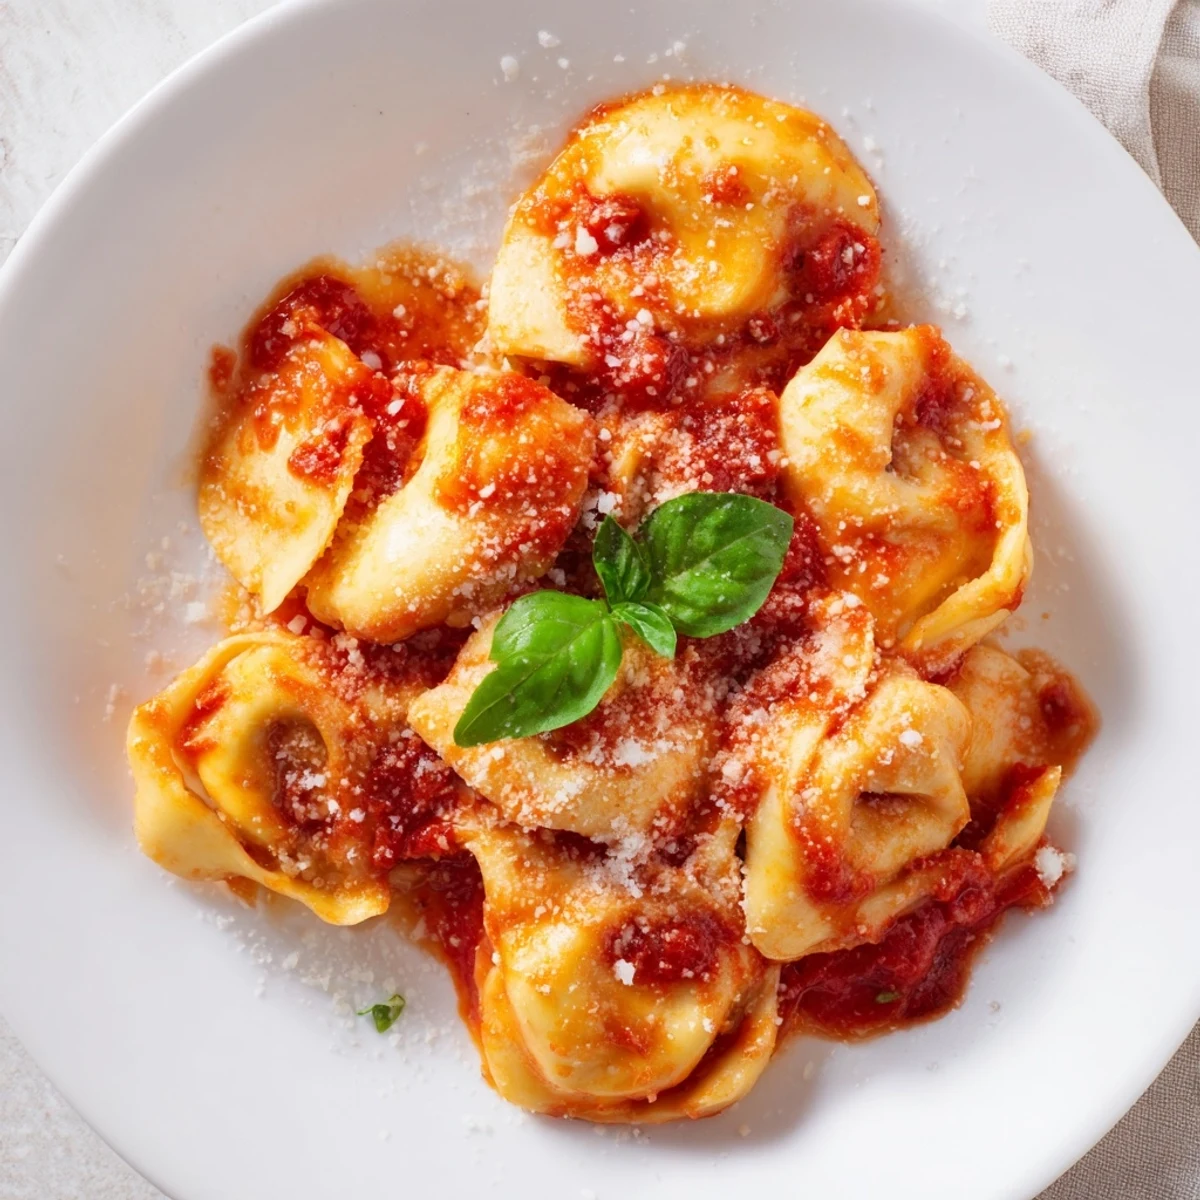
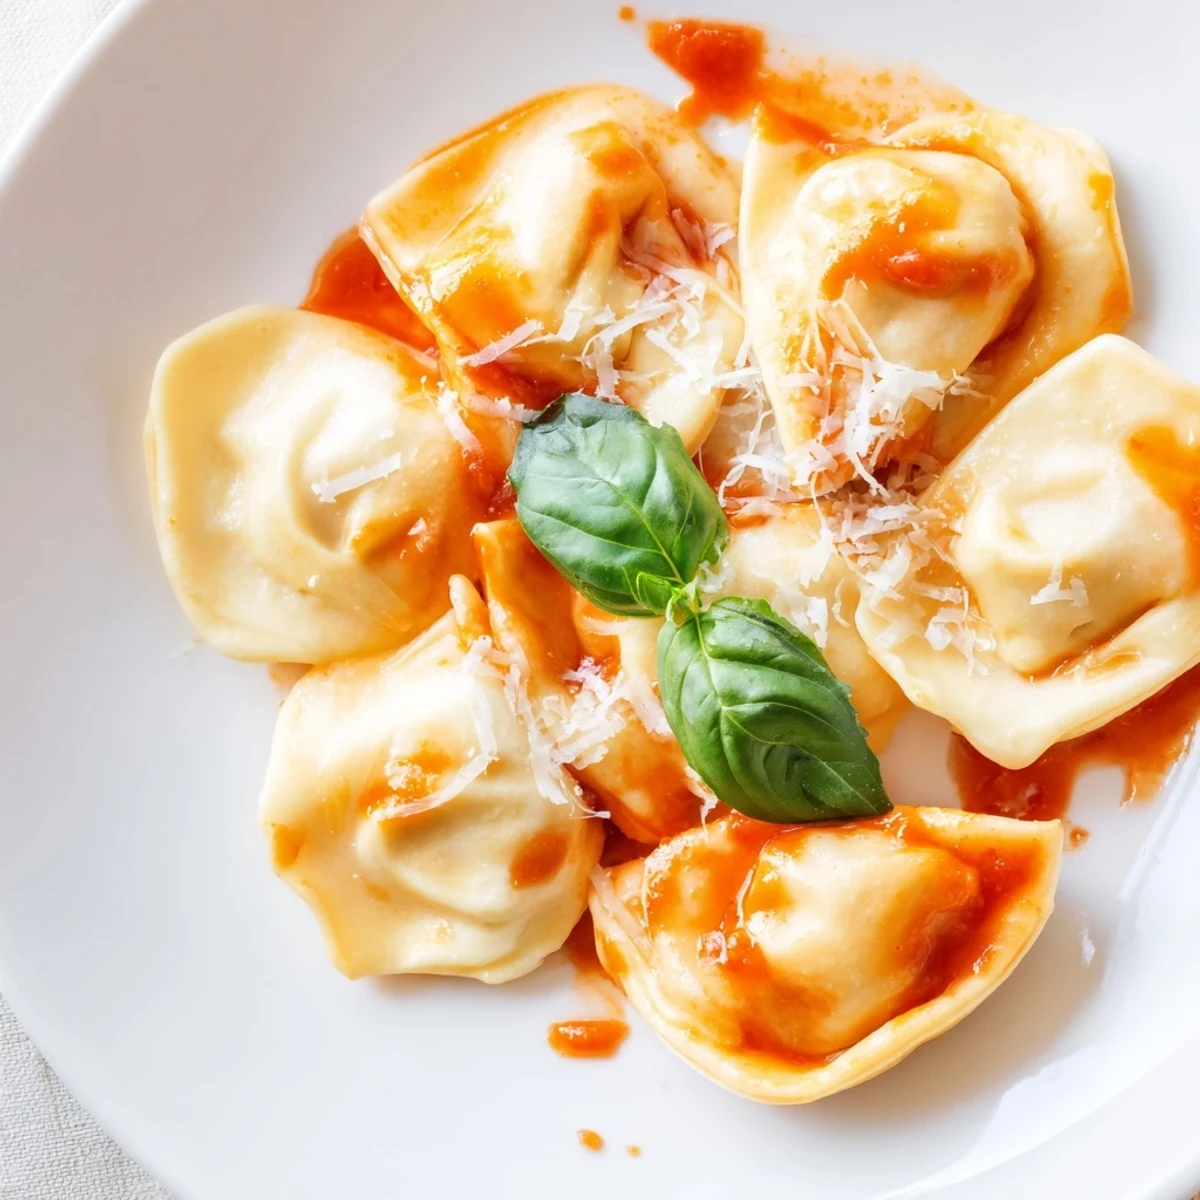
 These delicate pasta parcels feature a rich, creamy blend of mozzarella, ricotta, and Parmesan cheeses, hand-folded into tender tortellini. The light tomato sauce, infused with garlic and oregano, perfectly complements the indulgent filling. This Italian classic comes together in just 40 minutes, making it ideal for satisfying weeknight dinners or special weekend meals when you want something comforting yet elegant.
The first time I attempted fresh pasta, my kitchen looked like a flour bomb had gone off. But biting into that first handmade tortellini, filled with warm melted mozzarella, made every single mess worth it. Now its become my go-to comfort meal whenever I need something that feels like a hug in food form.
Last winter my sister came over during a snowstorm and we spent three hours folding tortellini together, laughing at our misshapen attempts. We ate them standing at the counter, steaming hot, and agreed the ugly ones tasted best anyway.
Ingredients
- 2 cups all-purpose flour: The foundation of your pasta dough. Use unbleached for the best texture.
- 3 large eggs: Room temperature eggs incorporate more easily into the flour.
- 1/2 tsp salt: Enhances the pasta flavor without overpowering the filling.
- 1 cup shredded mozzarella: The star of our filling. Low moisture mozzarella melts beautifully.
- 1/2 cup ricotta cheese: Adds creaminess and helps bind the mozzarella together.
- 1/4 cup grated Parmesan: Brings a salty, nutty depth to the filling.
- 1 tbsp fresh basil: Optional but adds bright freshness that cuts through the rich cheese.
- 2 tbsp olive oil: The base for our simple but perfect tomato sauce.
- 2 cloves garlic: Mince these yourself. Pre-minced garlic never tastes quite right.
- 1 can crushed tomatoes: San Marzano tomatoes make the most velvety sauce.
Instructions
- Build your pasta foundation:
- Mound flour on your counter and create a deep well in the center like a little volcano. Crack eggs into the hollow along with salt, then gradually pull flour from the walls into the eggs until a shaggy dough forms.
- Knead until transformation:
- Work the dough for 8 to 10 minutes until it transforms from rough to smooth and springs back when pressed. Wrap it up and let it rest while you make the filling.
- Mix the melty center:
- Combine mozzarella, ricotta, Parmesan, pepper, salt, and basil in a bowl until evenly distributed. The mixture should hold together when squeezed.
- Roll it thin:
- Divide dough in half and roll each piece until you can almost see your hand through it. A pasta machine makes this easier, but a rolling pin works perfectly fine with patience.
- Shape your tortellini:
- Cut dough into 2-inch squares, drop a teaspoon of filling in each center, fold into triangles, then wrap the points around your finger and pinch to seal. Imperfect shapes still taste delicious.
- Boil and float:
- Drop tortellini into generously salted boiling water and wait for them to rise to the surface, about 3 to 4 minutes. They go from floating to done quickly.
- Simmer the sauce:
- While water heats, sauté garlic in olive oil until fragrant, then add crushed tomatoes with sugar, salt, oregano, and pepper. Let it bubble gently for 10 minutes to meld flavors.
- Bring it together:
- Gently toss cooked tortellini in the sauce, letting them get cozy together. Top with fresh basil leaves and watch them wilt slightly from the heat.
 Pin It
 My neighbor smelled the garlic and tomatoes through our shared wall and showed up with a bottle of wine. We sat on my back steps eating tortellini straight from the bowl while the sun set, and she asked for the recipe before even saying hello.
The Art of Filling
I learned the hard way that overfilling tortellini is the fastest way to disaster. Keep filling to about one teaspoon and leave a clear border around the edges for sealing. The pasta expands slightly during cooking, so give your little parcels room to breathe.
Sauce Timing Secrets
Start your tomato sauce just before dropping tortellini into boiling water. This ensures both elements finish cooking simultaneously and hit the pan at peak temperature. Cold sauce meeting hot pasta is a tragedy easily avoided with simple timing.
Storage Solutions
Uncooked tortellini freeze beautifully on a baking sheet before being transferred to bags. They cook straight from frozen, just add an extra minute to the boiling time.
- Dust frozen tortellini with extra flour to prevent sticking together
- Cooked tortellini keeps in the refrigerator for up to three days
- The sauce actually tastes better the next day as flavors deepen
 Pin It
 Theres something profoundly satisfying about food you shaped with your own hands. These tortellini carry the warmth of effort and the joy of simple, good things shared.
Recipe FAQs
- → Can I make the dough ahead of time?
-
Yes, you can prepare the pasta dough up to 24 hours in advance. Wrap it tightly in plastic wrap and refrigerate. Let it come to room temperature for about 20 minutes before rolling out, as chilled dough can be difficult to work with.
- → What if I don't have a pasta machine?
-
A rolling pin works perfectly fine for rolling out the dough. Roll it as thinly as possible, aiming for about 1/16 inch thickness. The key is patience—rolling by hand takes a bit more effort but yields equally delicious results.
- → Can I freeze the tortellini?
-
Absolutely. Place uncooked tortellini in a single layer on a baking sheet and freeze until firm, then transfer to an airtight container or freezer bag. They'll keep for up to 3 months. Cook frozen tortellini directly in boiling water, adding 1-2 minutes to the cooking time.
- → How do I know when the tortellini are done?
-
Fresh tortellini cook very quickly. They're ready when they float to the surface of the boiling water, typically 3-4 minutes. Avoid overcooking, as the pasta can become mushy. Remove them immediately with a slotted spoon once they float.
- → Can I use different cheeses in the filling?
-
Certainly. While mozzarella provides the classic stretchy texture, you can substitute part of it with fontina, provolone, or mild gorgonzola for variation. Just keep the total cheese quantity the same to maintain proper filling consistency.
