 Pin It
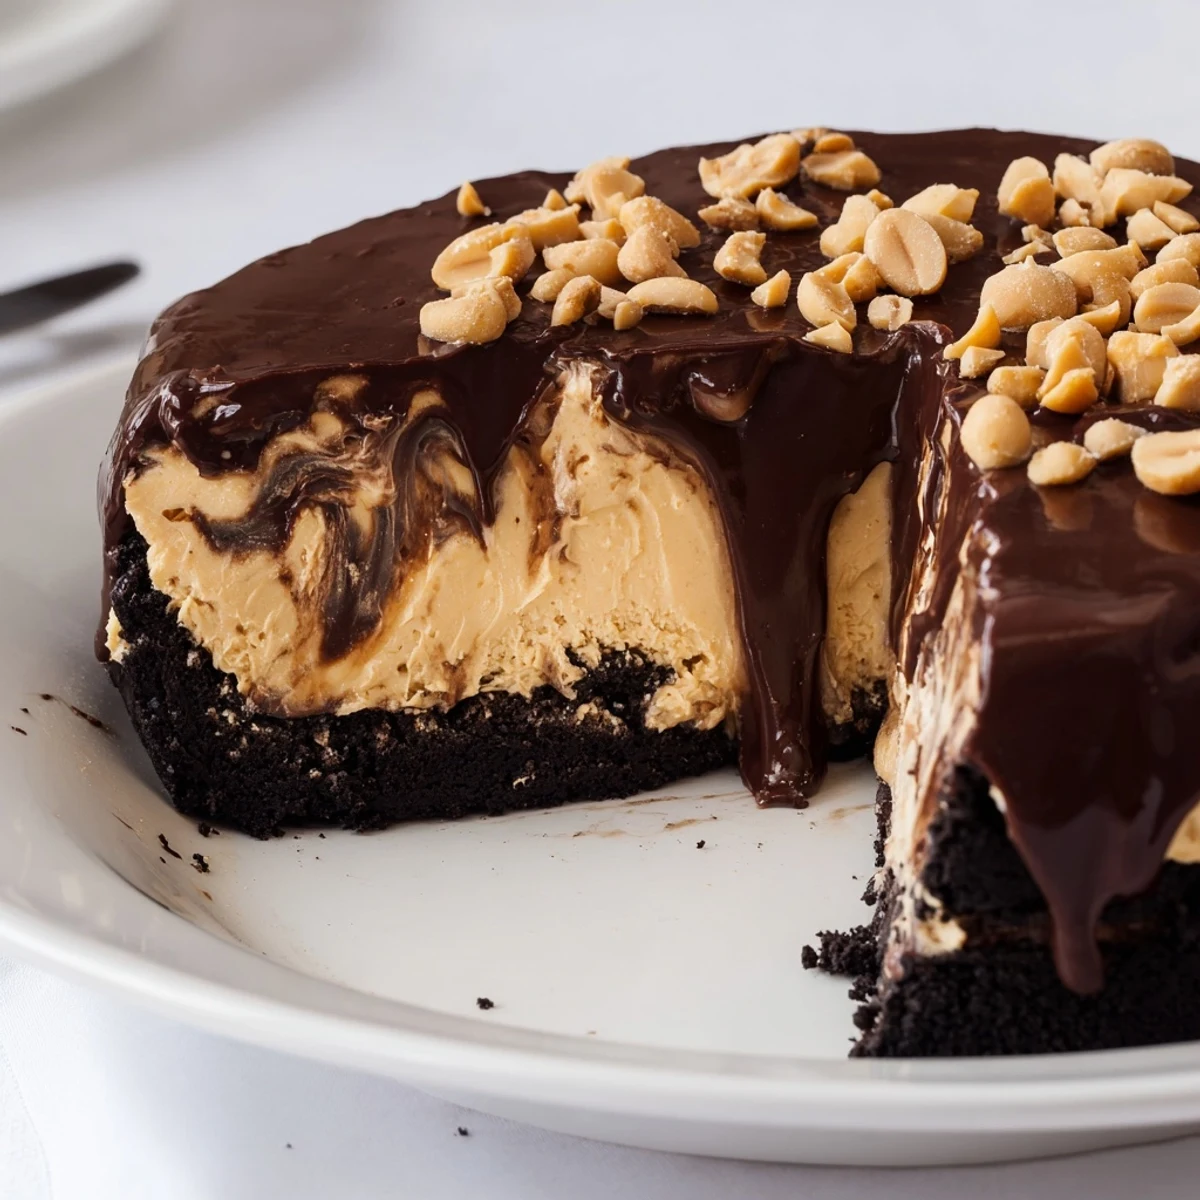
 This indulgent dessert combines velvety peanut butter filling with a crunchy chocolate cookie base. Simply blend cream cheese, peanut butter, and powdered sugar, then fold in freshly whipped cream for an airy texture. Press chocolate cookie crumbs with butter into your pie dish, spread the fluffy filling, and chill until set. Optional ganache topping adds an extra layer of chocolate richness while chopped peanuts provide satisfying crunch. The entire process takes just 20 minutes of active preparation.
My sister called me at 9 PM on a Tuesday, frantic because she'd promised to bring dessert to a potluck the next day and had zero time to bake. That's when this no-bake peanut butter pie became our family's emergency secret weapon—rich enough to impress, easy enough to throw together between work and bedtime.
I made this for my dad's birthday dinner last summer, and he's usually not big on sweets. He went back for seconds and then asked if there were leftovers to take home. Seeing someone who claims they don't like dessert swoon over this pie convinced me it's not just good—it's the kind of good that makes people forget their own rules.
Ingredients
- Chocolate sandwich cookies: These create the perfect crumbly, chocolatey base—don't bother removing the filling first, it helps bind everything together
- Unsalted butter, melted: Use slightly warm butter so it coats every crumb evenly for a crust that holds its shape when sliced
- Creamy peanut butter: Room temperature peanut butter blends seamlessly without leaving grainy pockets in your filling
- Cream cheese, softened: This adds structure and tang—let it sit on the counter for at least an hour so it incorporates smoothly
- Powdered sugar: Essential for sweetness and thickening the mixture to that perfect spreadable consistency
- Heavy cream, cold: The colder your cream, the faster it whips to stiff peaks—pop the bowl in the freezer for 10 minutes first
- Vanilla extract: Pure vanilla enhances the peanut butter flavor without competing with it
- Semi-sweet chocolate chips: For the optional ganache topping that takes this pie from amazing to unforgettable
Instructions
- Build the chocolate crust foundation:
- Pulse your chocolate sandwich cookies in a food processor until they turn into fine, even crumbs. Pour them into a bowl, pour over your melted butter, and stir until every crumb is coated and the mixture holds together when you squeeze a handful. Press it firmly into your pie dish, using the back of a measuring cup to pack it tight against the bottom and up the sides. Slide it into the fridge to set while you make the filling.
- Whip up the creamy peanut butter filling:
- Beat your softened cream cheese, peanut butter, and powdered sugar together until completely smooth and no lumps remain—this will take about 2 minutes with an electric mixer on medium speed. In a separate chilled bowl, whip your cold heavy cream and vanilla until stiff peaks form, meaning the cream stands straight up when you lift the beaters. Gently fold the whipped cream into the peanut butter mixture in three additions, being careful not to deflate all that air you just whipped in. Spread the silky filling evenly into your waiting crust.
- Add the chocolate crown if you want extra magic:
- Heat your remaining cream until it's steaming but not boiling, then pour it over chocolate chips in a small bowl. Let it sit undisturbed for 2 minutes while the heat works its magic, then stir slowly until you have a glossy, smooth ganache. Pour it over the peanut butter layer and tilt the pie gently to spread it evenly. Sprinkle with chopped peanuts for that perfect salty crunch against all that sweetness.
- Let patience work in your favor:
- Refrigerate the pie for at least 4 hours, though overnight is even better. The filling needs this time to set completely so each slice holds its shape beautifully. Serve chilled straight from the fridge for the firmest, most satisfying texture.
 Pin It
 My neighbor texted me the day after I brought her a slice of this pie, admitting she ate it for breakfast and didn't feel even a little guilty. Sometimes the best recipes aren't the fancy ones—they're the ones that make people abandon all sense of propriety.
Make It Your Way
Swap the creamy peanut butter for crunchy if you're someone who lives for those peanut specks in every bite. I've also used chocolate graham crackers for the crust when I wanted even more chocolate intensity, and let me tell you, nobody complained about that decision either.
The Gluten-Free Switch
When my cousin with celiac disease came to visit, I used gluten-free chocolate sandwich cookies for the crust and she absolutely loved it. The texture is nearly identical, and honestly, nobody could tell the difference—proof that accommodating dietary restrictions doesn't mean sacrificing anything.
Make-Ahead Magic
This pie actually tastes better on day two, giving all those flavors time to meld and deepen. I've made it up to two days in advance, covered it carefully, and had people beg for the recipe at dinner parties. It's the ultimate low-stress dessert for entertaining.
- Press plastic wrap directly against the filling surface to prevent a skin from forming
- Let the pie sit at room temperature for 10 minutes before serving for easier slicing
- Dip your knife in hot water and wipe it clean between cuts for picture-perfect slices
 Pin It
 This pie has rescued more dinner parties than I can count, turning potential disasters into the kind of dessert people talk about months later. Sometimes the easiest recipes are the ones that make you look like a kitchen genius.
Recipe FAQs
- → Can I use natural peanut butter?
-
Natural peanut butter can work, but the filling may be slightly less stable due to oil separation. For best results, use commercial creamy peanut butter which provides consistent texture and proper setting. If using natural variety, chill the pie longer to ensure it sets completely.
- → How long does this need to chill?
-
Minimum chilling time is 4 hours for the filling to set properly. For optimal texture and cleanest slices, refrigerate overnight. The pie continues to firm up in the refrigerator, so longer chilling produces better results when serving.
- → Can I make this ahead of time?
-
Absolutely. This dessert actually improves when made 1-2 days in advance, allowing flavors to meld. Prepare completely, cover tightly, and refrigerate. Add fresh toppings like whipped cream just before serving for the best presentation.
- → What type of cookies work best for the crust?
-
Chocolate sandwich cookies like Oreos provide the ideal texture and sweetness. Chocolate wafer cookies or chocolate graham crackers also work well. Avoid using very soft cookies as they won't create a stable crust that holds together when sliced.
- → Can I freeze this pie?
-
Yes, this freezes beautifully for up to 2 months. Wrap the completely cooled pie tightly in plastic wrap and foil, then freeze. Thaw overnight in the refrigerator before serving. Note that texture may be slightly creamier after freezing but remains delicious.
