 Pin It
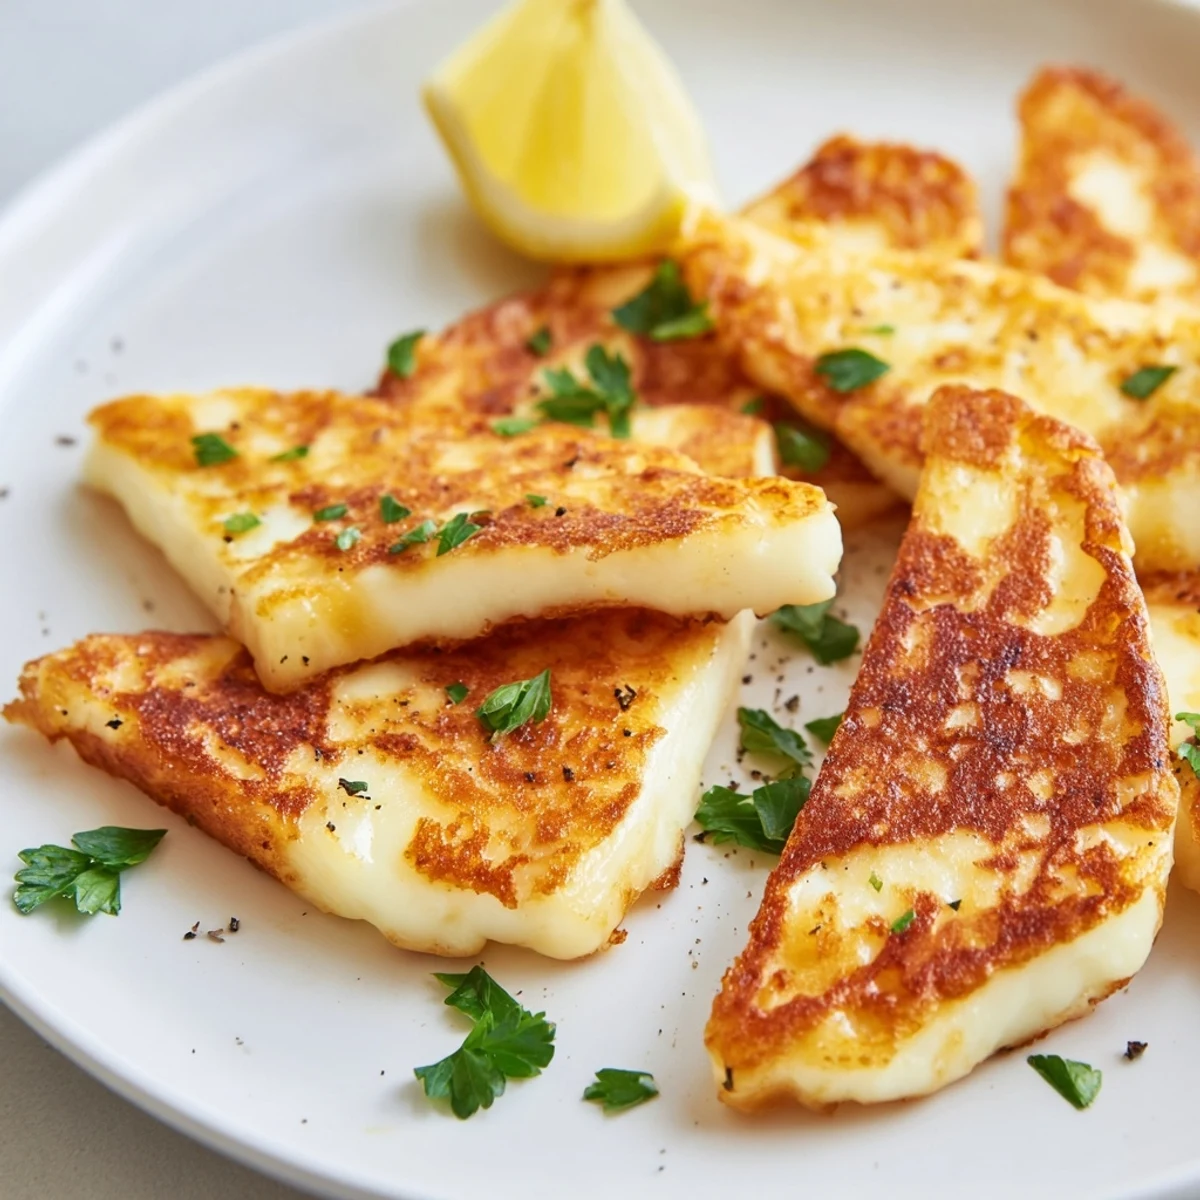
 Create perfectly golden halloumi with a crispy exterior and soft, salty center. This Mediterranean-style preparation takes just 12 minutes from start to finish.
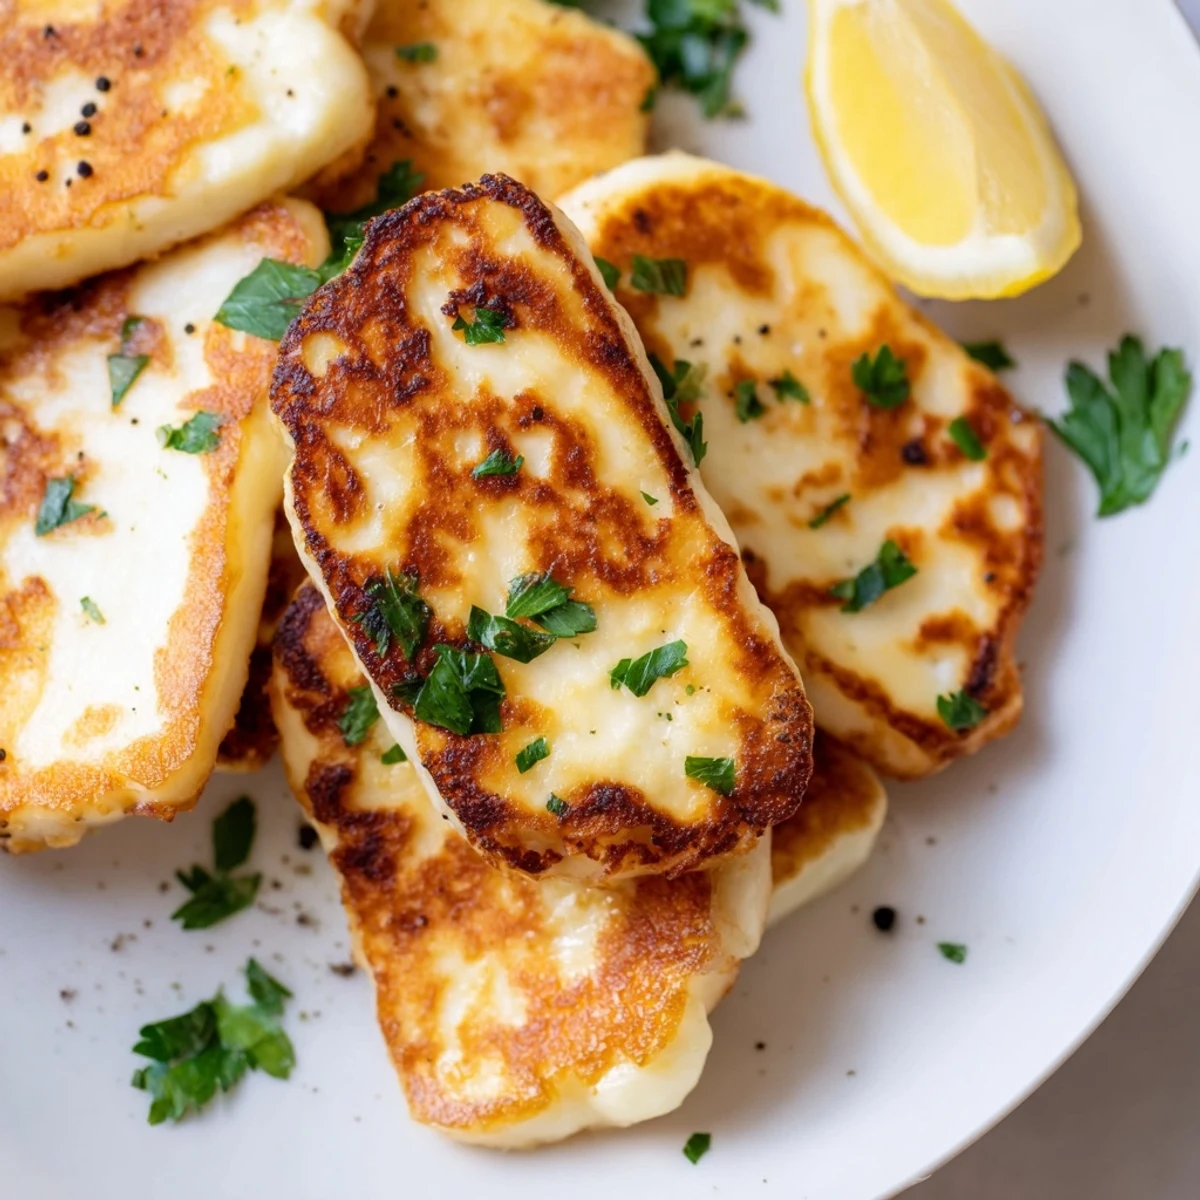
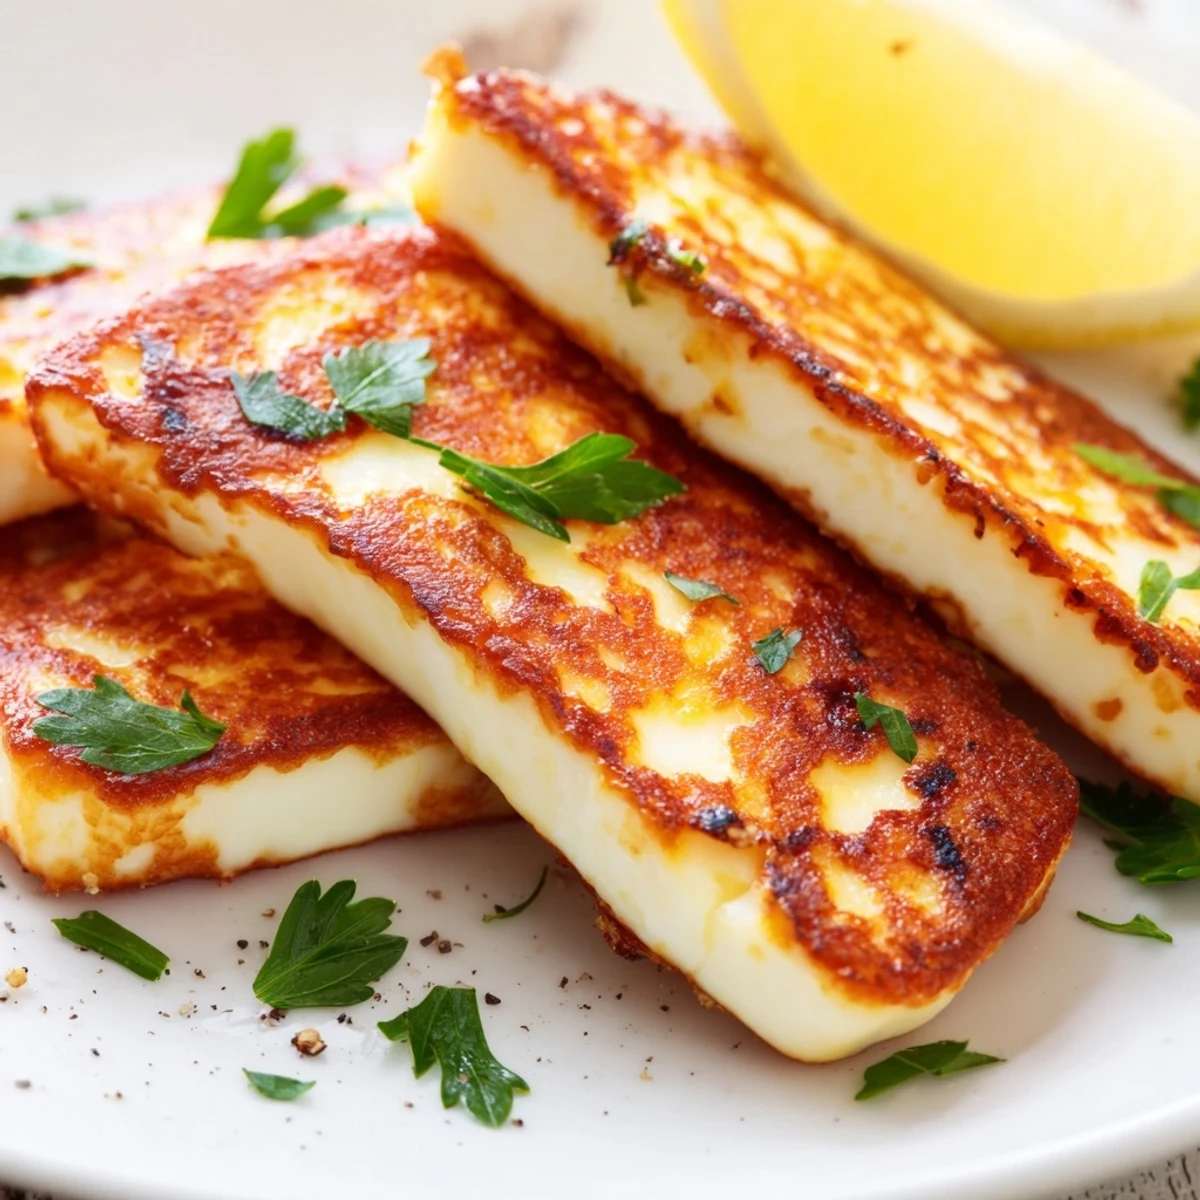
Slice the cheese into thick pieces, pan-fry in olive oil until golden brown on both sides, then finish with a squeeze of fresh lemon juice, chopped parsley, and black pepper. The high heat creates a beautiful crust while keeping the inside tender.
Serve warm as an appetizer, alongside roasted vegetables, or as part of a mezze platter. For extra flavor, try drizzling with honey or adding chili flakes.
The sizzle of halloumi hitting a hot pan is one of those sounds that makes everyone in the house suddenly appear in the kitchen doorway, pretending they just happened to walk by. My friend Nadia introduced me to this cheese at a tiny mezze spot years ago, and I spent an embarrassing amount of time trying to replicate that golden crust at home before realizing the secret was absurdly simple: dry the cheese and let the pan get properly hot. Now it is my go to whenever I need something impressive in under fifteen minutes. The lemon and parsley are not optional in my house, they are the whole point.
I once made a platter of this for a rooftop potluck and watched three people who swore they did not like cheese go back for seconds and thirds. There is something about the way the lemon cuts through the richness that makes it dangerously easy to keep eating.
Ingredients
- Halloumi cheese (225 g): The star of the show, and quality matters here. Look for halloumi that feels firm and smells slightly briny, and always pat it completely dry before slicing so it sears rather than steams.
- Olive oil (1 tbsp): Just enough to coat the pan and help develop that beautiful golden crust without making the cheese greasy.
- Lemon wedges (½ lemon): Fresh is non negotiable, the bottled stuff will not give you that bright punchy contrast that makes this dish sing.
- Fresh parsley, chopped (1 tbsp, optional): Adds a flash of color and a fresh herbal note that balances the salty cheese beautifully.
- Freshly ground black pepper: A few cracks at the end tie everything together, and please use a pepper mill if you have one.
Instructions
- Prep the cheese:
- Unwrap the halloumi and pat every surface dry with paper towels, pressing gently. Slice it into even 1 cm thick pieces so they all cook at the same rate and you avoid the tragedy of some pieces burnt while others are still pale.
- Get the pan screaming hot:
- Heat the olive oil in a non stick skillet over medium high heat until it shimmers and you can feel the warmth hovering just above the surface. This is not the moment to rush, a properly heated pan is the difference between a sad pale square and something worth photographing.
- Lay them down and walk away:
- Place each slice in the pan with a little breathing room between them, and resist the urge to poke or move them for at least two full minutes. You are looking for a deep golden crust before you flip, and peeking too early will tear that beautiful layer you are building.
- Flip and finish:
- Carefully turn each piece with a spatula and cook the second side for another two to three minutes until it matches the first. Transfer immediately to a warm plate, squeeze lemon over the top, scatter with parsley and pepper, and serve right away because halloumi waits for no one.
 Pin It
 There was a rainy Sunday when I burned the first batch because I got caught up in a phone call, and my partner ate it anyway with a shrug and said it was still the best thing he had eaten all week. That is the beauty of halloumi, it forgives you more than most ingredients ever will.
What to Serve Alongside It
This cheese plays beautifully with warm pita bread, a smear of hummus, and whatever roasted vegetables you have hanging around the fridge. I have also been known to pile it on top of a simple tomato salad for lunch and call it a complete meal, which it absolutely is.
Fun Variations to Try
A drizzle of honey over the finished pieces sounds weird until you try it and realize that sweet and salty combination is basically irresistible. Chili flakes scattered on top are another small addition that completely changes the personality of the dish without any extra work.
Tools That Make This Easier
A good non stick skillet is genuinely your best friend here, and a thin flexible spatula will give you the confidence to flip without fear of breaking the pieces. Beyond that, keep paper towels nearby for drying and a warm plate ready and waiting. A few small preparations make the whole process feel effortless.
- Set out your serving plate before you start cooking so nothing sits around losing its perfect texture while you hunt for plates.
- Open a window if your kitchen tends to get smoky, because hot halloumi can throw off a surprising amount of fragrant smoke.
- Remember that this recipe doubles easily but do not crowd the pan, cook in batches instead.
 Pin It
 Keep this recipe in your back pocket for those nights when cooking feels like too much but you still want something made with your own hands. Twelve minutes from fridge to plate is a pretty beautiful thing.
Recipe FAQs
- → How do I prevent halloumi from sticking to the pan?
-
Use a good quality non-stick skillet and ensure it's properly heated before adding the cheese. Pat the halloumi dry with paper towels before cooking to remove excess moisture, and don't overcrowd the pan.
- → Can I fry halloumi without oil?
-
Yes, halloumi contains enough natural fat to be fried without oil. However, a small amount of olive oil helps achieve better browning and prevents sticking.
- → What's the best thickness for slicing halloumi?
-
Slice halloumi about 1 cm thick. This allows the exterior to become crispy while the inside remains soft and creamy without melting completely.
- → How do I know when halloumi is done?
-
The halloumi is ready when it has a deep golden-brown crust on both sides, typically after 2-3 minutes per side. It should feel firm to the touch with a slight give.
- → Can I prepare this ahead of time?
-
Halloumi is best served immediately while warm and crispy. However, you can slice the cheese ahead of time and store it in the refrigerator until ready to cook.
