 Pin It
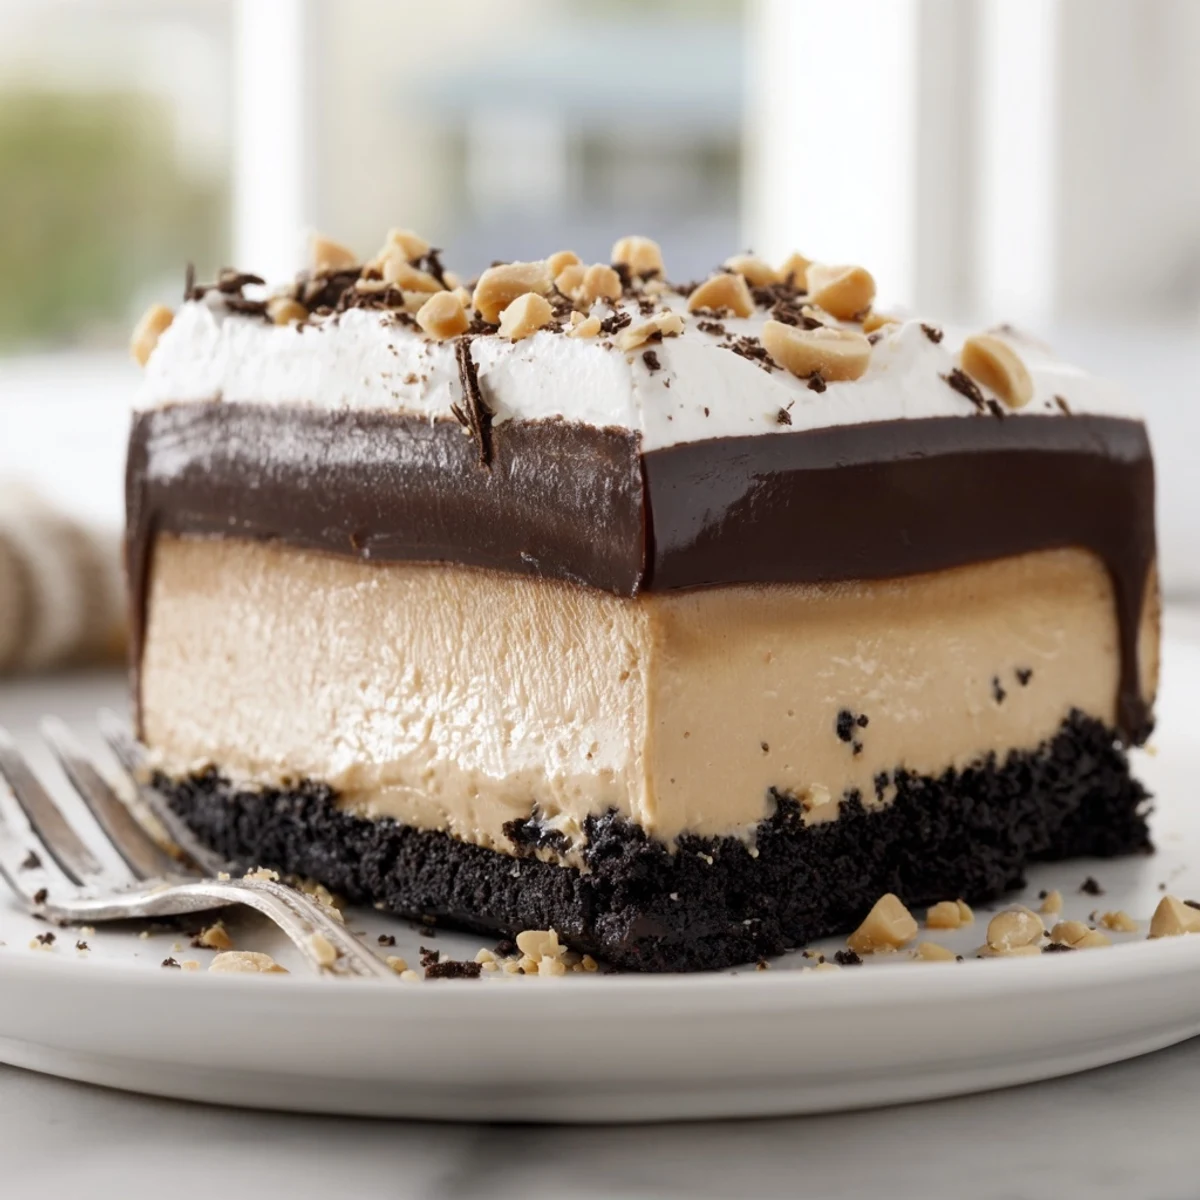
 This no-bake peanut butter layered delight is a dreamy dessert that comes together in just 25 minutes of prep time. A buttery chocolate cookie crust forms the foundation, topped with a luscious cream cheese and peanut butter mousse, followed by a rich chocolate ganache layer.
Finished with billowy whipped topping and a sprinkle of roasted peanuts, each bite delivers the perfect balance of creamy, crunchy, sweet, and salty. Simply assemble, chill for at least 4 hours, and serve well chilled for the best texture and flavor.
The rain was hammering against the kitchen window the afternoon my sister walked in carrying a soggy grocery bag and announced we were making something called a Peanut Butter Layered Delight. I had my doubts, mostly because she once burned soup, but four hours later we were standing over the pan with forks, speechless. That dessert disappeared before dinner even hit the table. Now it shows up at every family gathering without fail.
I brought this to a potluck last summer and watched a quiet coworker go back for thirds before anyone else noticed what was happening. She cornered me by the coffee station and demanded the recipe on the spot. There is something about those creamy, chilled layers that makes people lose their composure in the best way.
Ingredients
- Chocolate sandwich cookies (200 g): Crush them finely for the base because larger chunks leave the crust fragile and crumbly.
- Unsalted butter (60 g), melted: Acts as the glue holding your cookie crust together, so do not skimp on it.
- Cream cheese (250 g), softened: Leave it out for at least thirty minutes because cold cream cheese leaves ugly lumps in your peanut butter layer.
- Creamy peanut butter (180 g): Use the standard commercial kind rather than natural varieties that separate and make the layer greasy.
- Powdered sugar (100 g): Sweetens without graininess, which is exactly what this silky filling needs.
- Whipped topping (150 ml for the filling, 200 ml for topping): Thawed and folded in gently so you do not deflate all that air you just paid for.
- Semisweet chocolate chips (120 g): The ganache layer depends on decent chocolate, so skip the bargain bin here.
- Heavy cream (80 ml): Combined with the chips, this creates a glossy ganache that sets into a fudgy blanket.
- Chopped roasted peanuts (30 g, optional): A salty crunch on top that makes each bite more interesting.
- Chocolate shavings (optional): Pure decoration, but they make people think you went to culinary school.
Instructions
- Build the cookie crust:
- Toss the crushed cookies with melted butter until every crumb glistens and holds together when you squeeze it. Press firmly and evenly into the bottom of your pan, then tuck it into the freezer for fifteen minutes while you work on the filling.
- Whip up the peanut butter layer:
- Beat the softened cream cheese, peanut butter, and powdered sugar until the mixture is completely smooth and no white streaks remain. Fold in the whipped topping with a spatula using gentle strokes, then spread this cloud of filling over your chilled crust.
- Make the chocolate ganache:
- Microwave the chocolate chips and heavy cream together in short twenty second bursts, stirring between each one until you have a smooth, shiny sauce. Let it cool for a few minutes so it does not melt the peanut butter layer beneath it, then pour and spread evenly.
- Chill patiently:
- Cover the pan loosely and slide it into the refrigerator for at least four hours, though overnight is even better if you can stand the wait. This resting time is what turns soft layers into clean, sliceable squares.
- Finish and garnish:
- Spread the remaining whipped topping over the set chocolate layer and scatter chopped peanuts and chocolate shavings across the surface. Use a sharp knife dipped in hot water for the cleanest cuts.
- Serve it cold:
- Slice into squares or wedges and serve straight from the fridge because warmth is the enemy of those beautiful defined layers.
 Pin It
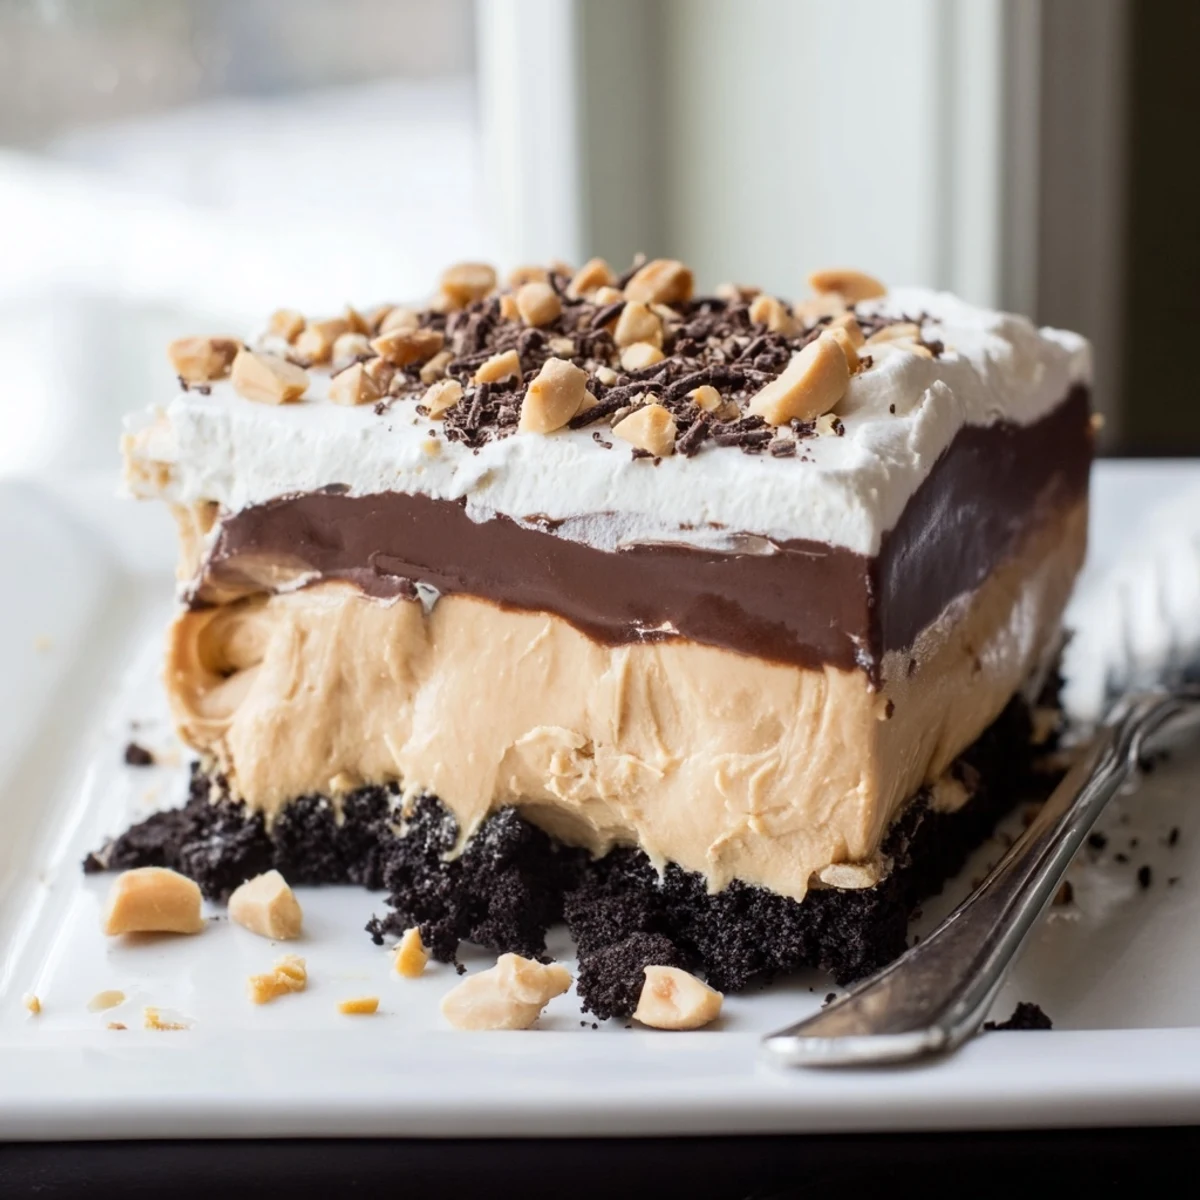
 The first time I made this alone, I cut into it after two hours because patience has never been my strength. The layers collapsed into a delicious but chaotic puddle on the plate. My sister still brings it up every Thanksgiving.
Making It Your Own
Crushed pretzels mixed into the cookie base add a salty snap that balances the sweetness beautifully. Almond butter or cashew butter can replace the peanut butter entirely if you want a different flavor profile. Gluten free cookies work just as well for the crust, so nobody has to miss out.
Serving Suggestions
Cold milk is the obvious companion here, but a glass of tawny port or a coffee liqueur over ice turns this into something unexpectedly sophisticated. I once served tiny squares alongside espresso at a dinner party and guests treated it like a restaurant dessert course.
Getting Ahead and Storing
This dessert is a meal preppers dream because it actually tastes better on day two when the flavors have settled and the layers have fully bonded. Keep it covered in the refrigerator for up to four days, though in my experience it rarely survives past day three.
- Freeze individual slices wrapped tightly in plastic wrap for up to one month.
- Thaw frozen slices in the refrigerator overnight rather than on the counter.
- Always add the whipped topping and garnishes the day you plan to serve for the freshest look.
 Pin It
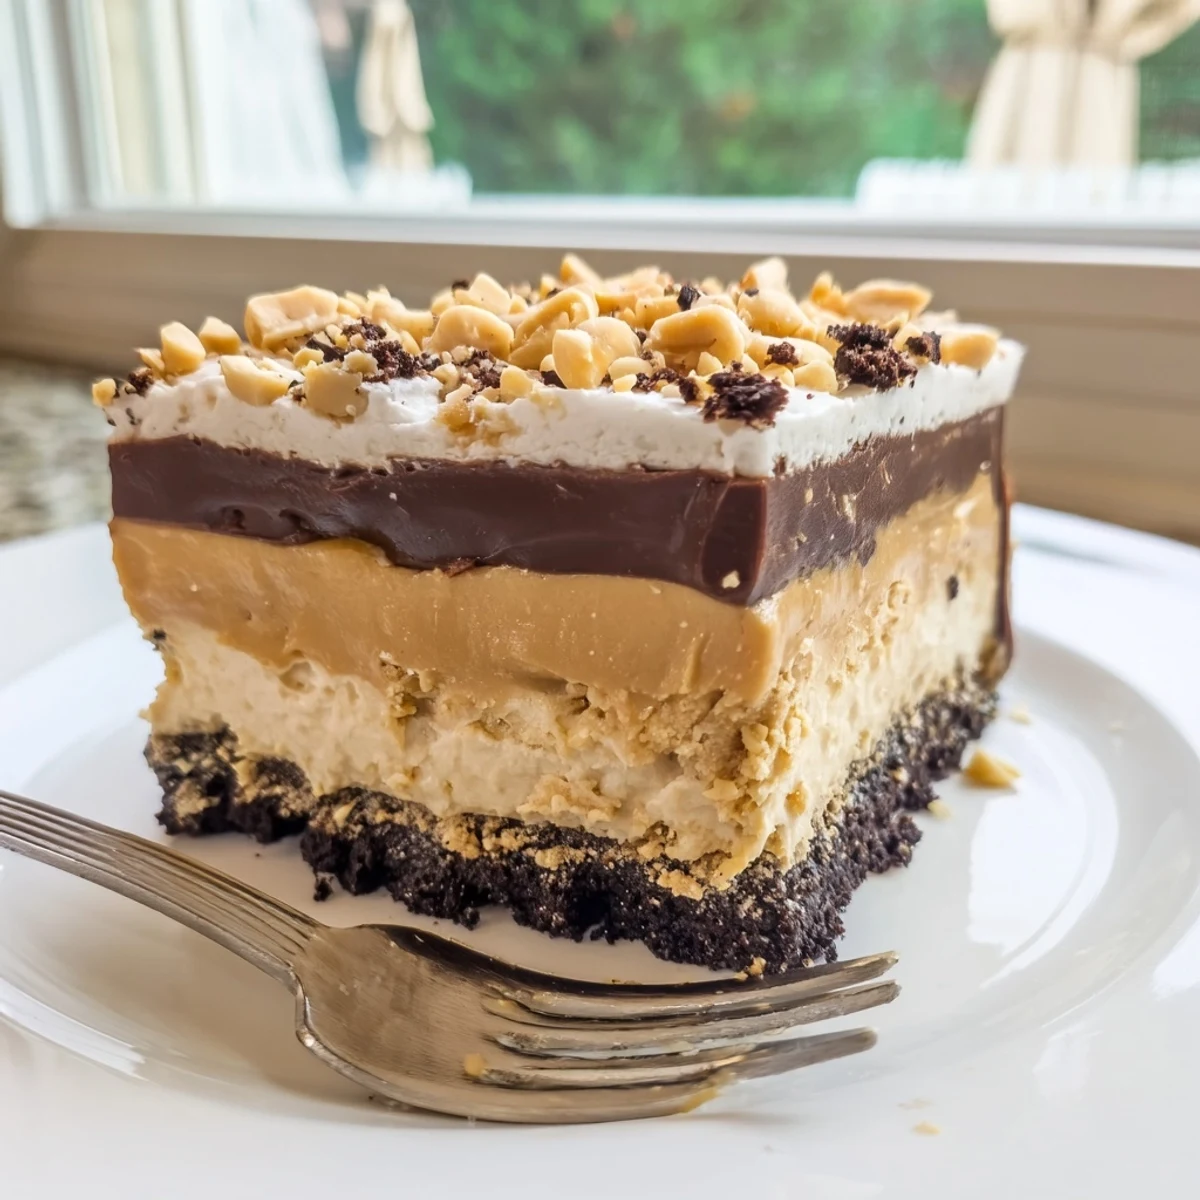
 Some recipes come and go from my rotation, but this layered delight has earned a permanent spot in the dessert folder I pass along to anyone who asks. It is forgiving, impressive, and unapologetically indulgent in the way the best desserts should be.
Recipe FAQs
- → Can I make this dessert ahead of time?
-
Absolutely! In fact, this dessert benefits from being made in advance. You can prepare it up to 24 hours before serving. The layers set beautifully overnight in the refrigerator, making it an excellent choice for parties and gatherings.
- → What can I substitute for whipped topping?
-
You can use an equal amount of freshly whipped heavy cream sweetened with a tablespoon of powdered sugar and a splash of vanilla extract. Stabilize it with a teaspoon of gelatin if you want it to hold up longer in the refrigerator.
- → How do I get clean slices when cutting?
-
For neat slices, use a sharp knife dipped in hot water and wiped dry between each cut. Chilling the dessert for the full 4 hours (or overnight) ensures the layers are firm enough to slice cleanly without smearing.
- → Can I use natural peanut butter instead of creamy?
-
Regular creamy peanut butter works best for a smooth, stable layer. Natural peanut butter tends to separate and can make the filling oily. If you prefer natural peanut butter, make sure to stir it very well and consider refrigerating it briefly before mixing.
- → How should I store leftovers?
-
Cover the pan tightly with plastic wrap or transfer individual slices to an airtight container. Store in the refrigerator for up to 4 days. The cookie base may soften slightly over time, but the flavors will continue to develop beautifully.
- → Is there a gluten-free option for the cookie base?
-
Yes, simply swap the chocolate sandwich cookies for a gluten-free alternative. Many brands offer gluten-free chocolate sandwich cookies that work perfectly. Ensure the melted butter quantity stays the same for the proper crust consistency.
