 Pin It
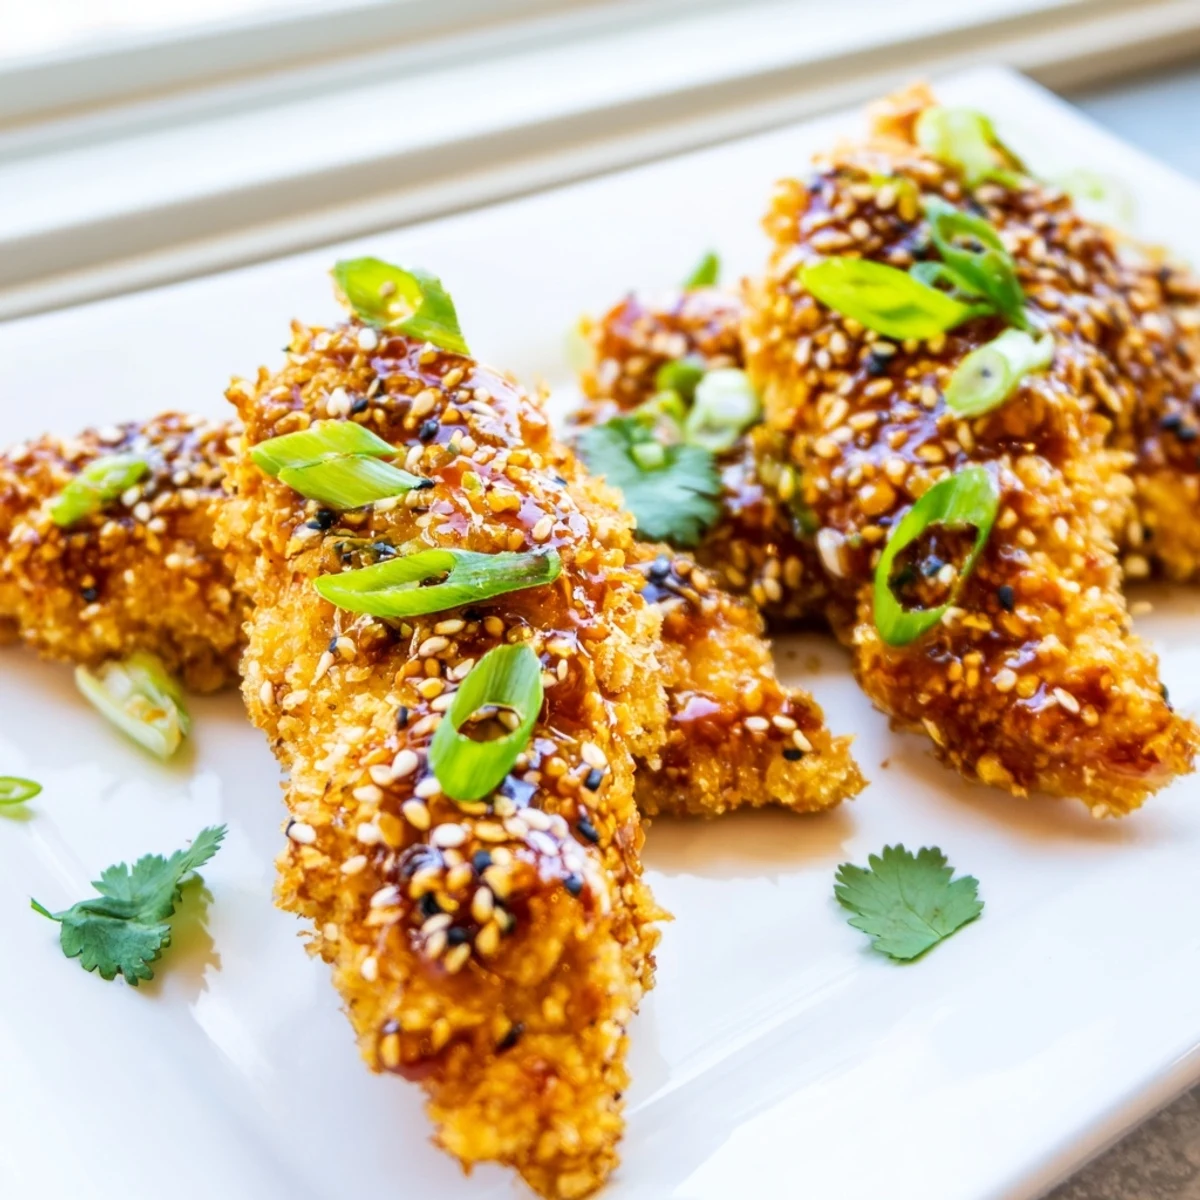
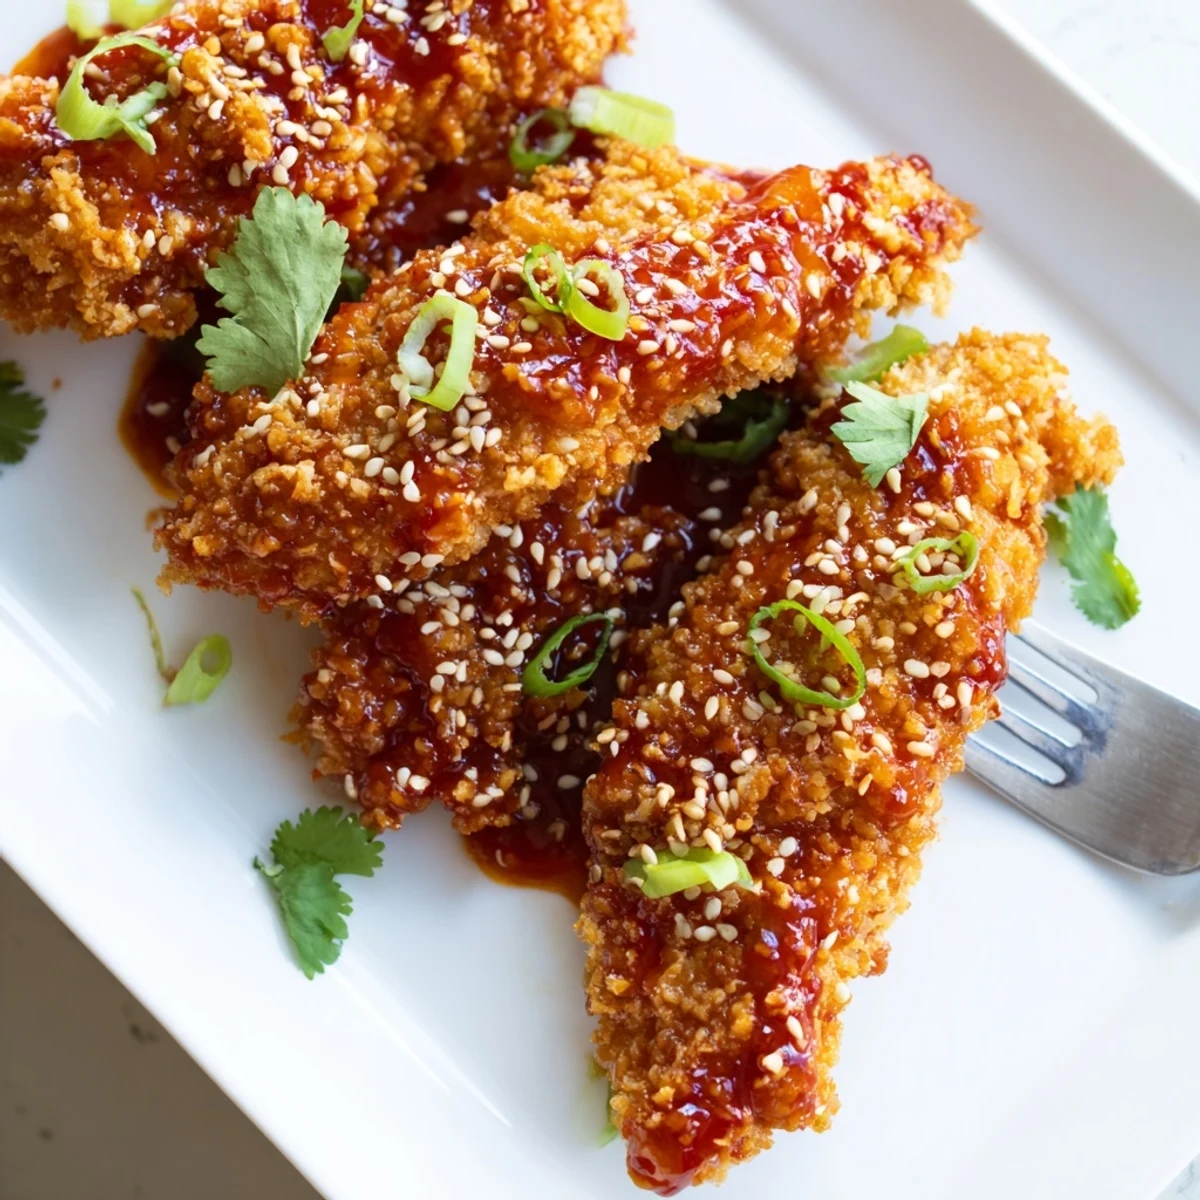
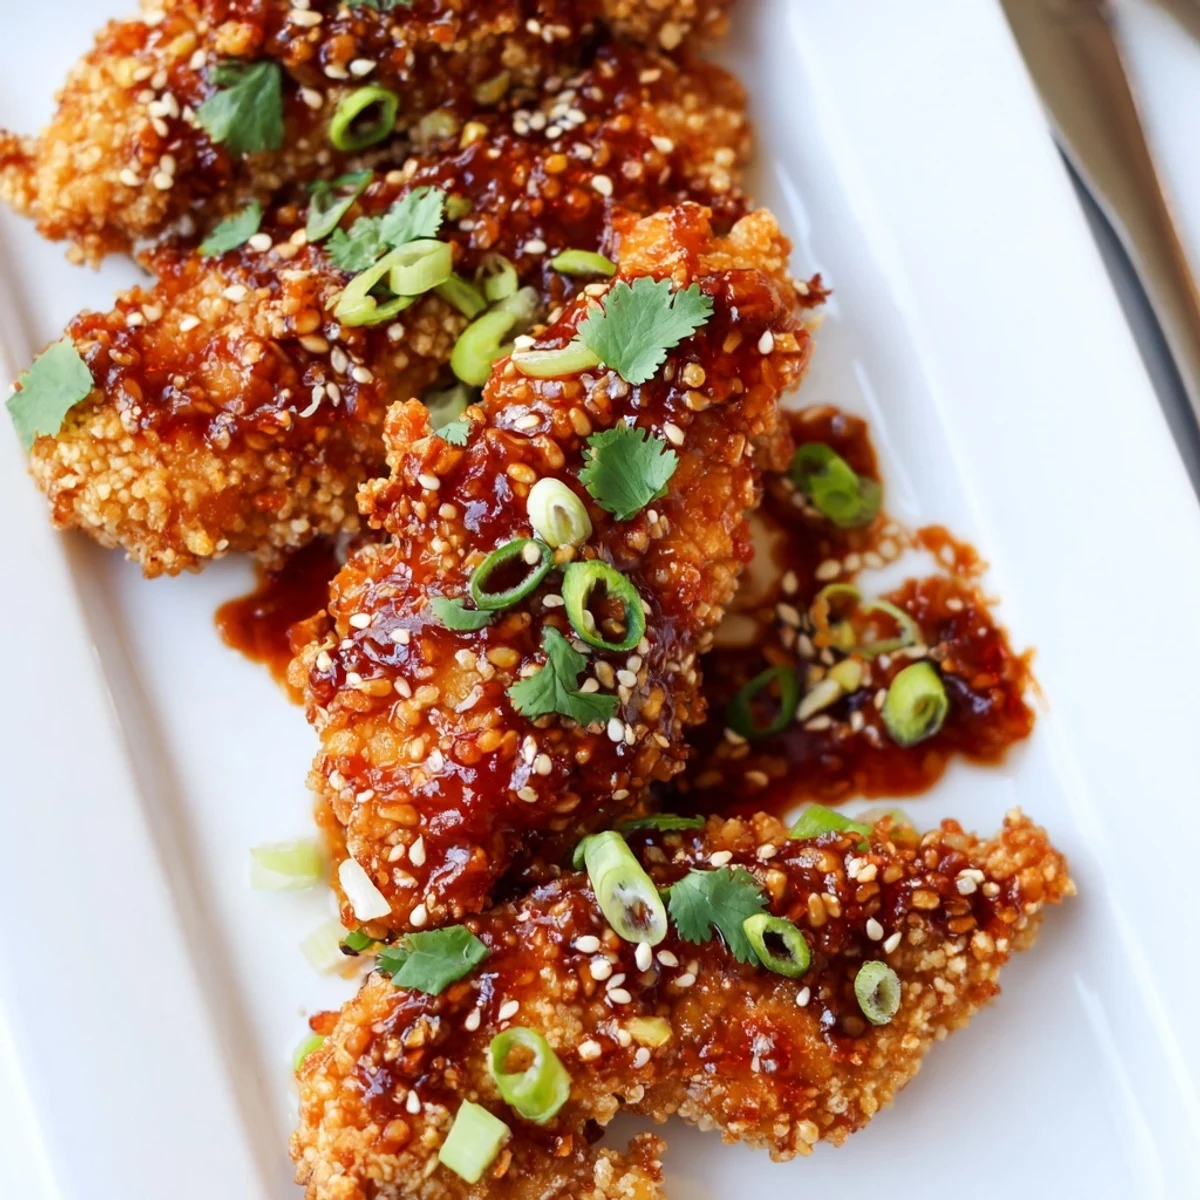
 These crispy chicken fingers feature a golden panko coating and a glossy sweet-spicy glaze inspired by Thai cuisine. The strips are dredged in flour, dipped in egg, and coated with seasoned panko before baking until perfectly crispy. Meanwhile, the sticky sauce combines sweet chili, soy sauce, honey, rice vinegar, and aromatics like garlic and ginger, simmered until thickened. The finished fingers are tossed in the warm sauce and garnished with sesame seeds, spring onions, and fresh cilantro for an impressive presentation.
The first time I made these sticky chicken fingers, my kitchen smelled like a Thai street market at dusk. I had friends coming over for what was supposed to be casual drinks, but when that sauce hit the hot chicken, somehow everyone ended up standing around the baking sheet instead of sitting at the table. They have been requested at every gathering since.
Last summer, my sister dropped by unexpectedly and caught me mid-toss, sauce splattering everywhere. She now texts me two days ahead whenever she visits, just to make sure these are on the menu. Something about that combination of textures and flavors makes people feel taken care of.
Ingredients
- Chicken tenders: Cutting breasts into strips works perfectly, but actual tenders stay more tender during baking
- Panko breadcrumbs: Japanese breadcrumbs create that delicate shattering crunch that regular crumbs cannot achieve
- Garlic powder: Blooming in the oven, this adds depth that fresh garlic would lose at high heat
- Sweet chili sauce: This Thai pantry staple does most of the heavy lifting for the glazes flavor base
- Honey and rice vinegar: Together they balance the salty soy and create that restaurant-quality sheen
- Fresh ginger: Grating it releases oils that powdered ginger can never match
Instructions
- Get everything ready:
- Preheat your oven to 220°C (425°F) and line a baking tray with parchment paper for easy cleanup later
- Season the chicken:
- Sprinkle salt and pepper over the chicken strips, letting them sit while you set up the coating station
- Set up three shallow bowls:
- Fill one with flour, one with beaten eggs, and one with panko mixed with garlic powder and smoked paprika
- Coat each strip:
- Dredge chicken in flour, dip thoroughly in egg, then press into the panko mixture until fully coated
- Arrange and oil:
- Place the coated strips on the prepared tray and lightly spray or brush with oil for even browning
- Bake until golden:
- Bake for 20–25 minutes, flipping halfway through, until the coating is deeply golden and chicken is cooked through
- Make the sticky sauce:
- While chicken bakes, combine sweet chili sauce, soy sauce, honey, rice vinegar, sesame oil, sriracha, garlic, and ginger in a small saucepan
- Simmer to thicken:
- Bring the sauce to a simmer over medium heat, stirring constantly for 2–3 minutes until slightly thickened
- Toss and coat:
- Transfer cooked chicken to a large bowl, pour the warm sauce over, and gently toss until every piece is glazed
- Garnish generously:
- Top with toasted sesame seeds, fresh spring onions, and cilantro before serving while still hot
 Pin It
 My roommate used to hover by the oven, watching through the glass door as the coating turned golden. Now she claims she can smell when the sauce hits the chicken from two rooms away. These finger foods have a way of becoming part of peoples rituals.
Making Ahead
You can bread the chicken strips up to four hours ahead and keep them refrigerated on the prepared tray. Bake them just before guests arrive, and keep the sauce warm in the saucepan over the lowest heat setting.
Serving Ideas
I like to serve these with jasmine rice that has been fluffed with a fork and scattered with extra scallions. Fresh vegetable sticks, especially cucumber and carrot, provide a cooling contrast to the sticky sweetness.
Crispier Results
For extra crunch, skip the final toss and instead brush the sauce onto the baked chicken pieces, then broil for two minutes. The sauce caramelizes against the heat while the panko stays shatteringly crisp underneath.
- Space the strips at least an inch apart on the baking sheet
- Let the tray sit in the hot oven for an extra minute after turning it off
- Serve immediately rather than keeping them warm in the oven
 Pin It
 These disappear faster than you expect, so consider doubling the batch if you are feeding more than four people.
Recipe FAQs
- → Can I make these chicken fingers ahead of time?
-
Prepare the breaded chicken strips up to 24 hours in advance and store them refrigerated. Bake just before serving, then toss with the warm sauce for best results. The sauce can also be made ahead and reheated gently.
- → What can I substitute for panko breadcrumbs?
-
Regular breadcrumbs work, though they'll be less crispy. For a gluten-free option, use crushed cornflakes or almond flour mixed with some shredded coconut for texture.
- → Is the sauce very spicy?
-
The sauce has mild to moderate heat from the sweet chili sauce and optional sriracha. Adjust the spice level by adding more or less sriracha, or omit it entirely for a milder version.
- → Can I air fry these instead of baking?
-
Yes, cook in the air fryer at 200°C (400°F) for 12-15 minutes, shaking halfway through. Lightly spray with oil for extra crispiness, then toss with the sauce when done.
- → What sides pair well with these chicken fingers?
-
They're excellent with jasmine rice, steamed vegetables, or fresh cucumber salad. For dipping, serve with extra sweet chili sauce, peanut sauce, or a cooling yogurt dip.
- → How do I store leftovers?
-
Store sauced chicken in an airtight container in the refrigerator for up to 3 days. Reheat in the oven at 180°C (350°F) for 10 minutes to restore crispiness. The microwave will make them soggy.
