 Pin It
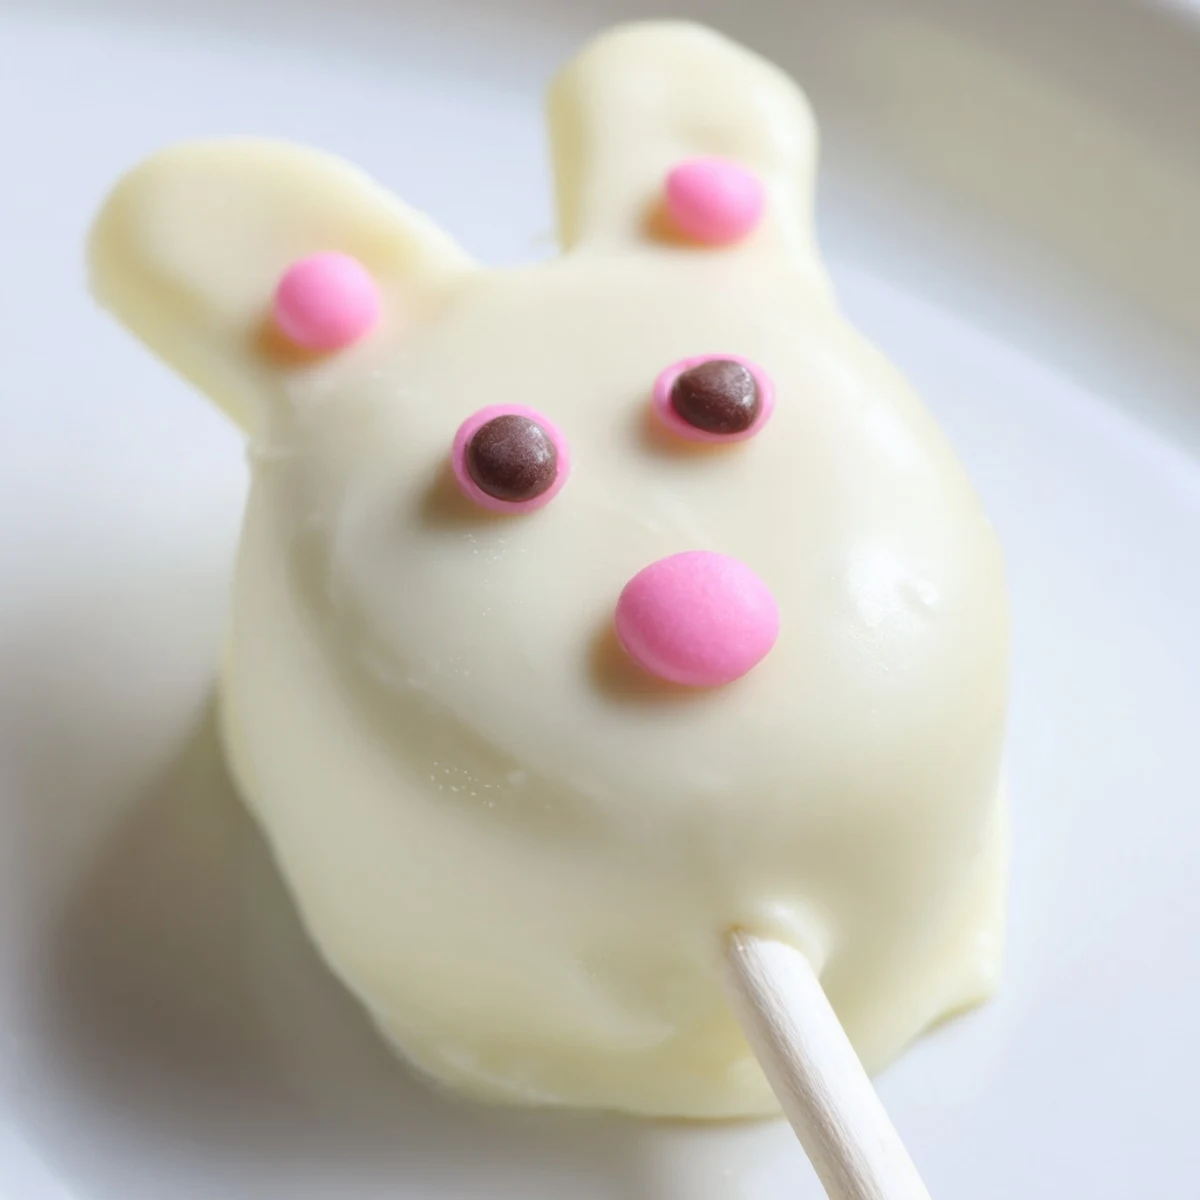
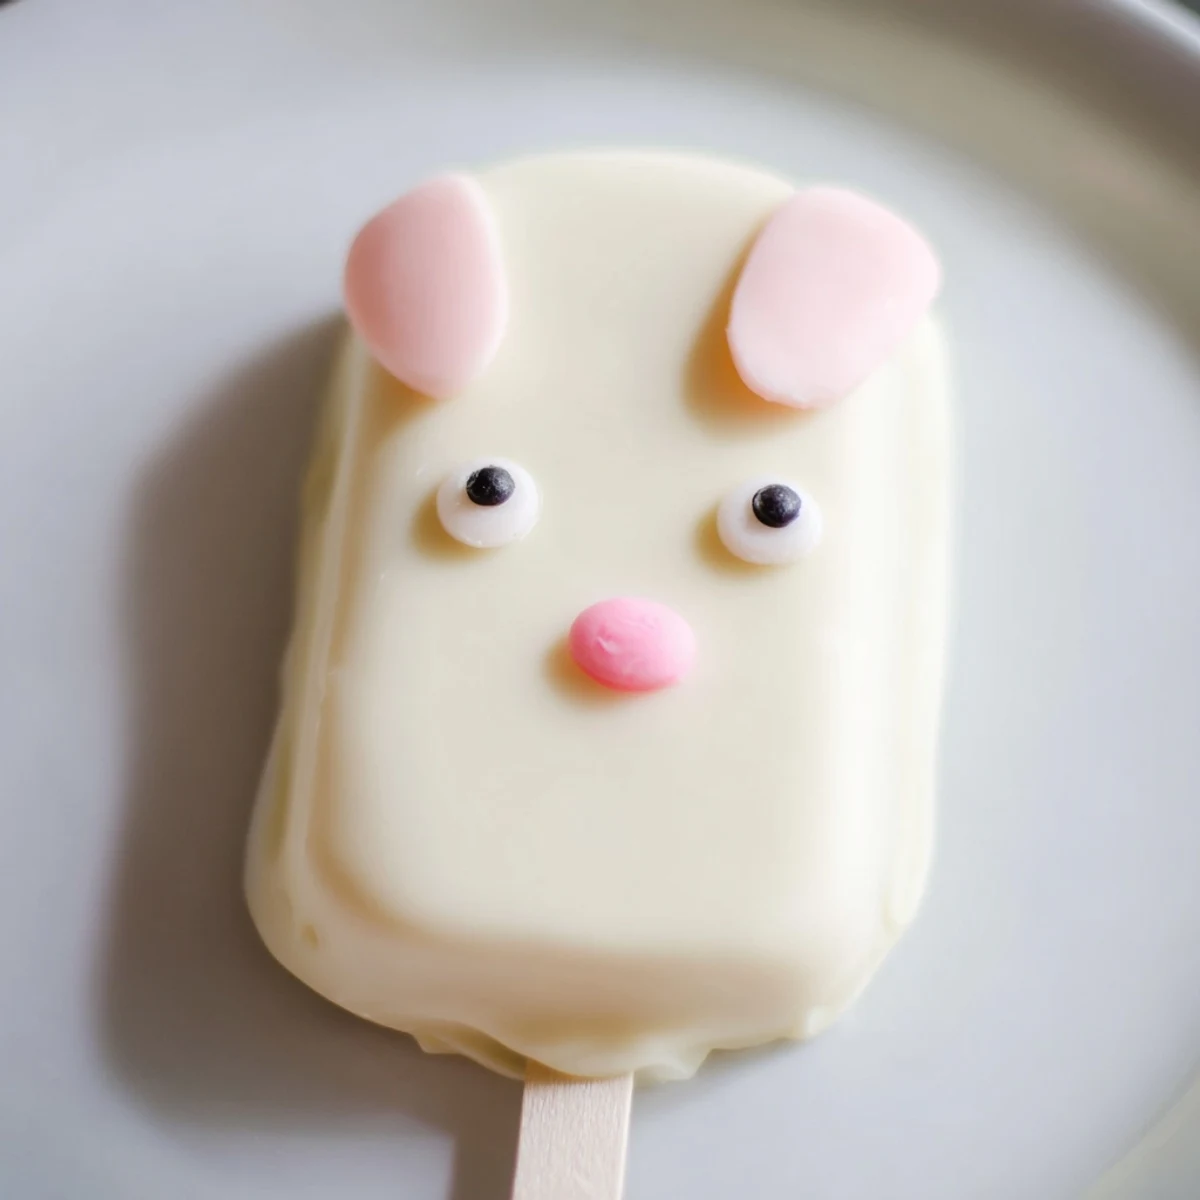
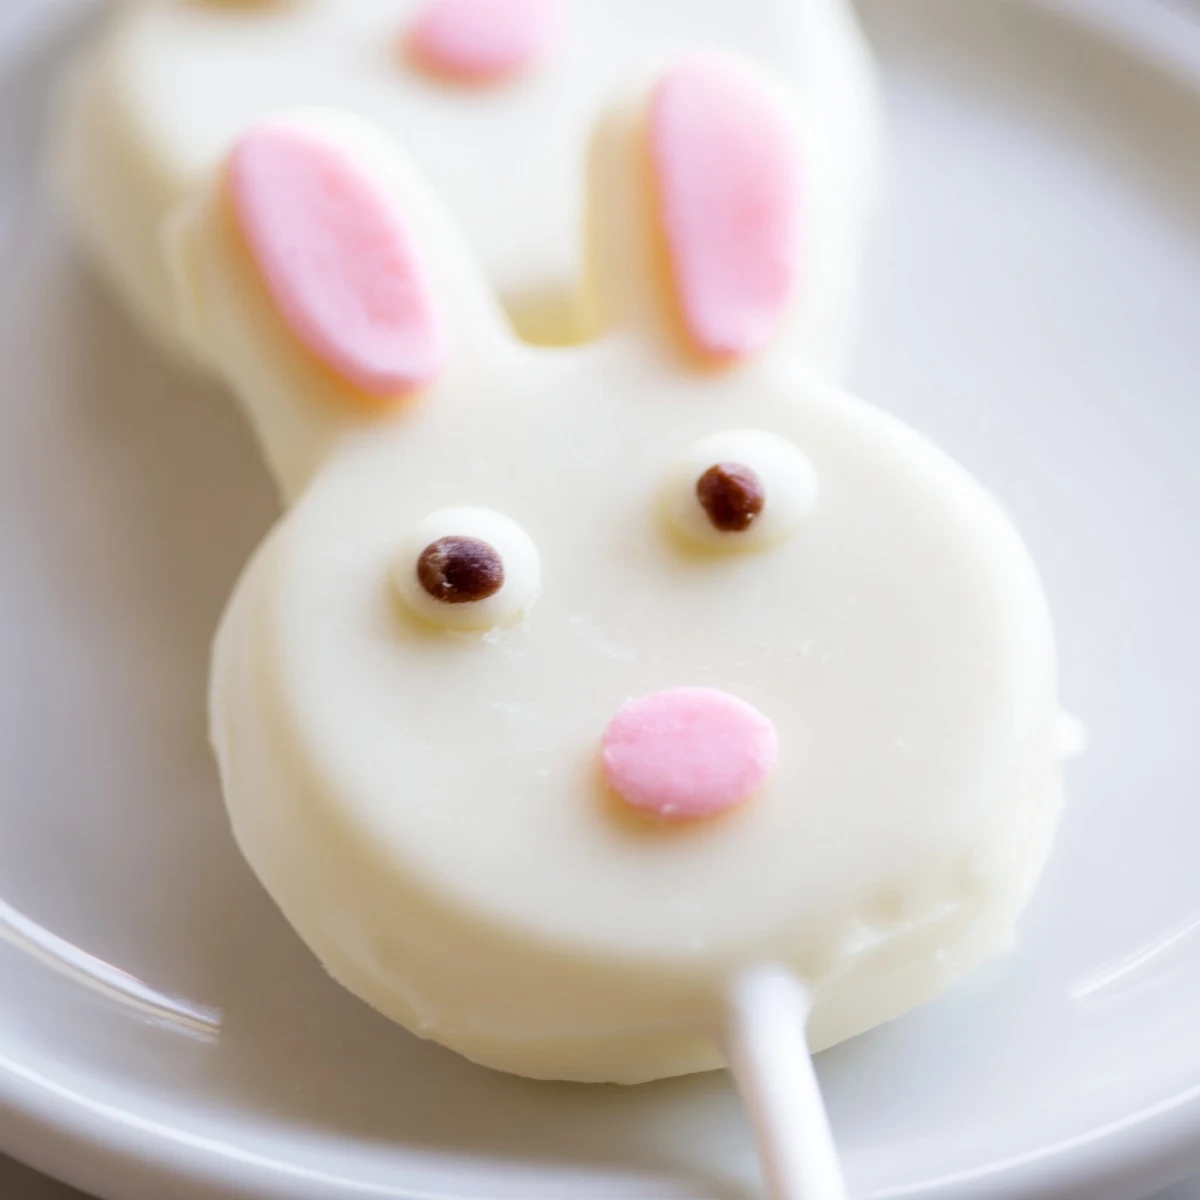
 These adorable bunny-shaped treats combine moist vanilla cake with a rich white chocolate coating, creating the perfect festive dessert for your Easter celebration. Ready in just one hour, these handheld delights feature a creamy cake truffle center made with cream cheese, butter, and vanilla, all enrobed in smooth white chocolate. Decorate with candy eyes, sprinkles, or fondant ears to customize your bunny faces. The mixture yields 8 cakesicles, making them ideal for sharing at spring gatherings, children's parties, or as a fun weekend cooking activity. Store in the refrigerator for up to three days, though their charming appearance usually means they disappear much faster!
My daughter and I stumbled onto these treats during a rainy Sunday when regular cake pops felt too ordinary. Something about transforming them into bunnies made the whole kitchen feel brighter and more alive.
Last Easter, my niece spent three hours carefully crafting each bunny face with different expressions. The kitchen table became a production line of giggles, sticky fingers, and serious artistic debates.
Ingredients
- Vanilla cake crumbs: Use freshly baked cake that has cooled completely or high quality store bought cake for the best texture
- Cream cheese: Room temperature cream cheese binds everything together without making the mixture too soft
- Unsalted butter: Softened butter helps create that perfect dough like consistency that holds its shape
- Powdered sugar: Just enough sweetness to balance the tangy cream cheese while helping the mixture firm up
- Vanilla extract: Pure vanilla extract amplifies the cake flavor and adds warmth to every bite
- White chocolate: High quality white chocolate melts smoothly and creates that gorgeous snowy coating
- Edible gel food coloring: Gel coloring works better than liquid for painting details without seizing the chocolate
- Cakesicle sticks: Insert these before chilling to ensure they stay securely in place
- Sprinkles and decorations: Have fun with candy eyes, fondant ears, and colorful sprinkles to bring each bunny to life
Instructions
- Mix the cake mixture:
- Combine cake crumbs, cream cheese, butter, powdered sugar, and vanilla in a medium bowl until everything comes together into a soft dough that holds its shape when squeezed.
- Shape the bunnies:
- Divide mixture into 8 equal portions and gently form each into a flattened oval with rounded edges resembling a bunny face.
- Add the sticks:
- Carefully insert a cakesicle stick into the bottom of each shape, pressing gently so the cake mixture wraps around the stick for security.
- Chill until firm:
- Refrigerate the shaped bunnies for 20 to 30 minutes until they are firm to the touch, which helps them hold their shape during dipping.
- Melt the chocolate:
- Heat white chocolate in 30 second intervals in the microwave, stirring between each burst until completely smooth and glossy.
- Dip the cakesicles:
- Hold each stick and dip the bunny into the melted chocolate, swirling gently to coat completely then tap lightly against the bowl edge to remove excess.
- Add decorations:
- While the chocolate is still soft, immediately add candy eyes, sprinkle noses, or press fondant ears into place before the coating sets.
- Set and serve:
- Let the cakesicles stand at room temperature until the coating is firm, about 15 to 20 minutes, or chill briefly to speed things up.
 Pin It
 These became an instant tradition after my neighbor asked for the recipe before even finishing her first one. Now every spring request comes weeks in advance.
Getting The Perfect Consistency
The cake mixture should feel like playdough, holding together when squeezed but not sticky or greasy. If it crumbles, add another teaspoon of softened cream cheese. If it feels too wet, blend in another tablespoon of cake crumbs.
Mastering The Chocolate Coating
White chocolate can be tricky because it seizes easily from even a drop of water. Make sure all your bowls and utensils are completely dry before melting. If the chocolate becomes too thick for dipping, stir in one teaspoon of vegetable oil to smooth it out again.
Decoration Ideas That Work
Beyond the classic bunny face, try using pink sprinkles for ears, mini chocolate chips for eyes, or heart shaped confetti for noses. Some bakers pipe royal icing whiskers or create flower crowns from tiny candy dots.
- Keep decorations light and small so they do not make the cakesicles top heavy
- Work on one cakesicle at a time after dipping so the chocolate stays tacky
- Set finished cakesicles upright in a glass filled with uncooked rice to dry evenly
 Pin It
 Watch how quickly these disappear at your next gathering. They bring out the kid in everyone.
Recipe FAQs
- → How long do these treats stay fresh?
-
Store in an airtight container in the refrigerator for up to 3 days. Bring to room temperature 10-15 minutes before serving for the best texture and flavor.
- → Can I make these ahead of time?
-
Absolutely! Prepare the cake mixture and shape the bunnies up to 24 hours in advance. Keep refrigerated, then dip in chocolate and decorate when ready to serve.
- → What other cake flavors work well?
-
Chocolate cake creates a classic contrast with white chocolate coating. Lemon, red velvet, or funfetti cake also add delicious variety and colorful appeal.
- → Do I need a special mold?
-
No! While molds help with uniform shapes, you can hand-form the bunny faces into flattened ovals. The stick insertion method works perfectly for free-form shaping.
- → How do I prevent the coating from cracking?
-
Ensure the cake centers are thoroughly chilled before dipping. Let excess chocolate drip off gently, and avoid rapid temperature changes by allowing them to set at room temperature.
- → Can I freeze these treats?
-
Yes! Freeze undecorated, chocolate-coated cakesicles for up to 1 month. Thaw in the refrigerator overnight, then add fresh decorations before serving.
