 Pin It
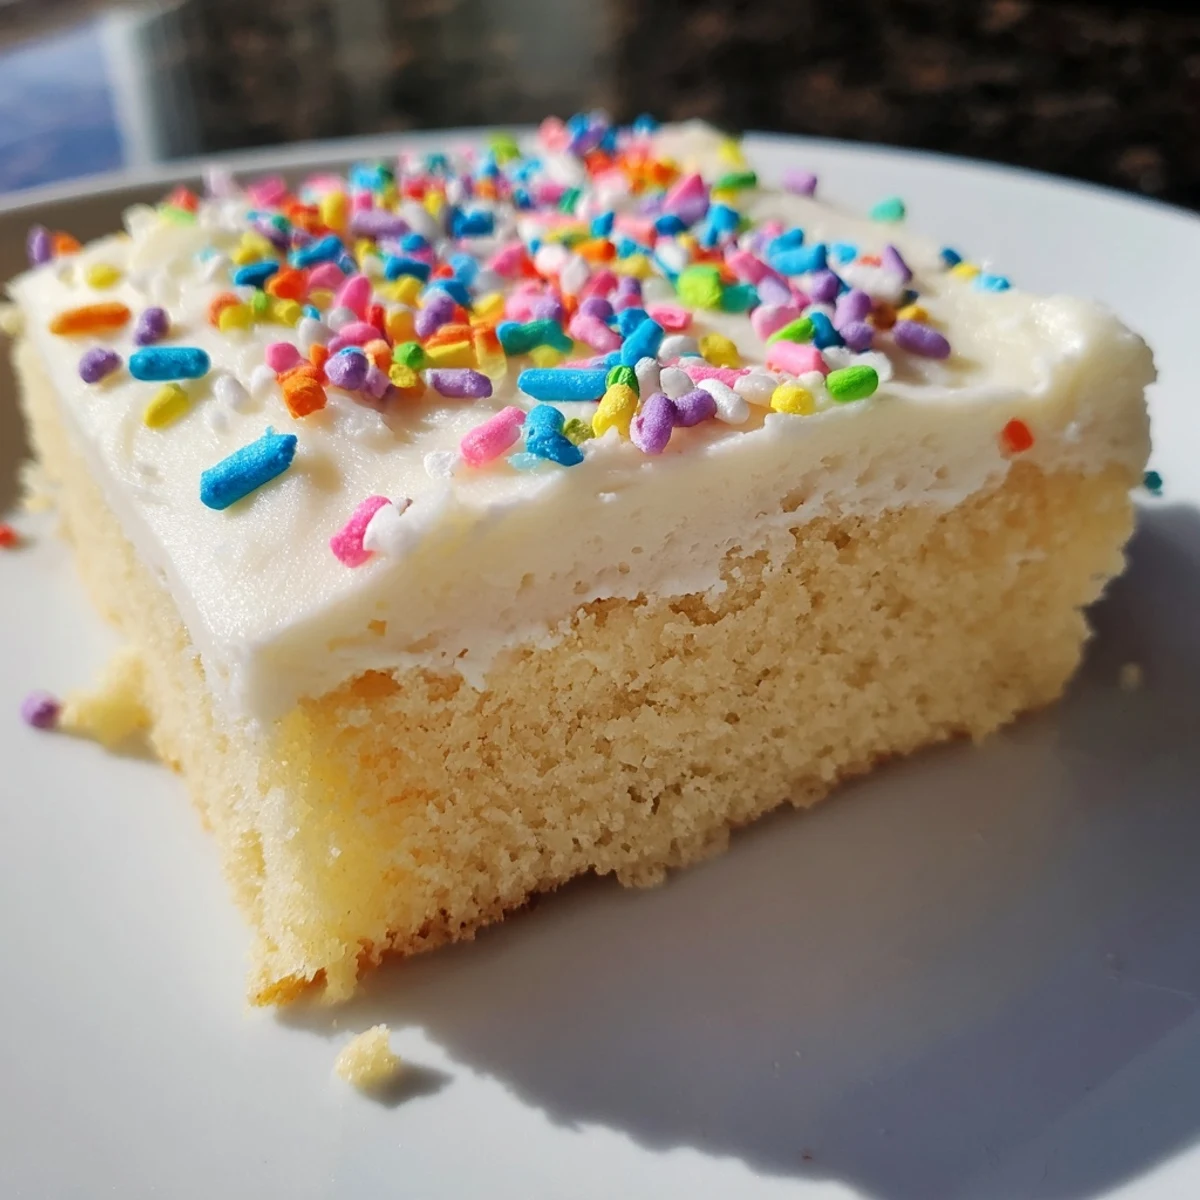
 These soft, buttery sugar cookie bars feature a tender vanilla base spread with sweet, creamy frosting. The dough comes together quickly with basic pantry ingredients, then bakes into a golden bar that holds its shape beautifully. The frosting is luscious and spreadable, perfect for adding colorful sprinkles for festive occasions.
The bars stay fresh for days at room temperature, making them ideal for make-ahead treats or sharing at gatherings. Try lemon or almond extract in the dough for a simple flavor twist that transforms this classic into something special.
My youngest sister called me at 9pm last Tuesday, practically in tears because she'd promised to bring treats for her office potluck the next morning and had zero baking experience. These sugar cookie bars were my immediate suggestion—no rolling pin required, no cookie cutters to fumble with, and nearly impossible to mess up. She texted me a photo of her empty pan two hours later with three thumbs up emojis. Sometimes the simplest solutions really are the best ones.
I first discovered sugar cookie bars at a neighborhood block party years ago, when my friend Sarah brought them instead of her usual elaborate decorated cookies. Everyone kept asking for her secret technique, and she just laughed and pointed to the 9x13 pan. Now they're my go-to whenever I need to feed a crowd but don't want to spend hours hovering over the oven. The best part? People think you put in way more effort than you actually did.
Ingredients
- Unsalted butter softened: Room temperature butter incorporates air better, creating that tender melt-in-your-mouth texture
- Granulated sugar: Sweetens and helps create crisp edges while keeping centers soft
- Large egg: Binds everything together and adds richness
- Pure vanilla extract: Don't skimp here—real vanilla makes all the difference in flavor
- All-purpose flour: The structure builder for these bars
- Baking powder: Gives just enough lift without making them cakey
- Salt: Balances sweetness and enhances overall flavor
- Butter for frosting: Creates that creamy luscious texture we all love
- Powdered sugar sifted: Sifting prevents lumps and ensures silky smooth frosting
- Whole milk: Adjusts consistency to your preference
- Food coloring optional: Fun for holidays but completely unnecessary
- Sprinkles optional: Because everything is better with sprinkles
Instructions
- Preheat your oven to 350°F and line a 9x13 pan:
- Parchment paper with overhang is your best friend here—it makes lifting the whole batch out ridiculously easy later.
- Cream the butter and sugar:
- Beat them together until the mixture looks pale and fluffy, usually about 2-3 minutes of serious mixing.
- Add the egg and vanilla:
- Beat until everything is thoroughly combined and the mixture looks smooth again.
- Whisk your dry ingredients:
- In a separate bowl, combine the flour, baking powder, and salt so they're evenly distributed.
- Combine wet and dry mixtures:
- Gradually add the flour mixture to your butter mixture, mixing only until you no longer see streaks of flour.
- Press dough into the prepared pan:
- Use your hands or a spatula to press the dough evenly into the pan—the dough will be thick and slightly sticky.
- Bake until lightly golden:
- 18-22 minutes is usually perfect, but watch for those edges turning just the faintest golden color.
- Let them cool completely:
- This is crucial—warm bars will melt your frosting into a sad puddle.
- Make the frosting:
- Beat butter until creamy, then gradually add powdered sugar, milk, vanilla, and salt until fluffy.
- Frost and slice:
- Spread the frosting evenly, add sprinkles if you're feeling festive, then lift out the whole batch and cut into squares.
 Pin It
 Last Christmas, I made three batches of these bars for our family gathering—classic vanilla, peppermint with red frosting, and lemon with yellow frosting. My aunt actually asked if I'd spent all day decorating them, not realizing each batch took me under ten minutes to prep. That's the beautiful secret of these bars—they look impressive but require zero special skills.
Getting The Perfect Texture
The difference between good and great sugar cookie bars comes down to baking time. I've learned that pulling them out when the center still looks slightly soft yields the most tender, melt-in-your-mouth results. They continue cooking on the hot pan, so trust the process and resist the urge to bake them longer.
Frosting Like A Pro
Room temperature bars are non-negotiable before frosting. I learned this the hard way when I tried frosting a warm batch and ended up with streaky, melting disaster. If you're in a hurry, pop the cooled pan in the fridge for 15 minutes—the cold surface helps the frosting spread smoothly and evenly.
Make Them Your Own
These bars are incredibly forgiving and adaptable. Once you've mastered the classic version, try swapping vanilla extract for almond or lemon, or folding sprinkles directly into the batter for confetti-style bars. The base recipe is sturdy enough to handle all sorts of experimentation.
- Try cream cheese frosting for a tangy twist
- Add mini chocolate chips to the dough for extra texture
- These freeze beautifully unfrosted for up to two months
 Pin It
 Whether you're a baking novice or a seasoned pro, these sugar cookie bars deliver maximum happiness with minimum effort. That's the kind of recipe worth keeping in your back pocket.
Recipe FAQs
- → Can I make sugar cookie bars ahead of time?
-
Yes, you can bake the bars up to 2 days in advance. Store them unfrosted in an airtight container, then frost and slice when ready to serve. Frosted bars keep well for 3 days at room temperature.
- → Why did my bars turn out hard?
-
Overbaking is the most common cause. Remove the bars when edges are lightly golden and the center is set—they'll continue cooking slightly as they cool. Also avoid overmixing the dough, which can create a tough texture.
- → Can I freeze these cookie bars?
-
Absolutely! Freeze unfrosted bars for up to 3 months, wrapped tightly in plastic and foil. Thaw overnight at room temperature before frosting. You can also freeze frosted bars, though the texture may be slightly less perfect.
- → What size pan works best for this recipe?
-
A 9x13-inch pan creates the ideal thickness—about 1 inch tall after baking. Using a smaller pan will make thicker bars requiring longer baking time, while larger pans yield thinner bars that may overbake.
- → How do I know when the bars are done baking?
-
The edges should be lightly golden, and the center should feel set when gently pressed. A toothpick inserted in the center should come out mostly clean with just a few moist crumbs. Start checking at 18 minutes.
- → Can I use salted butter instead?
-
Yes, simply reduce the added salt in both the cookie dough and frosting by half. The bars will still turn out delicious, though using unsalted butter gives you more control over the final seasoning.
