 Pin It
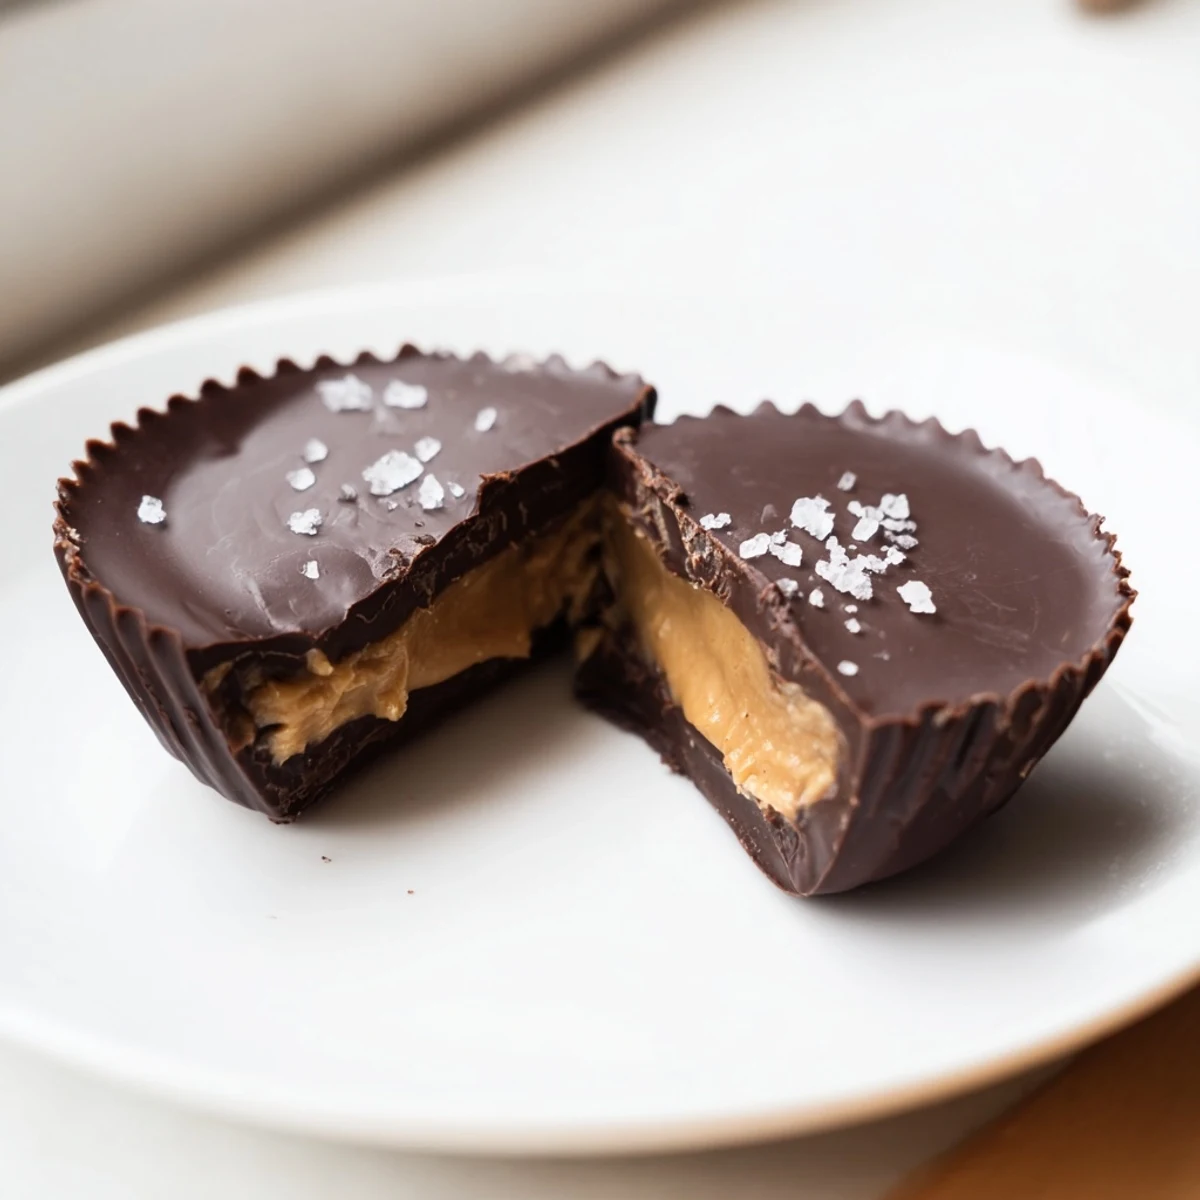
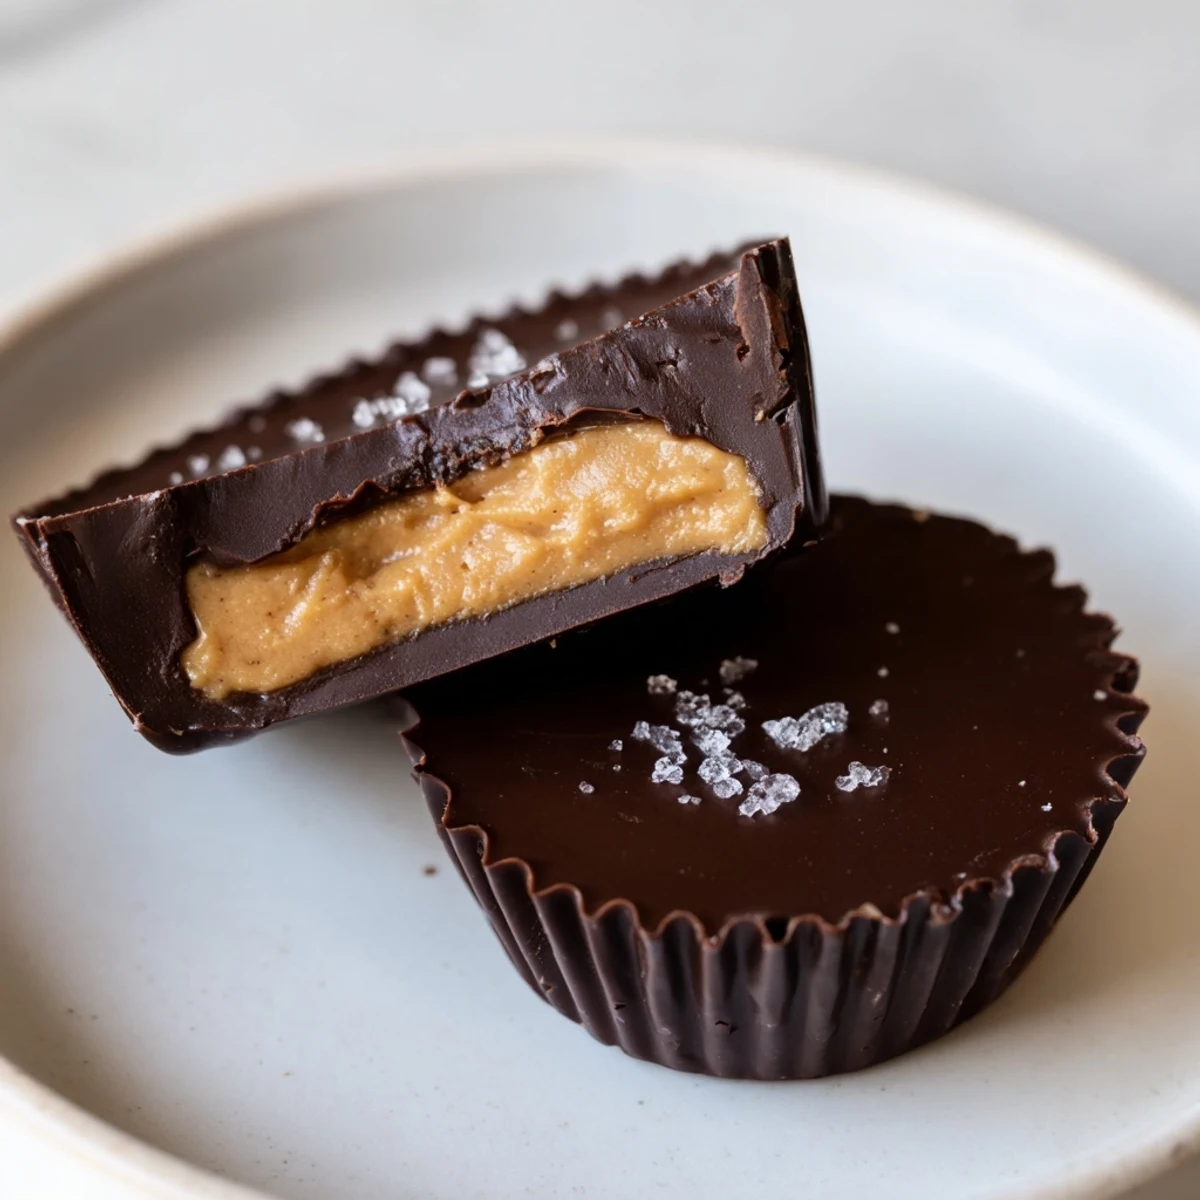
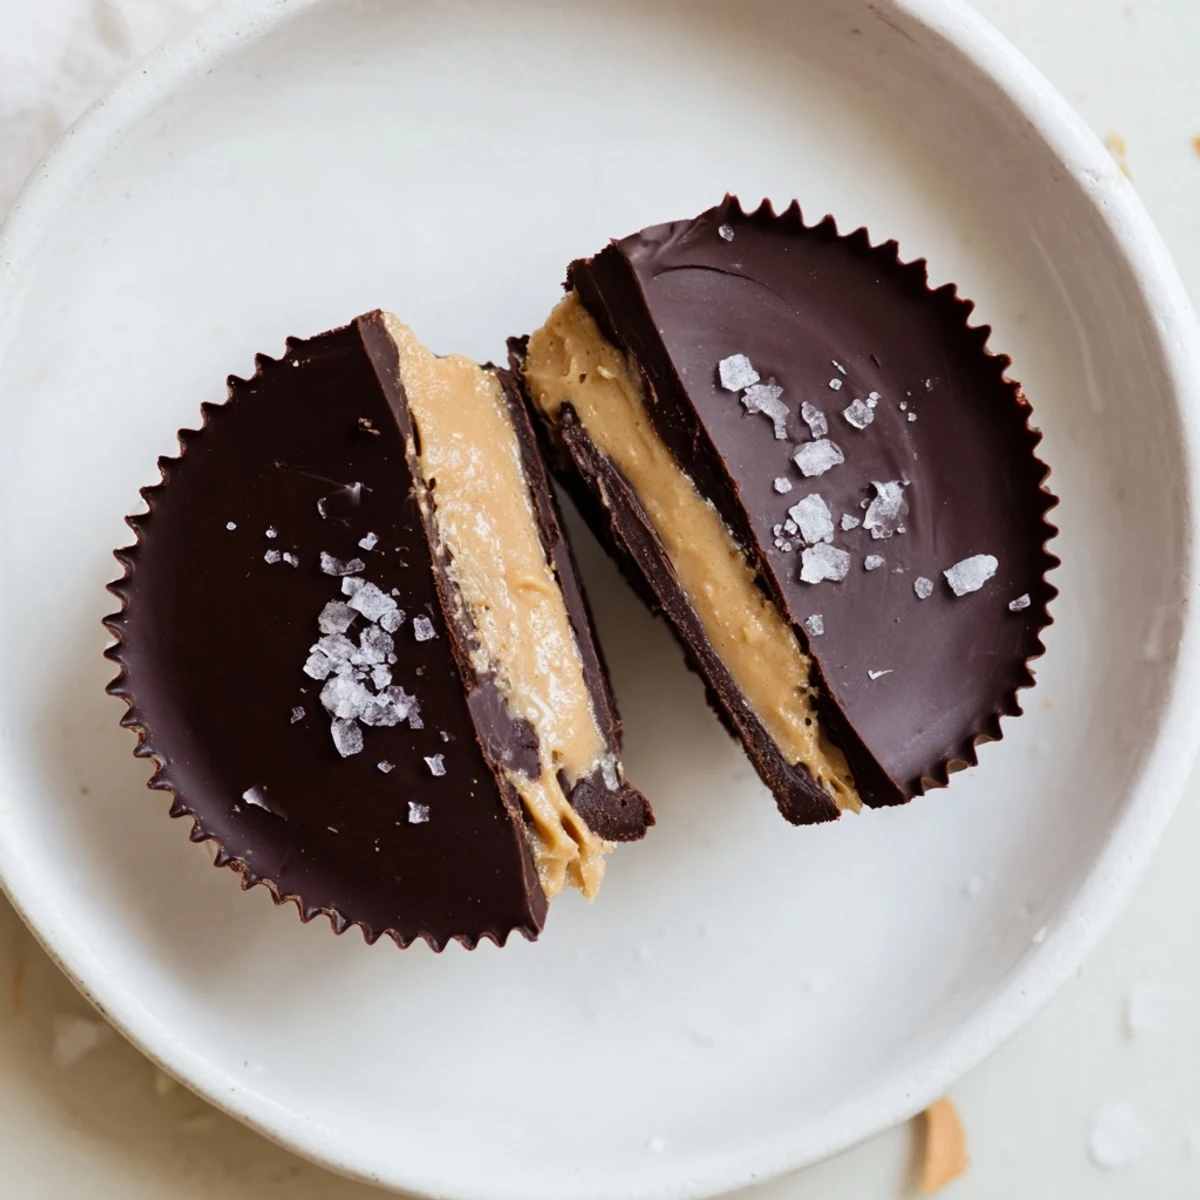
 Experience the perfect harmony between creamy peanut butter and smooth dark chocolate in this effortlessly delicious dessert. Using a simple layering technique, melted chocolate forms a crisp base and top that encase a rich peanut butter filling. Chilling creates a firm texture ideal for bite-sized indulgence, while options like flaky sea salt or crunchy peanut butter add depth. This no-fuss preparation fits easily into any kitchen routine, resulting in a classic treat that's both satisfying and elegant.
The first time I made these, I stood at the counter eating three in a row while my husband asked if they were even set yet. The way the chocolate cracks when you bite through to that silky peanut butter center—it's the kind of treat that makes you forget you were planning to share them.
I made these for my friend Sarah's birthday instead of a cake, and she texted me three days later asking if I'd accidentally left her the recipe because she couldn't stop thinking about them. Sometimes the simplest desserts become the most requested ones.
Ingredients
- 225 g dark or semi-sweet chocolate: Go for the good stuff here since chocolate is the star, and chop it yourself for the smoothest melt
- 120 g creamy peanut butter: Natural peanut butter works great, just give it a really good stir first
- 30 g unsalted butter, melted: Helps the filling set up perfectly while keeping it creamy
- 30 g powdered sugar: Just enough to sweeten without making the filling too stiff
- 1/2 tsp vanilla extract: Pure vanilla makes all the difference in that nostalgic peanut butter flavor
- Pinch of salt: Essential for balancing the sweetness and making that chocolate sing
Instructions
- Prepare your pan:
- Line a mini muffin tin with paper liners—12 is perfect for this batch size
- Melt the chocolate:
- Use a double boiler or microwave in 30-second bursts, stirring until completely smooth and glossy
- Create the chocolate base:
- Spoon about 1 teaspoon into each liner, then tap the tin on the counter until it spreads evenly
- Set the first layer:
- Freeze for 10 minutes until firm to the touch—you want it solid before adding filling
- Mix the peanut butter filling:
- Whisk together peanut butter, melted butter, powdered sugar, vanilla, and salt until smooth
- Add the filling:
- Drop rounded teaspoons onto each chocolate base, pressing gently but leaving space around the edges
- Seal with chocolate:
- Spoon remaining chocolate over each cup, tap again to smooth, and chill for at least 30 minutes
 Pin It
 My nephew helped me make these last Christmas, and I've never seen someone concentrate so intensely on dropping peanut butter filling into chocolate cups. He called it his 'special job' and now asks every time he visits if we're making 'the good ones.'
Making Them Your Way
Swap in crunchy peanut butter for texture, or use milk chocolate if you prefer a sweeter treat. You can also add a tiny pinch of sea salt on top before chilling—it transforms into this sophisticated salted chocolate situation that feels fancy.
Storage Secrets
These actually get better after a day or two in the fridge as the flavors meld. Keep them in an airtight container and they'll last two weeks, though I've never seen them last that long in my house.
Serving Ideas
They're perfect alongside coffee after dinner or wrapped up as homemade gifts. I once packed them in little treat boxes with wax paper between layers for teacher appreciation gifts and got thank you notes for weeks.
- Try using white chocolate for half the batch to make them extra festive
- For holidays, add crushed candy canes or sprinkles on top
- Room temperature is ideal for serving—the filling gets perfectly soft
 Pin It
 These are the kind of treats that make people think you spent way more time and effort than you actually did.
Recipe FAQs
- → What type of chocolate works best for this treat?
-
Dark or semi-sweet chocolate provides a perfect balance of richness and sweetness, complementing the peanut butter filling well.
- → Can I make the peanut butter filling smoother?
-
Yes, mixing peanut butter with melted butter, powdered sugar, vanilla, and a pinch of salt creates a creamy, smooth texture.
- → How do I prevent the chocolate from melting while working?
-
Chill the chocolate base in the freezer before adding filling and again after assembling to maintain firm layers.
- → Are there alternatives for liners in the muffin tin?
-
Paper liners are recommended for easy removal; silicone molds can also be used but may affect the final texture slightly.
- → How long can these chocolate cups be stored?
-
Stored in an airtight container in the fridge, they remain fresh for up to two weeks, preserving taste and texture.
