 Pin It
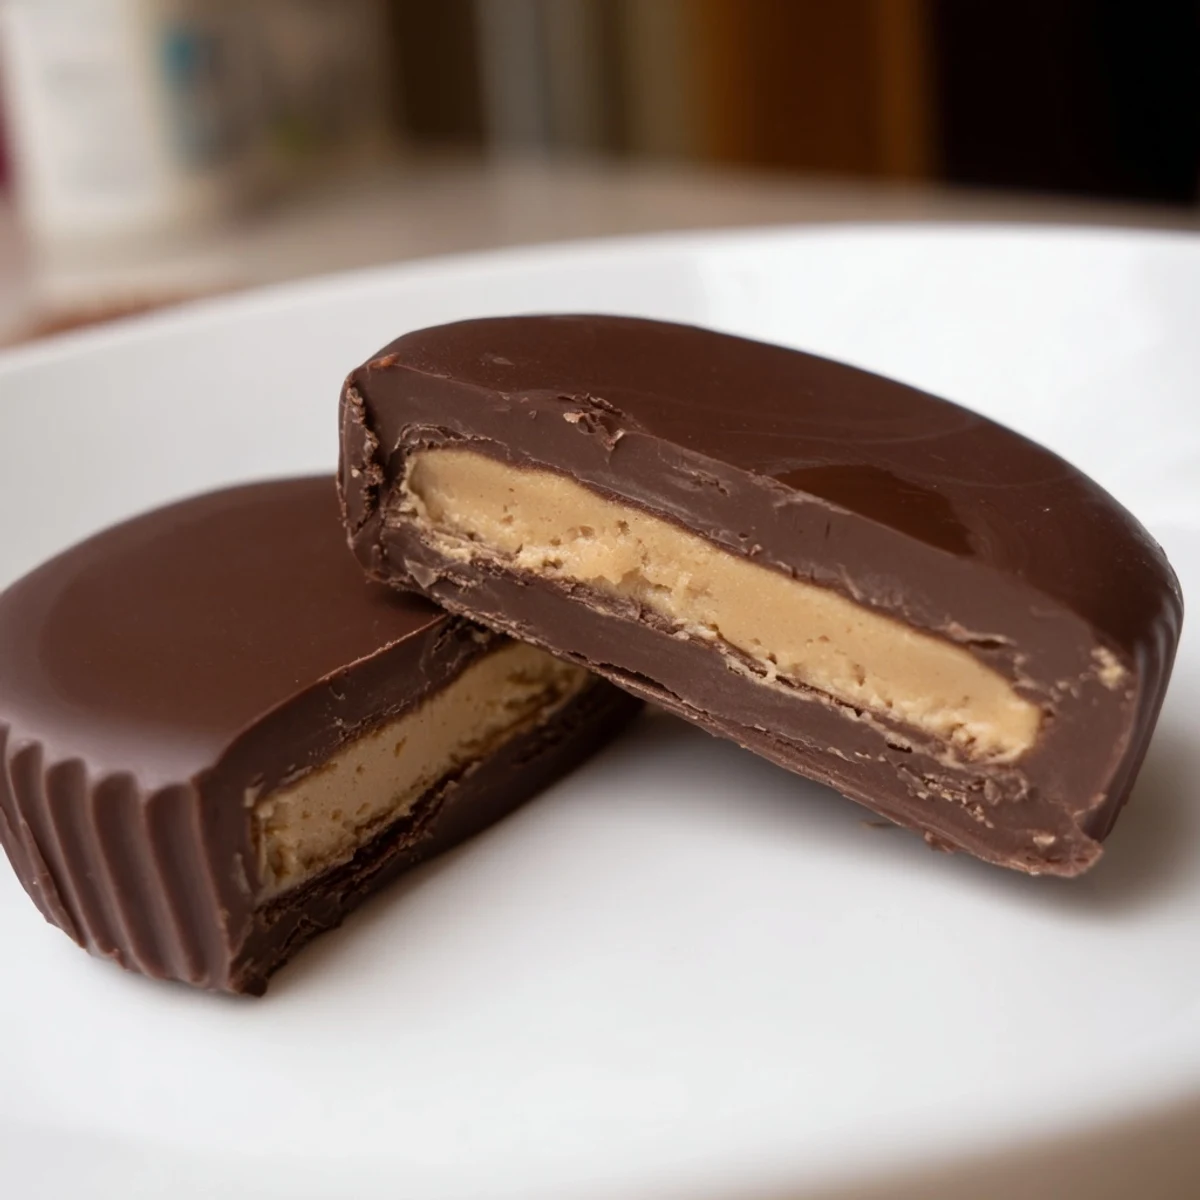
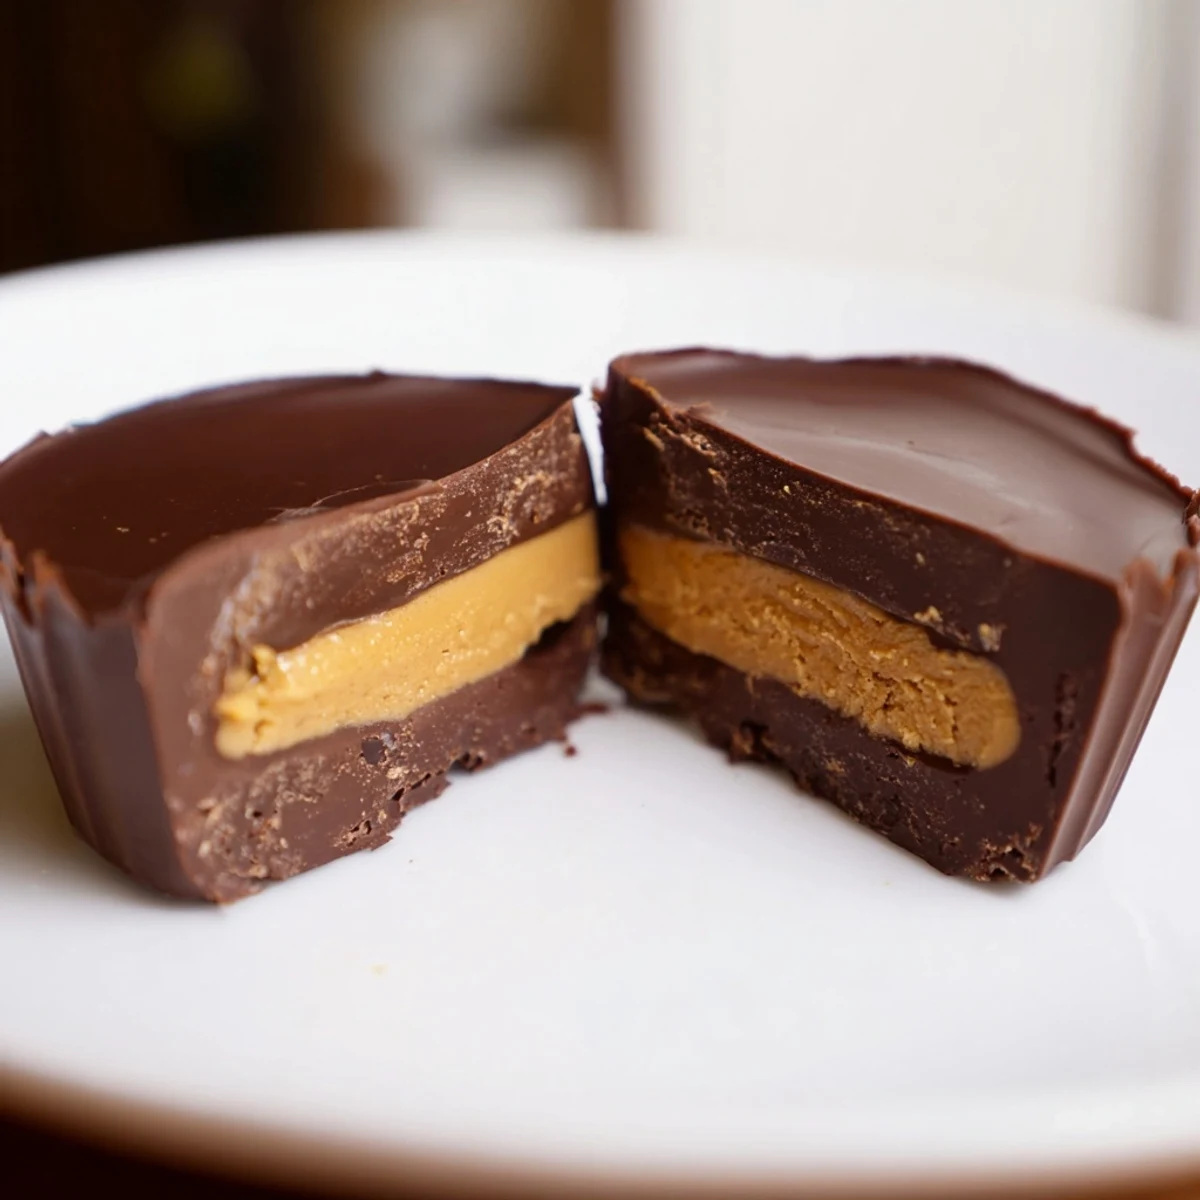
 These cups combine creamy peanut butter filling with a velvety chocolate shell, offering a rich and satisfying snack. The process involves melting chocolate, preparing a smooth peanut butter mix, then assembling layers to chill until firm. Optional coconut oil creates a silky texture, while sea salt enhances flavor depth. Perfect for easy, gluten-free indulgence or gifting.
The first time I made these, I ate three before they even fully set and had to hide the rest in the back of the refrigerator to save them for guests. Something about that combination of salty peanut butter and sweet chocolate hits a primal pleasure center I didn't know I had. Now I double the batch just to survive my own testing phase.
My sister called me at midnight once, breathless about a midnight craving, and I talked her through the recipe over the phone. She made them in her pajamas with a fork and a coffee mug because she didn't have the right equipment. That's how forgiving this recipe really is.
Ingredients
- Chocolate chips (semi-sweet or milk): The quality here matters since chocolate is the star, so grab whatever brand you'd eat straight from the bag
- Coconut oil: This secret weapon makes the chocolate set firmer and gives it a gorgeous snap when you bite through
- Creamy peanut butter: Room temperature peanut butter mixes more smoothly into the filling
- Unsalted butter, melted: Adds that velvety richness that separates homemade from store-bought
- Powdered sugar: Essential for the right texture and sweetness balance in the filling
- Fine sea salt: Omit this only if your peanut butter is already salted, otherwise it's the magic that makes everything pop
Instructions
- Prepare your mold:
- Line a mini muffin tin with paper liners, giving yourself twelve little vessels for chocolate magic.
- Melt the chocolate:
- Combine chocolate chips and coconut oil in a heatproof bowl, microwaving in 30-second bursts while stirring between each interval until everything turns into glossy liquid silk.
- Create the chocolate base:
- Spoon roughly one teaspoon of melted chocolate into each liner, then tilt and swirl to coat the bottom evenly before freezing the entire tin for 10 minutes until set.
- Whisk the filling:
- Mix peanut butter, melted butter, powdered sugar, and salt in a bowl until completely smooth and no sugar pockets remain.
- Layer the peanut butter:
- Once the chocolate bases are firm, drop a heaping teaspoon of peanut butter mixture into each cup and gently flatten while leaving a tiny chocolate border around the edges.
- Seal with chocolate:
- Cover each cup with another teaspoon or so of melted chocolate, smoothing the tops completely to encase the filling.
- Chill until set:
- Refrigerate for at least 30 minutes until completely firm, then remove from liners and store in an airtight container.
 Pin It
 I brought these to a dinner party once and the host literally followed me to my car to ask for the recipe. Now she makes them for every birthday, holiday, and random Tuesday.
Choosing Your Chocolate
Semi-sweet gives that classic candy store flavor while milk chocolate creates something creamier and more nostalgic. I've used dark chocolate too, which creates this sophisticated bitter-sweet situation that adults absolutely lose their minds over.
Texture Experiments
Sometimes I press a single pretzel stick into the center before the final chocolate layer, creating this hidden salty crunch that surprises everyone. Chopped peanuts or crushed graham crackers work the same way if you're feeling adventurous.
Storage Secrets
These keep beautifully in the refrigerator for two weeks, though they've never lasted that long in my house. The freezer extends that to three months if you wrap them well.
- Place wax paper between layers if you stack them
- Let them sit at room temperature for five minutes before serving
- The chocolate develops a slight sheen after overnight chilling
 Pin It
 There's something deeply satisfying about pulling that final paper liner away and seeing your perfect homemade candy revealed. Enjoy every single bite.
Recipe FAQs
- → How do I achieve a smooth chocolate coating?
-
Melting chocolate chips slowly in short bursts while stirring helps prevent burning and creates a glossy finish. Adding a bit of coconut oil can enhance smoothness and shine.
- → Can I use crunchy peanut butter instead of creamy?
-
Yes, crunchy peanut butter adds texture and a nutty crunch that complements the silky chocolate exterior nicely.
- → What is the best way to set these cups quickly?
-
Placing assembled cups in the refrigerator or freezer chills them efficiently, setting both peanut butter and chocolate layers firmly.
- → Is it possible to make these dairy-free?
-
Substitute dairy butter with plant-based alternatives and choose dairy-free chocolate to create a vegan-friendly version without sacrificing flavor.
- → How can flaky sea salt enhance the flavor?
-
Sprinkling a small amount of flaky sea salt on top before chilling balances sweetness and intensifies chocolate and peanut butter notes.
- → How should these treats be stored to maintain freshness?
-
Store in an airtight container in the refrigerator to preserve texture and prevent melting, keeping them fresh for several days.
