 Pin It
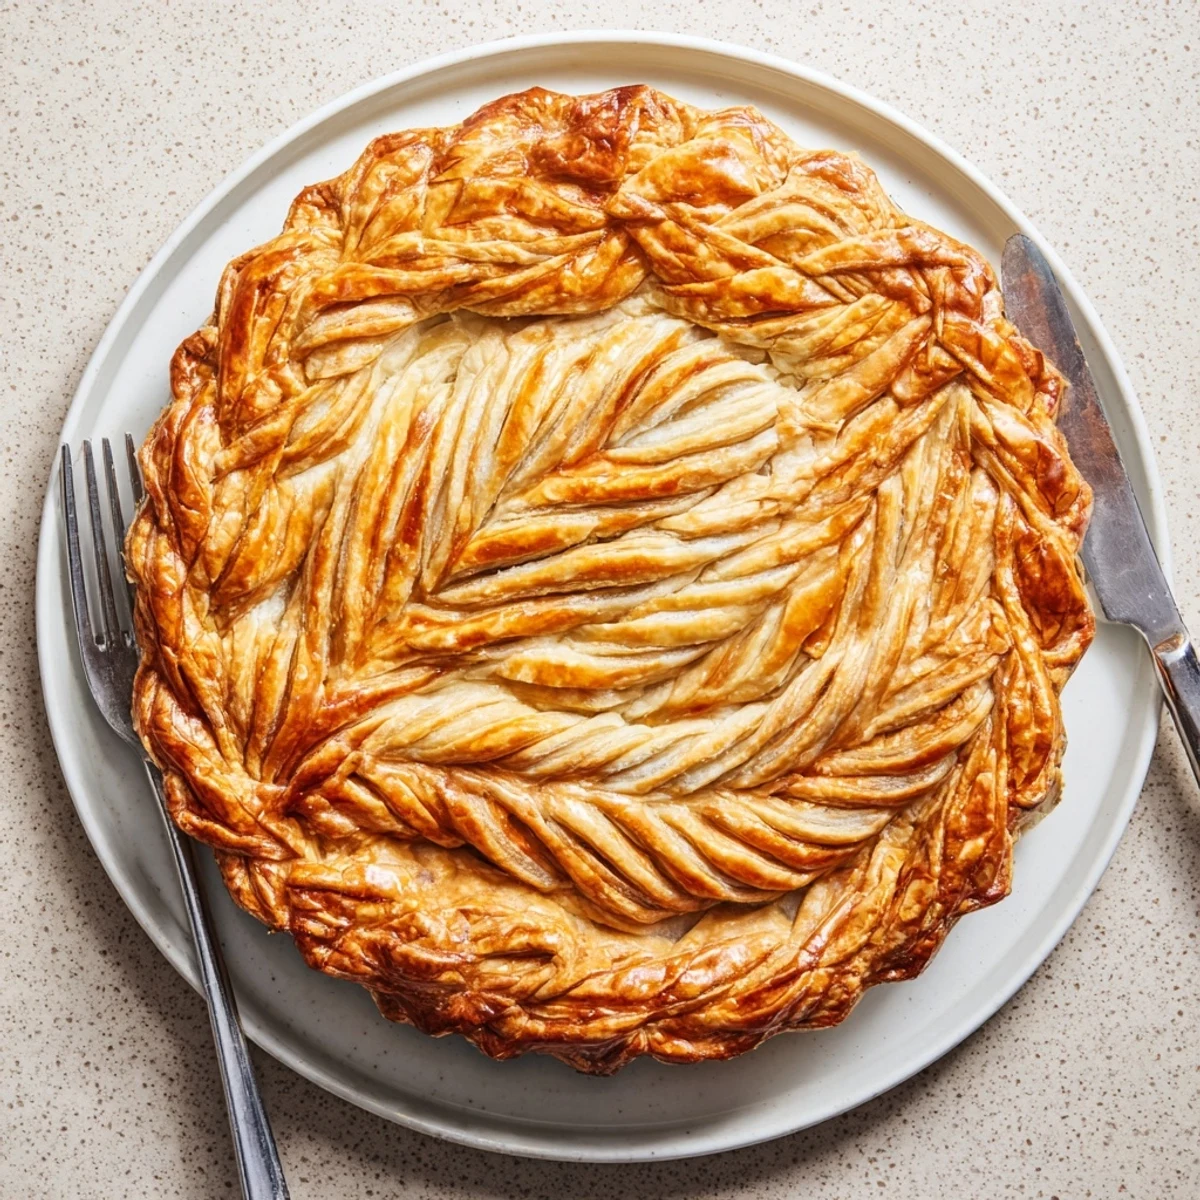
 This decorative fishtail braid technique transforms ordinary pie crusts into stunning centerpiece-worthy creations. The method involves rolling dough into thin strips, weaving them using a fishtail braiding pattern, and attaching the braid around the pie rim for an elegant finish.
Perfect for both sweet fruit pies and savory quiches, this braided edge works with any standard pie crust recipe. The key is keeping dough chilled throughout the process and cutting even strips for consistent weaving. Total hands-on time runs about 35 minutes, with the actual braiding taking just 10-15 minutes once you master the pattern.
The technique is highly customizable—add herbs to the dough for savory versions, incorporate colored vegetable purées for visual impact, or sprinkle with coarse sugar before baking for sweet applications. One batch yields enough braiding for a standard 9-inch pie, creating that bakery-quality appearance that impresses guests.
The first time I attempted a fishtail braid on a pie crust, I was actually trying to cover up a cracked edge that happened while transferring my dough to the pan. Now I intentionally crack nothing—this braid has become my go-to way to make any pie feel like a special occasion centerpiece.
My sister-in-law still talks about the Thanksgiving I brought a braided crust pumpkin pie. She spent half the meal trying to figure out if Id bought it from a fancy bakery or actually made it myself.
Ingredients
- All-purpose flour: Creates the structure and foundation for your dough
- Cold unsalted butter: Those visible butter bits are what create flaky layers
- Salt: Enhances flavor and strengthens gluten structure
- Sugar: Optional but helps browning and adds subtle sweetness
- Ice water: Keeps butter cold and brings dough together without overworking
- Egg wash: Gives your finished braid that gorgeous golden shine
Instructions
- Prepare the Dough Foundation:
- Whisk flour, salt, and sugar in a large bowl until combined. Cut in cold butter until you see pea-sized chunks still visible.
- Bring the Dough Together:
- Drizzle ice water gradually while mixing gently with your hands. Stop when dough holds together when squeezed.
- Chill and Rest:
- Divide dough in half, form into disks, wrap tightly, and refrigerate for at least one hour.
- Roll and Cut Strips:
- Roll one disk into a rectangle and cut six even strips about twelve inches long and half an inch wide.
- Create the Braid:
- Start with a regular braid then switch to fishtail technique by crossing outer strips to center repeatedly.
- Apply to Pie:
- Brush pie edge with water and gently press the braid around the rim.
- Finish and Bake:
- Brush with egg wash for golden color and bake according to your filling recipe.
 Pin It
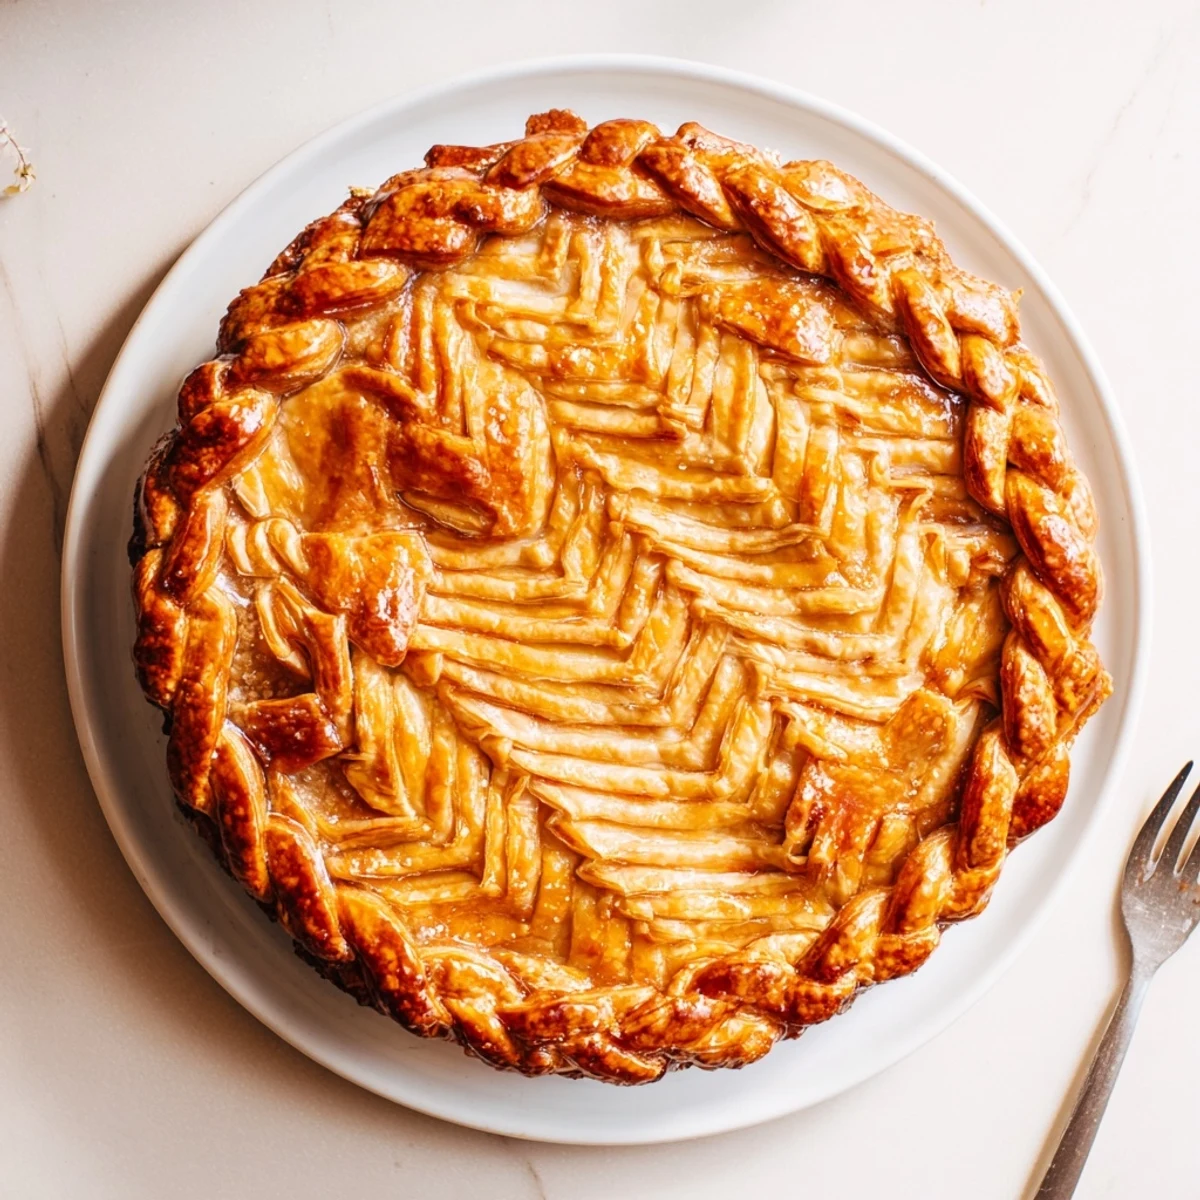
 Last summer I made three braided crusts for a neighborhood pie contest and won first place. The judges said the presentation made them excited to taste before even taking a bite.
Working with Different Dough Temperatures
If your dough becomes too soft while braiding, pop the strips in the freezer for five minutes. Cold dough holds its shape better and creates cleaner definition in your braid pattern.
Color and Flavor Variations
Mix beet juice into half your dough for pink strips or incorporate herbs like rosemary for savory pies. The visual impact of contrasting colors makes the fishtail pattern even more striking.
Making Braids in Advance
You can prepare braids on parchment paper and freeze them for up to two weeks. Simply drape them over your pie before baking—no thawing needed.
- Freeze braids flat so they keep their shape
- Label with the date to track freshness
- Add an extra two minutes to bake time if using frozen braids
 Pin It
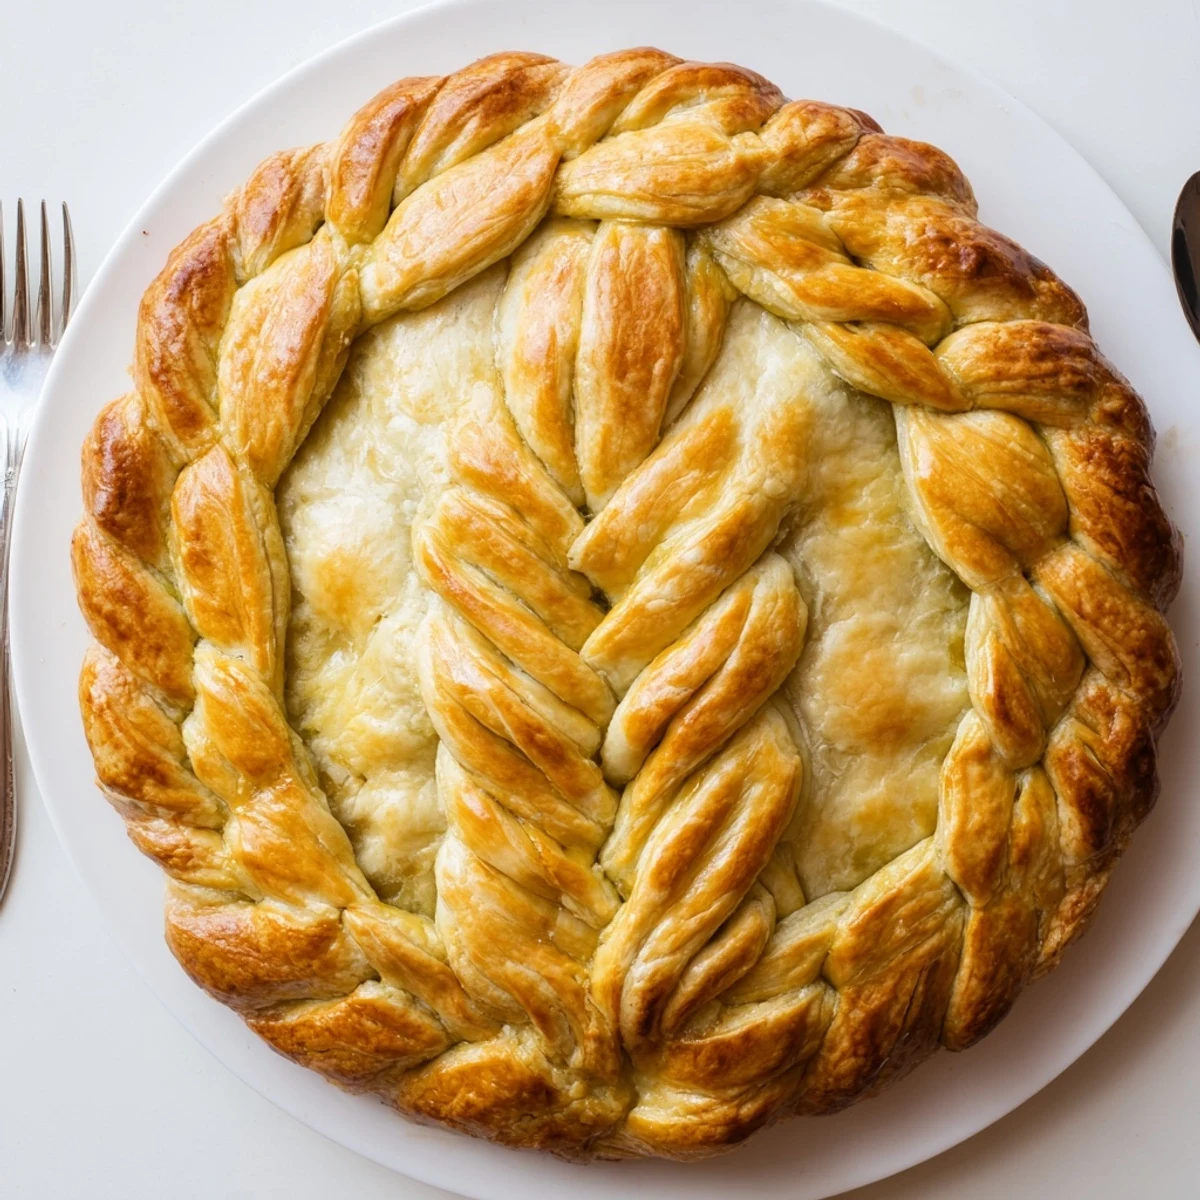
 Whether you are baking for holidays or just a Tuesday dinner, this decorative crust turns any pie into a memory worth making.
Recipe FAQs
- → What is fishtail braiding?
-
Fishtail braiding is a weaving technique where you cross outer strands over toward the center alternately, creating a intricate herringbone-like pattern. Unlike regular braiding, fishtail uses only two sections and builds the design by consistently pulling from the outside edges inward.
- → How do I keep the braid from falling apart?
-
Keep your dough thoroughly chilled throughout the process. Cold dough maintains structure and prevents the strips from becoming sticky or difficult to handle. If dough warms up, return it to the refrigerator for 10-15 minutes before continuing. Also ensure your strips are evenly cut and not too thin.
- → Can I make the braids ahead of time?
-
Absolutely! You can prepare the braids separately, place them on a parchment-lined baking sheet, freeze until solid, then store in an airtight container for up to 2 weeks. When ready to use, simply place them on your filled pie and bake—no need to thaw first.
- → What types of pies work best with braided crusts?
-
This decorative technique works beautifully with both sweet and savory fillings. Fruit pies like apple, cherry, or berry showcase the braid elegantly. Savory options like quiche Lorraine, chicken pot pie, or tomato tart also benefit from the refined presentation. Avoid fillings that bubble over excessively.
- → Can I use store-bought pie dough?
-
Yes, refrigerated pie dough works perfectly for braiding. Let it thaw according to package directions, then proceed with rolling and cutting strips. Homemade dough offers more control over thickness and flavor, but store-bought versions create equally beautiful results with less effort.
- → How do I get golden color on the braid?
-
Brush the completed braid with an egg wash (one beaten egg mixed with a tablespoon of milk or water) before baking. For extra shine and deeper color, you can brush again halfway through baking. Avoid brushing too heavily or the detail of the braid may become obscured.
