 Pin It
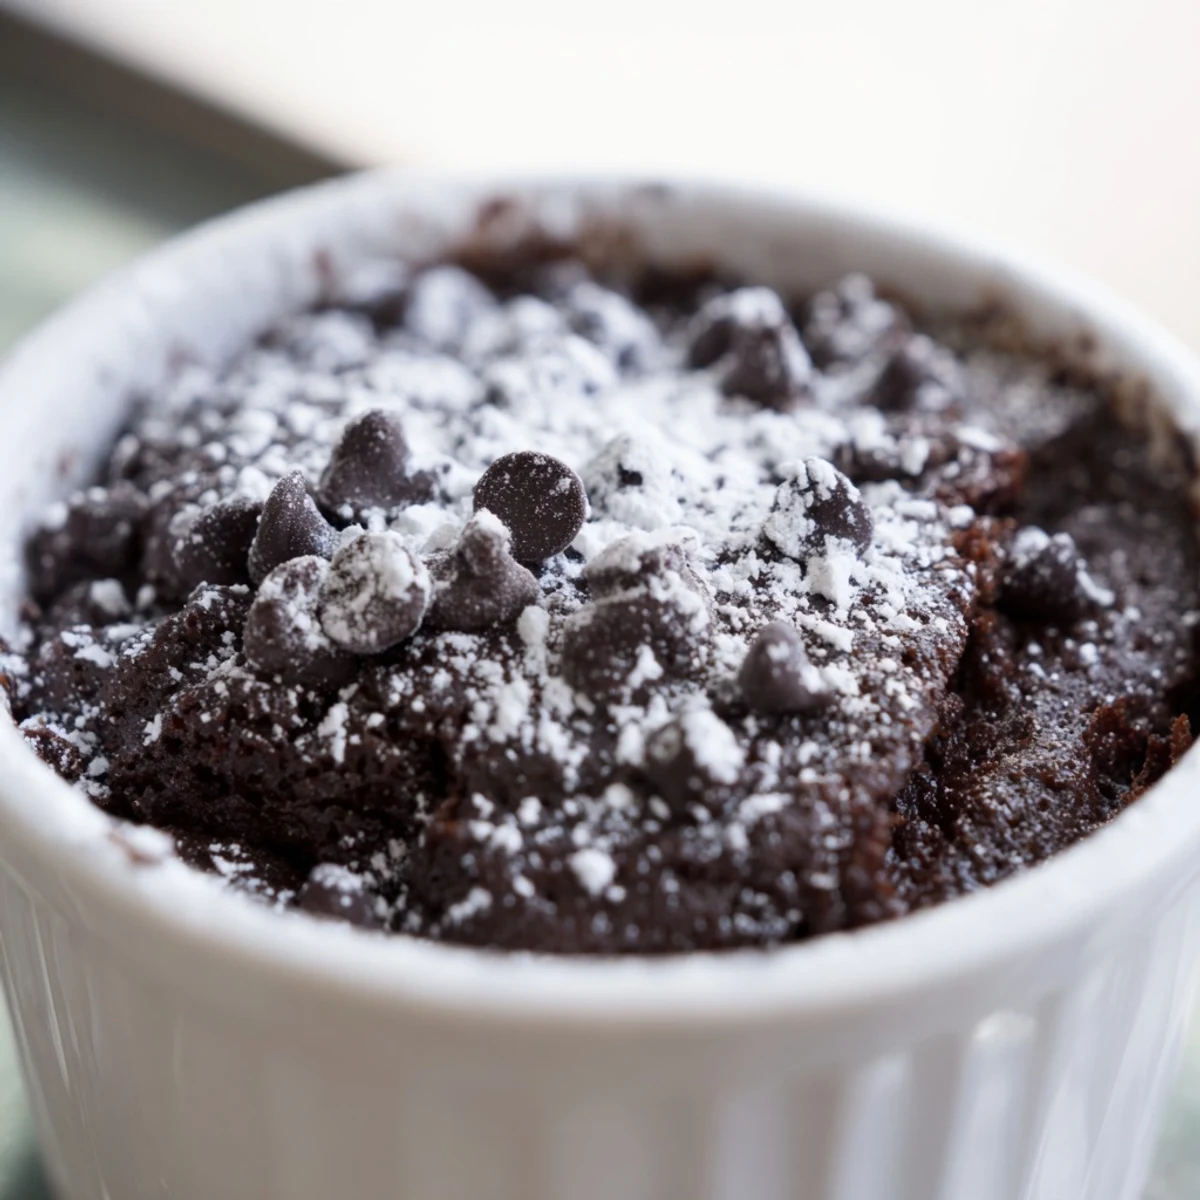
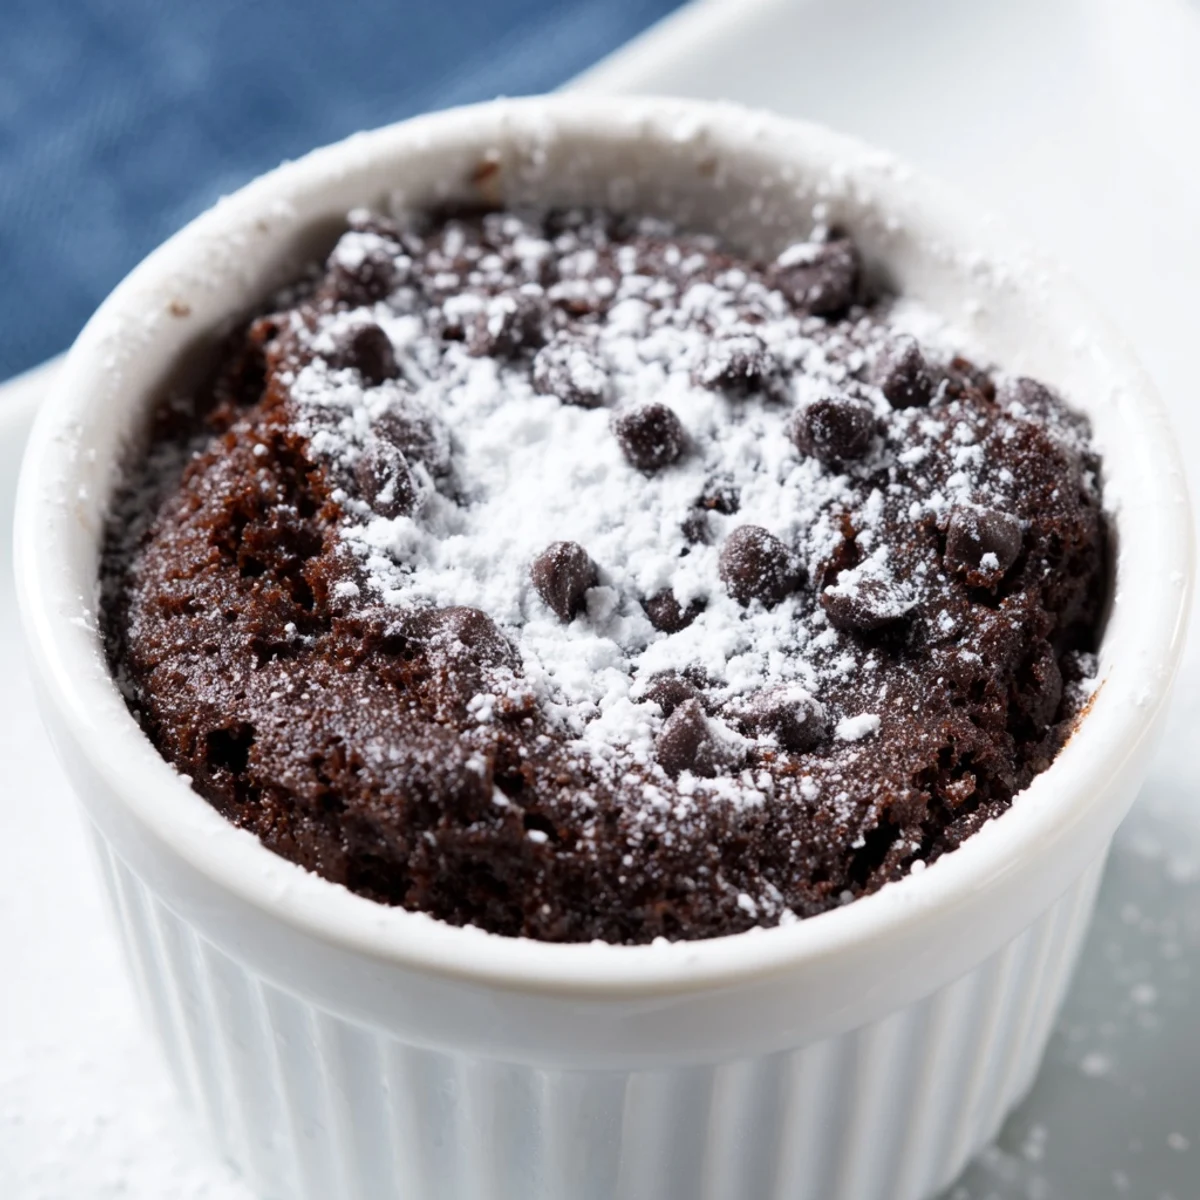
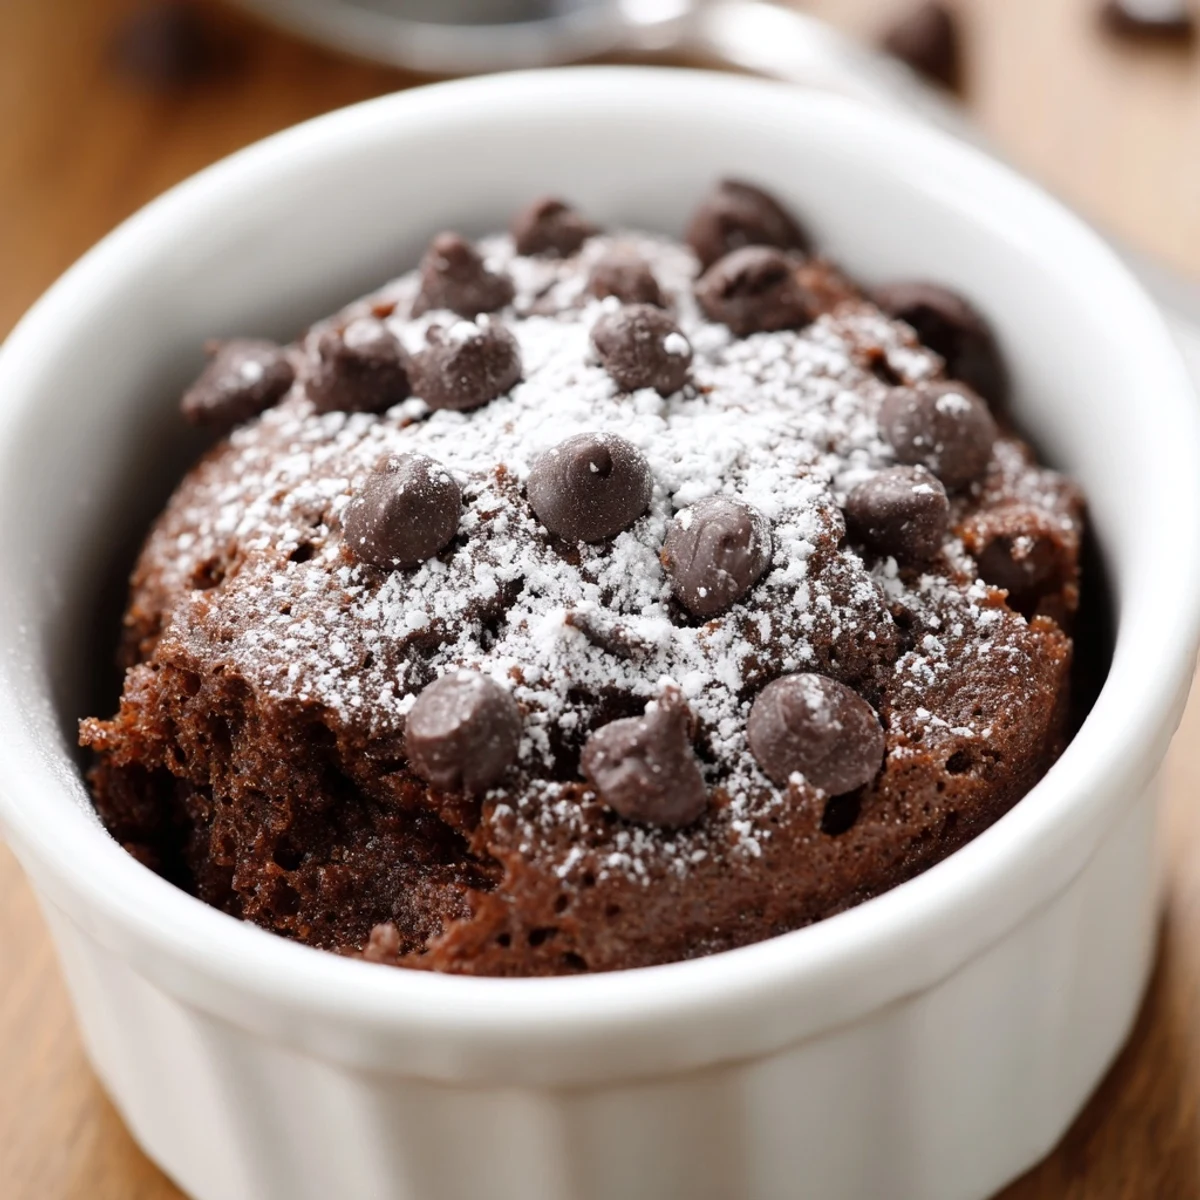
 These individual-sized chocolate cakes deliver rich, decadent flavor in perfectly portioned servings. With just 10 minutes prep and 18 minutes baking, you'll have moist, tender cakes with deep cocoa taste.
The simple batter comes together quickly with pantry staples. The result is a fudgy yet light texture that's satisfying without being overwhelming. Each cake serves one or two people generously.
Customize with chocolate chips, espresso powder, or your favorite toppings. Serve warm with powdered sugar dusting, fresh berries, or whipped cream for an elevated dessert experience.
There's something almost magical about making dessert in miniature form. I stumbled upon this recipe during a particularly quiet evening when I wanted something chocolatey but couldn't justify baking an entire nine-inch cake for just myself. The first time these came out of the oven, I was genuinely surprised by how fudge-like and tender the crumb turned out despite the tiny portion size.
I made these for my sister's birthday last year because she'd mentioned wanting to celebrate but didn't want a whole cake sitting around her apartment for days afterward. We ate them warm right out of the ramekins with vanilla ice cream melting over the top and agreed this might be better than a full sized dessert.
Ingredients
- All-purpose flour: Keep your measuring light and fluffy for a tender crumb that isn't dense
- Unsweetened cocoa powder: Sift this first to avoid any tiny lumps in your batter
- Baking powder and salt: Just enough lift without making the cake dry or cakey
- Granulated sugar: This small amount balances the bitterness of cocoa beautifully
- Large egg: Bring this to room temperature so it incorporates smoothly into the melted butter
- Milk: Whole milk adds the most richness but any variety works in a pinch
- Unsalted butter melted: Melt it slowly so it doesn't separate or become too hot
- Vanilla extract: Pure vanilla makes a noticeable difference in such a small batch
- Semi-sweet chocolate chips optional: These create little pockets of melted chocolate throughout
- Powdered sugar for dusting: A simple finishing touch that makes everything look bakery worthy
Instructions
- Preheat your oven:
- Set the temperature to 350°F and generously butter two ramekins so nothing sticks later
- Whisk the dry mixture:
- Combine flour cocoa powder baking powder salt and sugar until everything looks evenly blended
- Mix the wet ingredients:
- Whisk the egg milk melted butter and vanilla until you have a smooth uniform mixture
- Combine everything:
- Pour the wet ingredients into the dry and fold gently just until no flour streaks remain visible
- Add chocolate chips:
- Fold them in last if you're using them for those melty pockets throughout
- Divide the batter:
- Split the mixture evenly between your two prepared ramekins using a spatula
- Bake until just set:
- Check at sixteen minutes and remove when a toothpick shows moist crumbs but not raw batter
- Let them rest briefly:
- Wait five minutes before running a knife around the edges and unmolding onto plates
 Pin It
 My roommate walked in while these were cooling and said the chocolate smell alone was better than any candle I've ever bought. We ended up splitting one right there standing at the counter and agreeing that individual portions are wildly underrated.
Serving Suggestions That Work
Warm cake with cold ice cream creates the best temperature contrast. Fresh berries add brightness and make it feel slightly less decadent somehow. A dollop of whipped cream never hurt anything either.
Flavor Variations To Try
Espresso powder deepens the chocolate flavor without making it taste like coffee. Swap chocolate chips for toasted nuts if you want texture instead of gooey centers. A tiny pinch of cinnamon adds warmth that surprises people.
Storage And Make Ahead Tips
These actually reheat beautifully in the microwave for about fifteen seconds. The batter can be made earlier in the day and kept in the fridge before baking. You can also bake them fully cool and freeze for those emergency dessert moments.
- Dust with powdered sugar right before serving so it doesn't absorb into the cake
- Run hot water over your knife between cuts if slicing larger portions
- Serve these immediately after the brief cooling period for the best texture
 Pin It
 Sometimes the most satisfying desserts are the ones you don't have to share or feel guilty about finishing entirely by yourself.
Recipe FAQs
- → How do I know when the mini cakes are done baking?
-
Insert a toothpick into the center of each cake. It should come out with a few moist crumbs clinging to it, not completely clean. This ensures the cakes remain moist and fudgy rather than dry.
- → Can I make the batter ahead of time?
-
For best results, bake the batter immediately after mixing. The leavening agents start working right away, and letting the batter sit too long can affect the texture. However, you can prepare the dry and wet ingredients separately ahead of time.
- → What's the best way to store leftover mini cakes?
-
Wrap cooled cakes tightly in plastic wrap or store in an airtight container at room temperature for up to 2 days. For longer storage, refrigerate for up to 5 days. Warm briefly in the microwave before serving for that fresh-baked taste.
- → Can I double this recipe for more servings?
-
Absolutely. Simply multiply all ingredients by the number of additional cakes you need. You may need to bake in batches unless you have enough ramekins. Baking time remains the same since each cake bakes individually.
- → What other toppings work well with these mini cakes?
-
Beyond powdered sugar, try topping with chocolate ganache, caramel sauce, fresh berries, whipped cream, or a scoop of vanilla ice cream. Chopped nuts, sprinkles, or a drizzle of melted chocolate also add wonderful texture and flavor.
- → Can I make these gluten-free?
-
Yes, substitute the all-purpose flour with a 1:1 gluten-free flour blend. Ensure all other ingredients, including baking powder and vanilla extract, are certified gluten-free. The texture may be slightly denser but still delicious.
