 Pin It
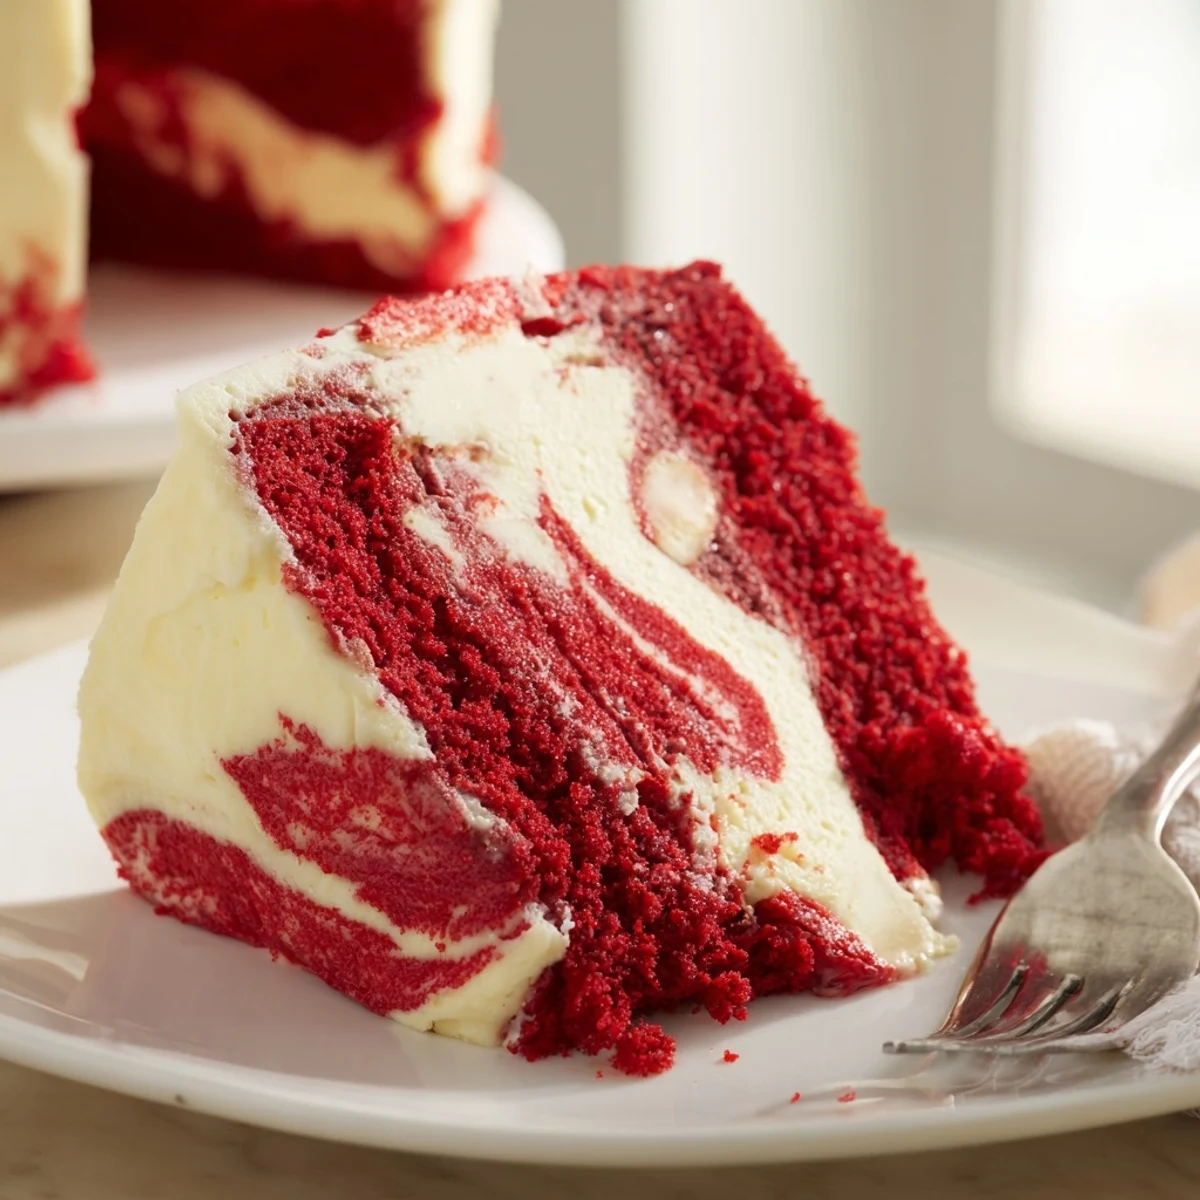
 This stunning dessert combines the classic appeal of red velvet with the rich indulgence of cheesecake. The batter features traditional cocoa-enhanced red velvet base, while the creamy swirl adds a luscious cream cheese dimension. Perfect for special occasions or everyday treats, this marbled creation delivers both visual elegance and incredible flavor.
Last Valentine's Day, I attempted this recipe while my apartment was still half-filled with moving boxes. The red swirl against the cream looked so striking that I abandoned unpacking for an hour just to stare at it through the oven door. That first slice revealed the most beautiful marble pattern I've ever achieved. Now it is my go-to whenever I need something that feels like a celebration without requiring three days of prep work.
My sister requested this for her birthday instead of a traditional frosted cake. She took one bite and declared she would never order restaurant red velvet again. Something about that cheesecake ribbon weaving through the chocolate hint makes people pause mid conversation to appreciate what they just tasted. I have since made it for baby showers and office potlucks, and it disappears faster than anything else on the dessert table.
Ingredients
- All purpose flour: The foundation that gives this cake its tender crumb, do not substitute with cake flour or the texture will become too delicate
- Granulated sugar: Sweetens both layers while helping create that irresistible crackly top on the cheesecake portions
- Baking powder and baking soda: Work together to give the red velvet layer just enough lift without making it cakey or dry
- Unsweetened cocoa powder: Provides that subtle chocolate background note that distinguishes true red velvet from just colored vanilla cake
- Salt: Enhances all the flavors and helps balance the sweetness from both the cake and cheesecake layers
- Buttermilk: The secret to tender cake layers, its acidity activates the baking soda and creates the most moist crumb imaginable
- Vegetable oil: Keeps the cake exceptionally moist and tender, much more so than butter would in this particular recipe
- Eggs: Structure binders that help both layers set properly while contributing richness and tenderness
- Vanilla extract: Pure extract makes a noticeable difference here, amplifying the cream cheese flavors beautifully
- White vinegar: Reacts with the buttermilk and baking soda for extra lift and that classic red velvet tang
- Red food coloring: Gel coloring gives the most vibrant hue without adding excess liquid that could throw off the batter consistency
- Cream cheese: Must be completely softened to room temperature or your swirl will have lumps that do not disappear during baking
Instructions
- Get your oven ready:
- Preheat to 350 degrees Fahrenheit and prepare a 9 by 13 inch pan with parchment paper and grease, this cake sticks more than you might expect.
- Whisk the dry ingredients:
- Combine flour, sugar, baking powder, baking soda, cocoa powder, and salt in a large bowl, making sure there are no clumps of cocoa remaining.
- Mix the wet ingredients:
- In a separate bowl, whisk buttermilk, oil, eggs, vanilla, vinegar, and food coloring until the mixture turns a shocking vibrant red.
- Combine the batter:
- Pour wet into dry and fold gently just until everything is moistened, overmixing will make your cake tough instead of tender.
- Spread the red velvet base:
- Pour batter into your prepared pan and use an offset spatula to create an even layer, this becomes the canvas for your swirl pattern.
- Prepare the cheesecake mixture:
- Beat softened cream cheese until completely smooth, then add sugar, egg, and vanilla until the mixture is glossy and lump free.
- Create the swirl pattern:
- Drop dollops of cheesecake batter across the red velvet base, then run a knife through both layers in figure eights until they look beautifully marbled.
- Bake to perfection:
- Bake 45 to 50 minutes until a toothpick comes out mostly clean, remembering that a bit of cheesecake on the tester is completely normal.
- Cool completely before serving:
- Let the cake cool completely in the pan on a wire rack, the texture develops and becomes more stable as it reaches room temperature.
 Pin It
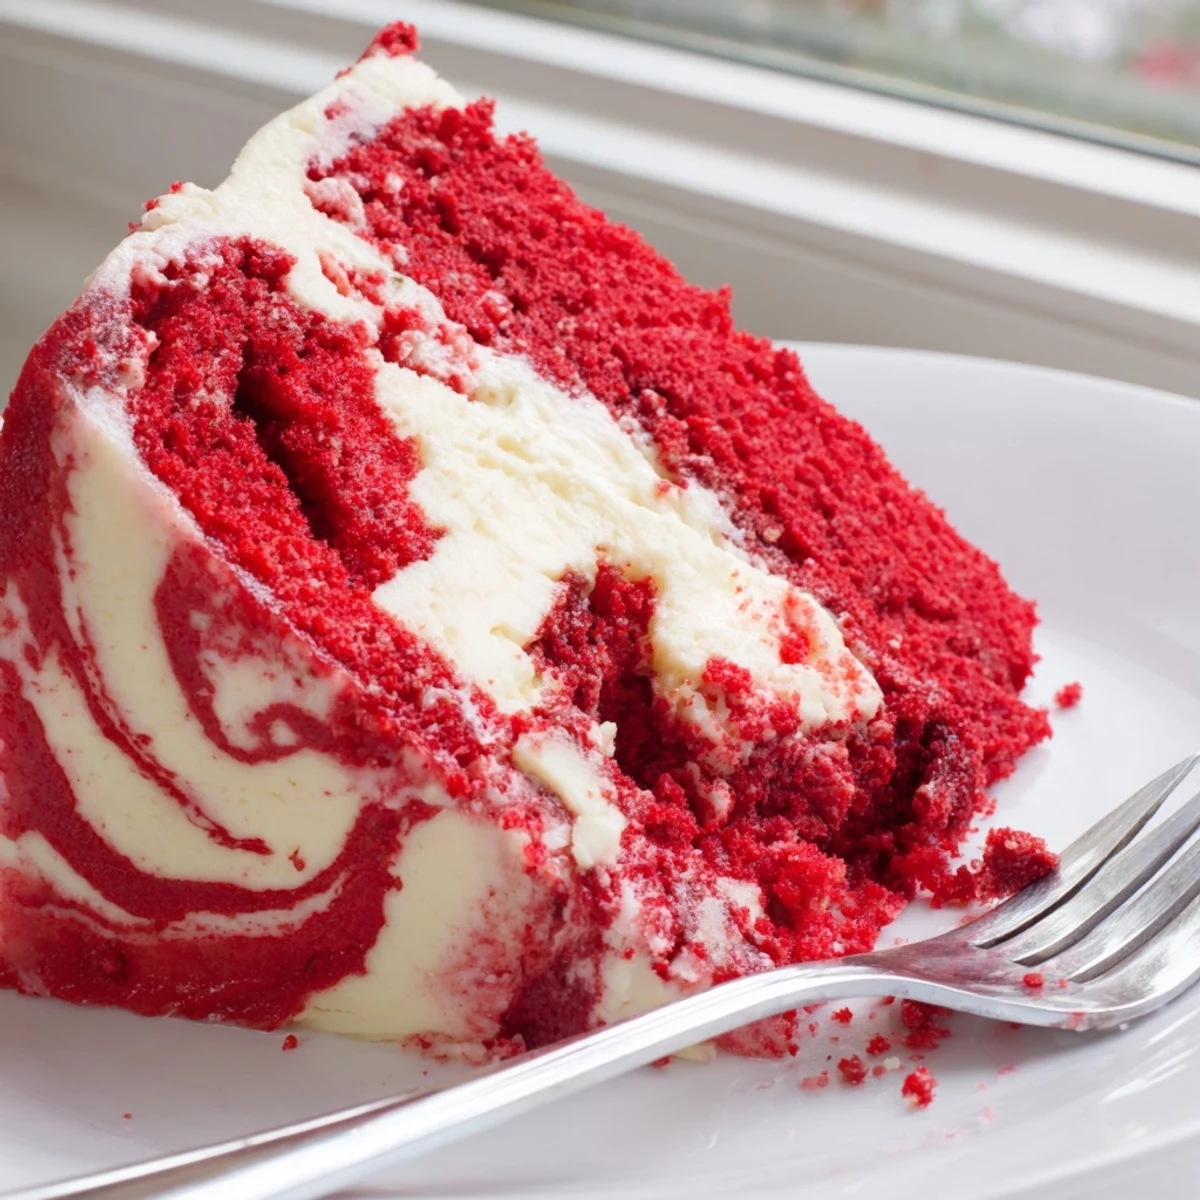
 One summer evening I brought this to a neighborhood potluck and ended up texting the recipe to five different neighbors before the night ended. Something about cutting into that marble pattern makes people audibly gasp. The best moment was watching the kids argue over who got the corner pieces with the most cheesecake swirl.
Making It Ahead
This cake actually improves after a night in the refrigerator, the flavors meld together and the cheesecake layer firms up beautifully. I bake it the day before serving whenever possible, wrapping it tightly once completely cooled. The red color deepens slightly as it rests, making it even more striking.
Serving Suggestions
A dusting of powdered sugar over the cooled cake adds elegant simplicity and highlights the marble pattern. For more decadent occasions, drizzle with a simple cream cheese glaze made from powdered sugar, vanilla, and just enough milk to reach pouring consistency. Serve each slice with a cup of strong black coffee to cut through the richness.
Storage Tips
Store any leftovers covered in the refrigerator where the cake will keep beautifully for up to four days. The cold actually makes the cheesecake portions taste even more like a proper cheesecake. Individual portions can be wrapped tightly and frozen for up to two months.
- Bring chilled cake to room temperature 30 minutes before serving for the best texture and flavor
- Place a piece of wax paper between slices when stacking to prevent them from sticking together
- The red color may bleed slightly onto storage containers but this does not affect the taste at all
 Pin It
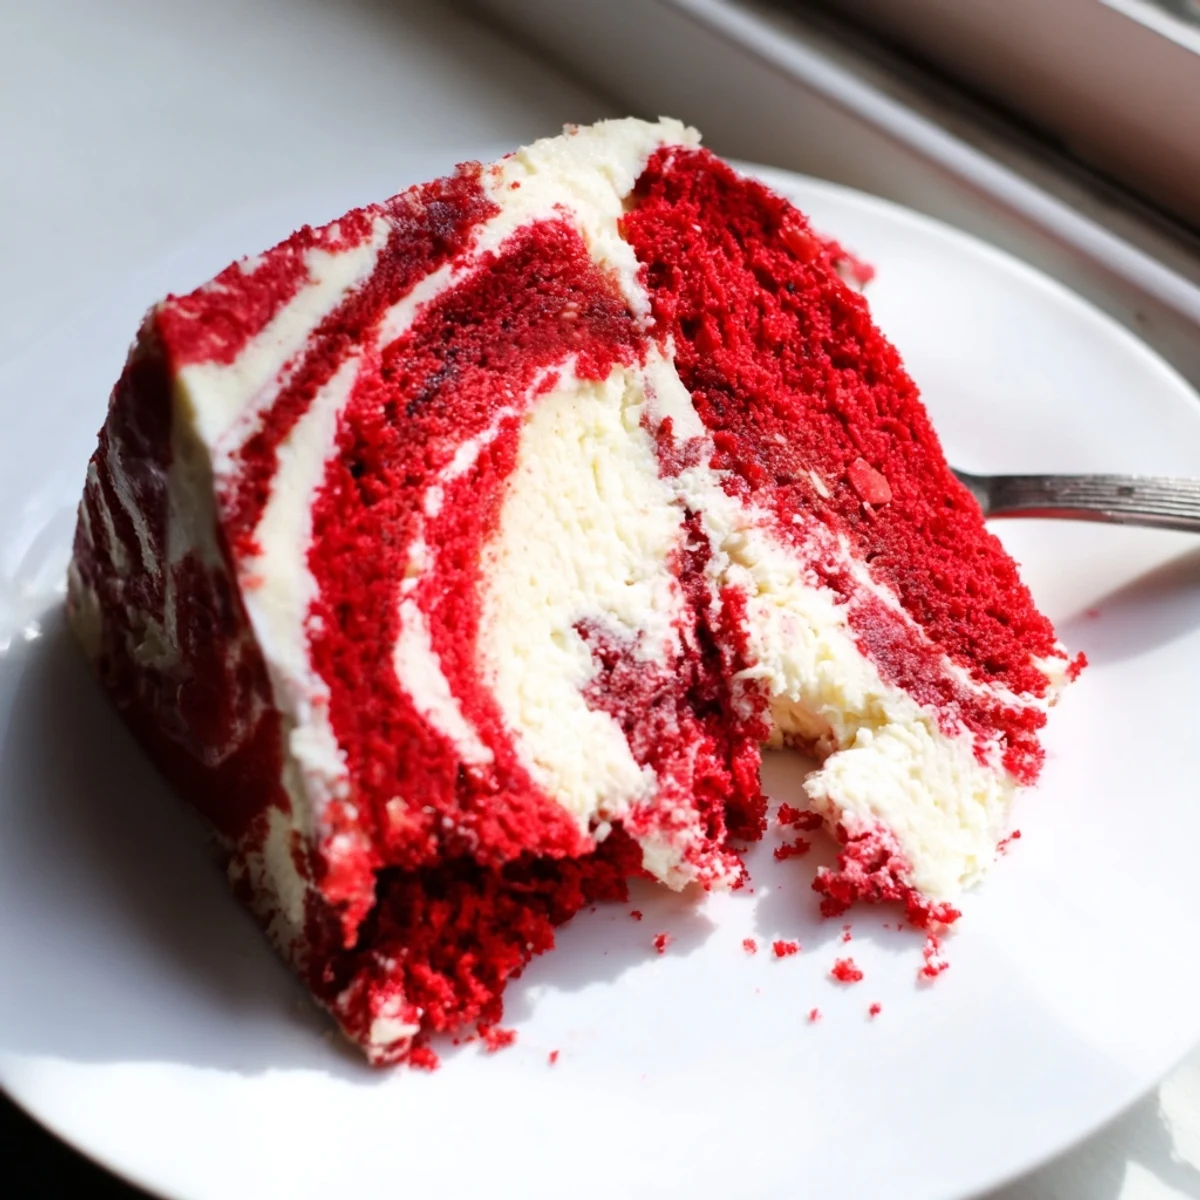
 This cake has become my most requested recipe for good reason, every single person who tries it asks for the recipe. There is something magical about that combination of textures and flavors that makes people feel truly celebrated.
Recipe FAQs
- → How do I achieve the perfect marble swirl?
-
Dollop spoonfuls of the cheesecake mixture over the red velvet batter, then use a knife or skewer to gently swirl through both layers. Avoid over-swirling to maintain distinct marbled patterns.
- → Can I use liquid food coloring instead of gel?
-
Liquid food coloring works, though gel provides more vibrant hue with less liquid. If using liquid, you may need slightly more to achieve the desired red shade.
- → How long should the cake cool before serving?
-
Allow the cake to cool completely in the pan on a wire rack, about 1-2 hours. For cleanest slices, refrigerate after cooling and serve chilled.
- → Can I freeze this dessert?
-
Yes, wrap cooled slices tightly in plastic wrap and freeze for up to 3 months. Thaw overnight in the refrigerator before serving.
- → What's the best way to store leftovers?
-
Store covered in the refrigerator for up to 4 days. The cream cheese swirl requires refrigeration to maintain freshness and texture.
