 Pin It
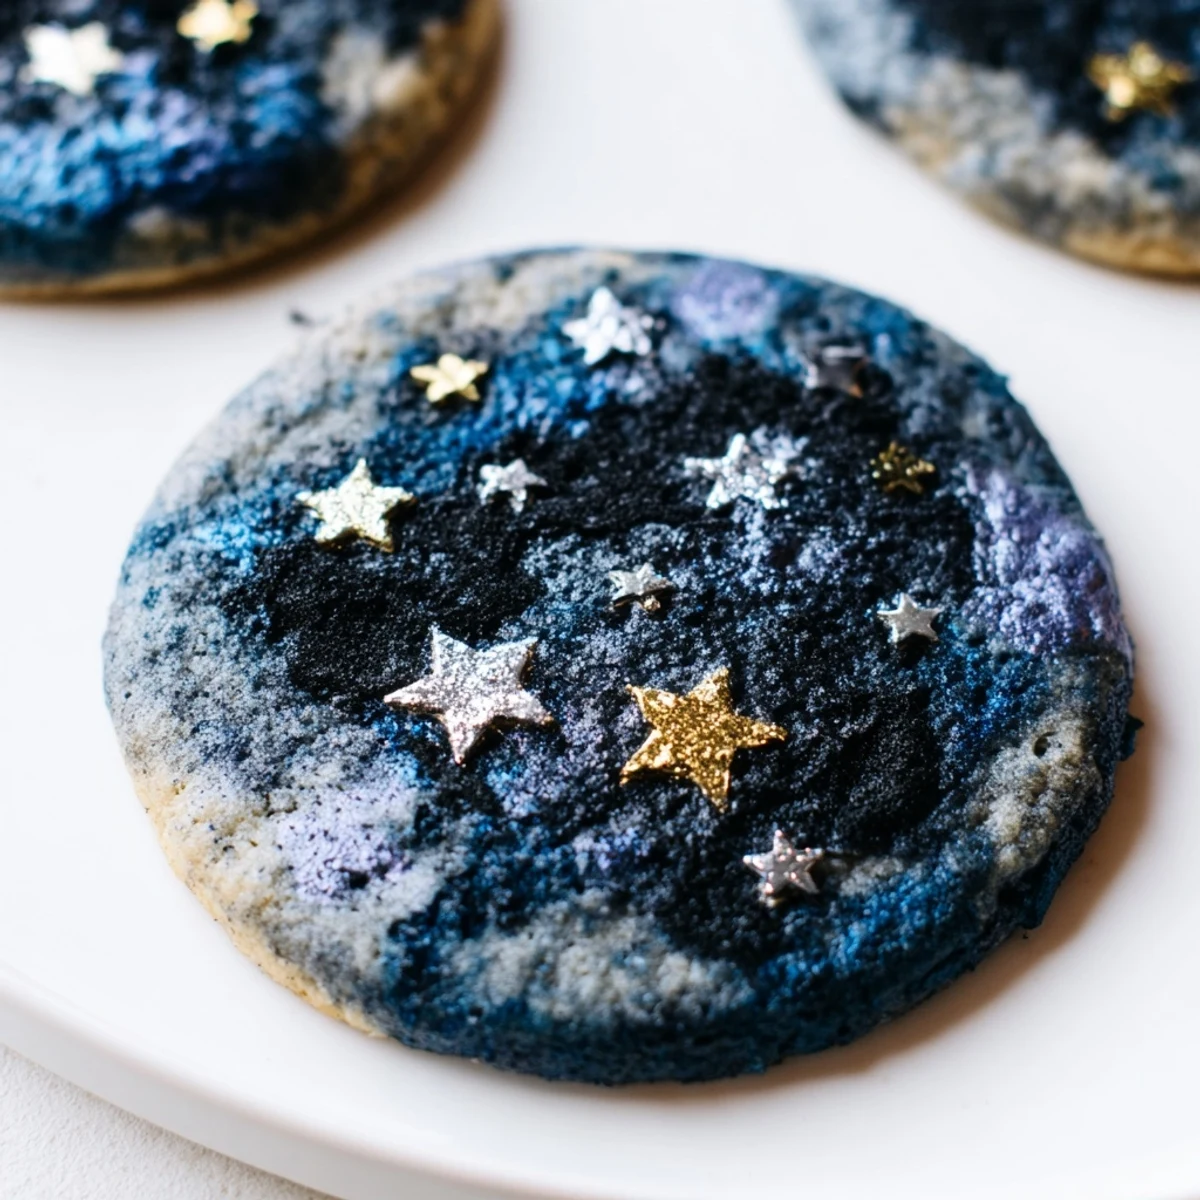
 These delicate vanilla sugar cookies feature a stunning night sky effect with deep blue and black marbled icing. The buttery base bakes up tender and golden, while the glossy royal-style icing creates a beautiful celestial swirl. Topped with shimmering edible stars, these treats capture the magic of a starlit sky on a plate. Perfect for evening gatherings, winter celebrations, or anytime you want to bring a touch of wonder to your dessert table.
The first time I made these starry night cookies was for a meteor shower party on my back deck. We wrapped up in blankets with hot cocoa, waiting for shooting stars, and these dark blue beauties disappeared faster than we could spot constellations in the sky.
My niece asked if she could help swirl the blue and black icing together, and her uneven, enthusiastic strokes actually made the most beautiful lunar patterns. Sometimes the happy accidents teach us more than careful precision ever could.
Ingredients
- All-purpose flour: The backbone that gives these cookies their tender crumb and perfect structure
- Baking powder: Just enough to help them puff slightly without losing that classic sugar cookie snap
- Unsalted butter: Room temperature is non-negotiable here for proper creaming and even spreading
- Granulated sugar: Creates the crisp edges while keeping centers soft and buttery
- Pure vanilla extract: Dont skimp here since vanilla carries the entire flavor profile
- Powdered sugar: Sifting prevents lumps that would mar that silky smooth icing surface
- Corn syrup: The secret ingredient that gives the icing its glossy professional sheen
- Gel food coloring: Regular liquid coloring will thin your icing too much so use the concentrated gel kind
Instructions
- Whisk the dry foundation:
- Combine flour baking powder and salt in a medium bowl ensuring everything is evenly distributed before it meets the wet ingredients
- Cream butter and sugar:
- Beat them for the full 2-3 minutes until they turn pale and fluffy incorporating air for that melt-in-your-mouth texture
- Add the egg and vanilla:
- Mix until just combined but stop before the mixture starts to curdle or separate
- Incorporate the flour:
- Pour in the dry ingredients gradually mixing only until you no longer see visible flour streaks
- Chill the dough:
- Shape into discs wrap tightly and let rest in the refrigerator for 30 minutes to prevent spreading during baking
- Prep your baking station:
- Preheat the oven to 350°F and line your baking sheets with parchment paper for easy cleanup
- Roll and cut:
- Work with one disc at a time keeping the other chilled roll to 1/4 inch thickness and cut into your chosen shapes
- Bake to perfection:
- Bake for 9-11 minutes watching for that moment when edges turn just barely golden
- Cool completely:
- Let them rest on the baking sheet for 5 minutes then move to a wire rack until completely cool before icing
- Prepare the galaxy icing:
- Mix powdered sugar milk corn syrup and vanilla until smooth adding more milk only if needed to reach a thick pourable consistency
- Create the marble effect:
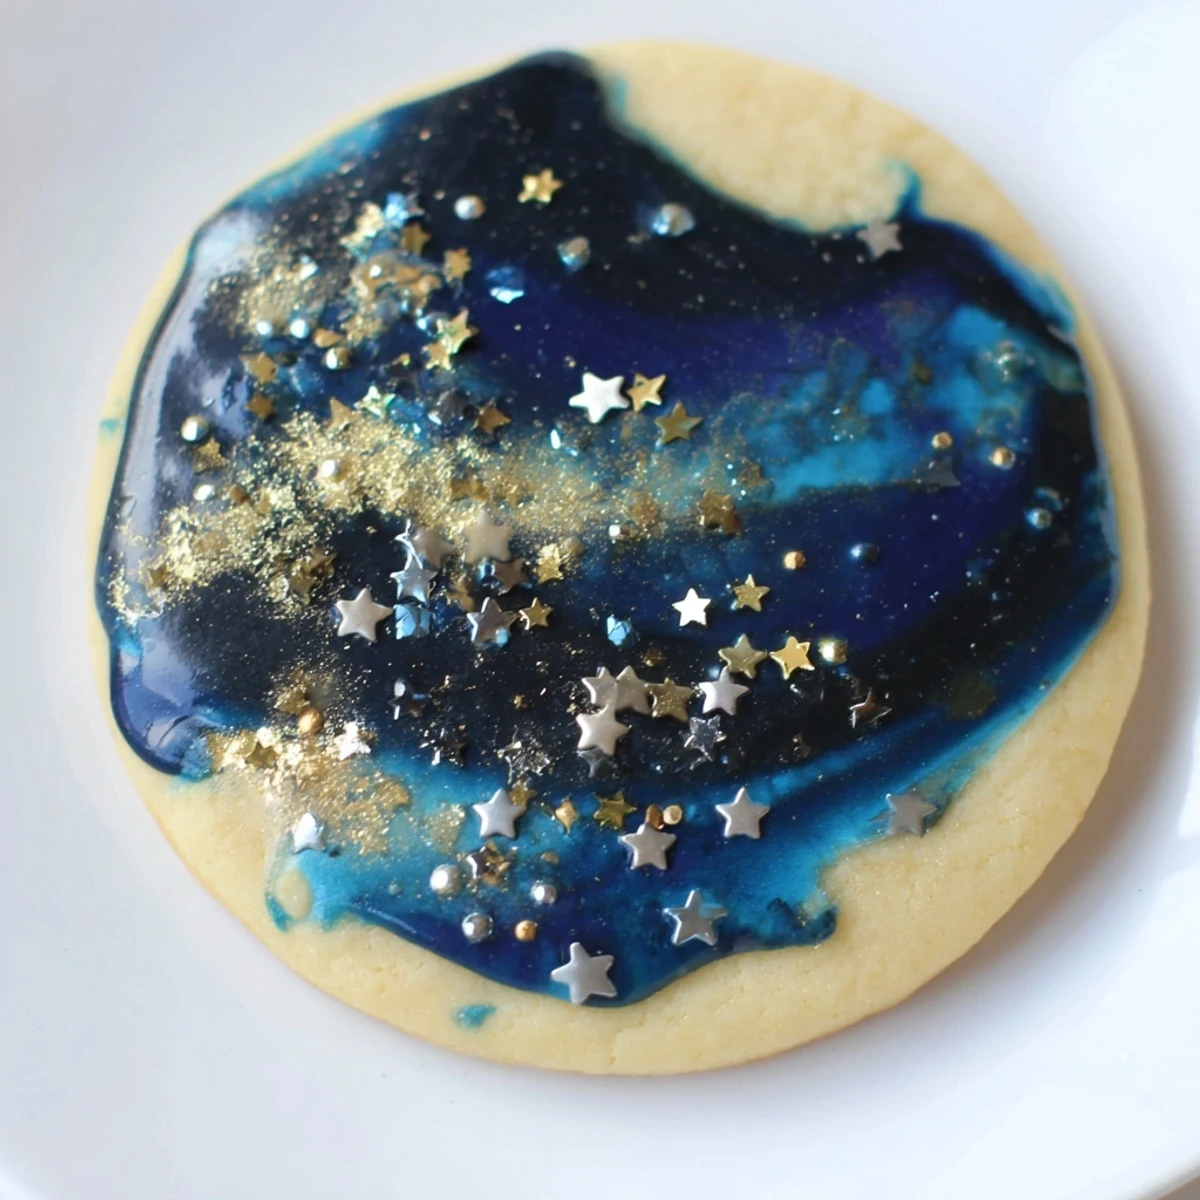
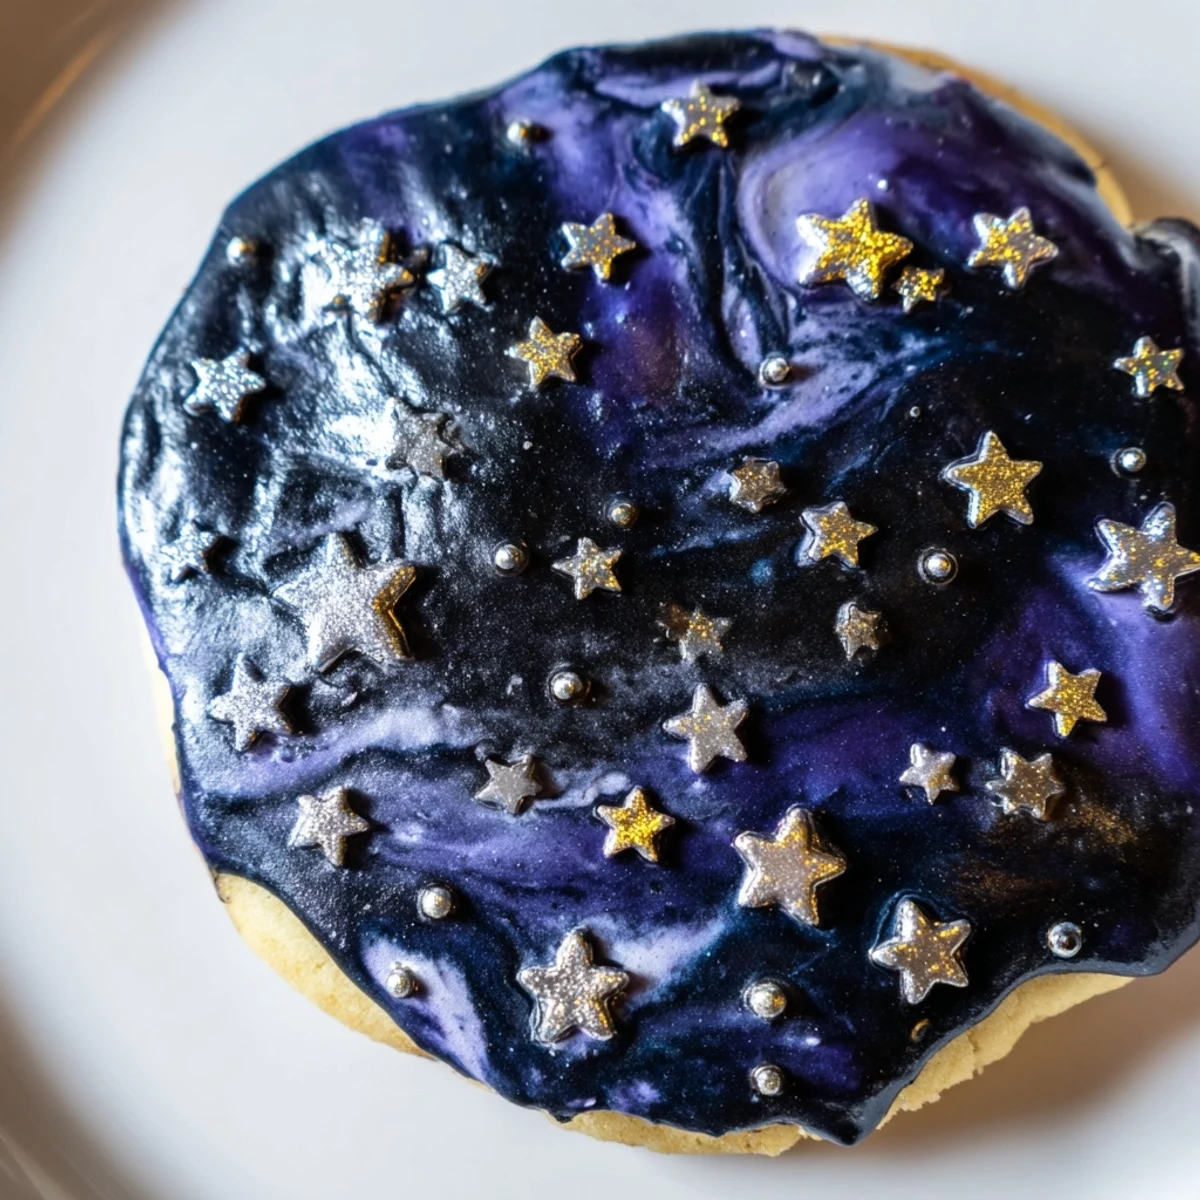
- Divide icing between two bowls tinting one deep blue and the other black then swirl them together gently in a shallow dish
- Dip and decorate:
- Dip each cookie face down into the marbled icing then immediately sprinkle with edible stars before the icing sets
 Pin It
 These cookies have become my go-to for winter solstice gatherings when the nights are longest and we need something sweet to match the darkness outside. Everyone gravitates toward them first drawn in by that mysterious dark frosting.
Making the Marble Magic
Ive found the best marble effect comes from barely swirling the two colors together just two or three gentle figure eights with a toothpick. Overmixing turns your galaxy into muddy gray so resist the urge to keep playing with it.
Working with Gel Coloring
Gel food coloring is incredibly concentrated so start with a tiny amount on the end of a toothpick. You can always add more but you cannot take it back once your icing has turned into an inky black mess.
Storage and Make-Ahead Tips
The dough freezes beautifully for up to two months so I often double the batch and stash half for last-minute baking needs. Just thaw overnight in the refrigerator then roll cut and bake as usual.
- Baked unfrosted cookies freeze well layered between parchment paper
- These actually taste better on day two when flavors have had time to develop
- Store frosted cookies in a single layer to protect those precious edible stars
 Pin It
 May your kitchen be filled with starlight and your cookie jar never empty. These little galaxies are worth every minute of effort.
Recipe FAQs
- → How do I achieve the marbled icing effect?
-
Pour the blue and black icings side by side in a shallow dish, then gently swirl them together with a toothpick or skewer just once or twice. Don't overmix—you want distinct ribbons of color. Dip each cookie face-down into the marbled mixture for a unique pattern every time.
- → Can I make the dough ahead of time?
-
Absolutely. Wrap the dough discs tightly in plastic wrap and refrigerate for up to 3 days, or freeze for up to 2 months. Thaw frozen dough in the refrigerator overnight before rolling and baking.
- → What if I don't have star sprinkles?
-
You can use edible glitter, pearl dust, or any small decorative sprinkles that catch the light. Alternatively, create star shapes with white icing using a small piping bag after the base layer sets.
- → Why is chilling the dough important?
-
Chilling prevents the cookies from spreading too much in the oven, maintaining their shape. It also makes the dough easier to roll out without sticking, giving you clean edges on your cutouts.
- → How should I store these decorated cookies?
-
Once the icing has completely set (about 2-4 hours), store in an airtight container at room temperature for up to 5 days. Separate layers with parchment paper to prevent sticking. For longer storage, freeze undecorated baked cookies and ice when ready to serve.
- → Can I use natural food coloring?
-
Yes, though gel coloring provides more intense shades. For natural blue, try butterfly pea flower powder mixed into the icing. Black is challenging naturally—consider using activated charcoal or cocoa powder for a dark gray alternative.
