 Pin It
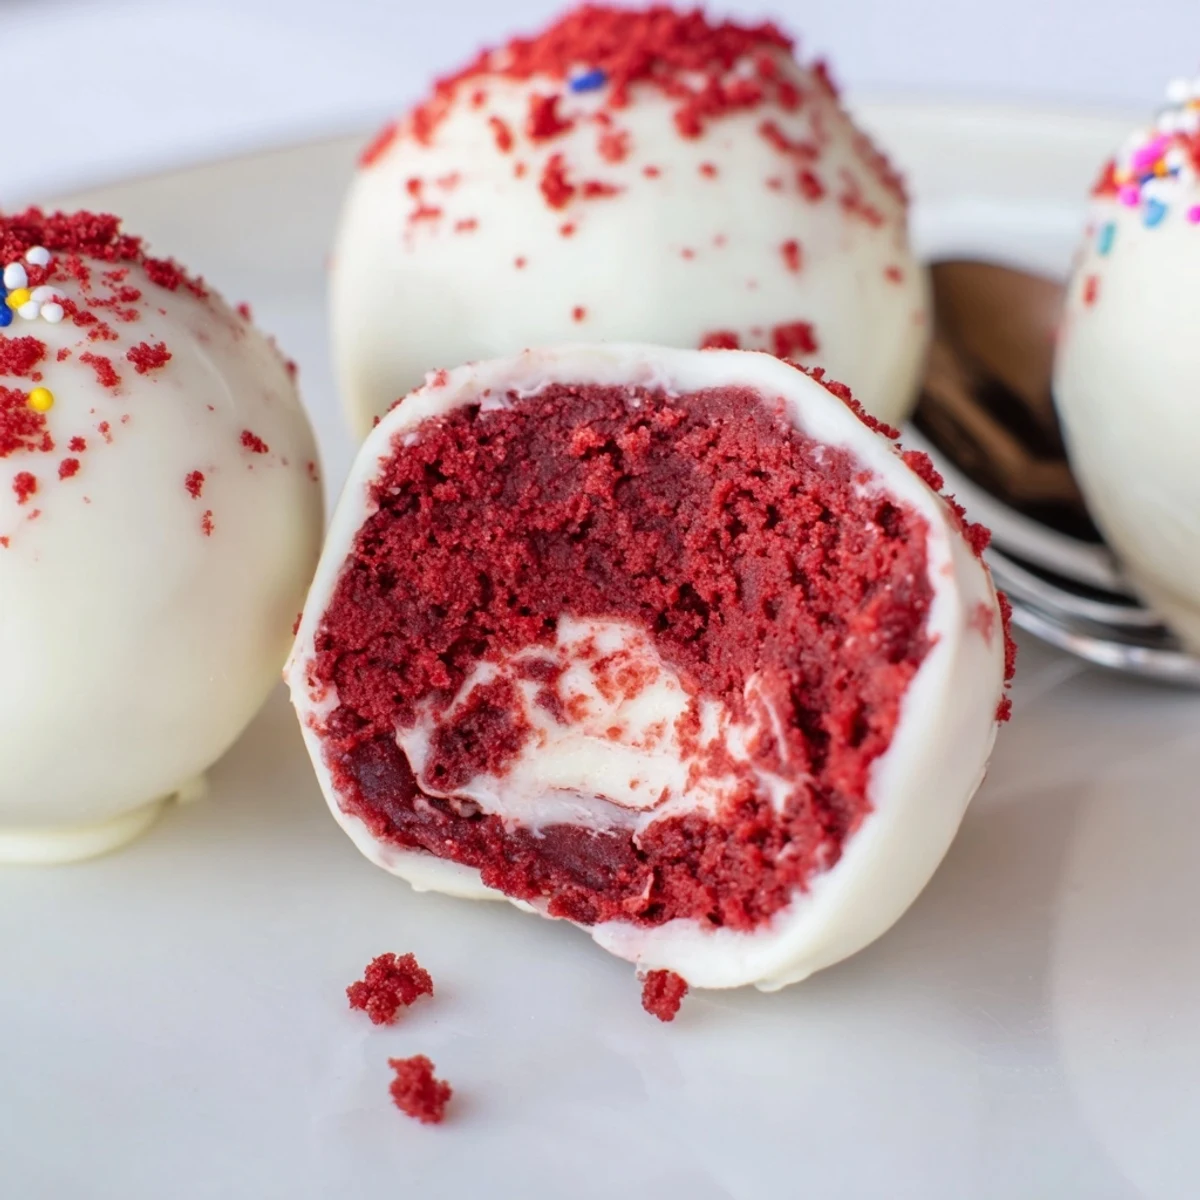
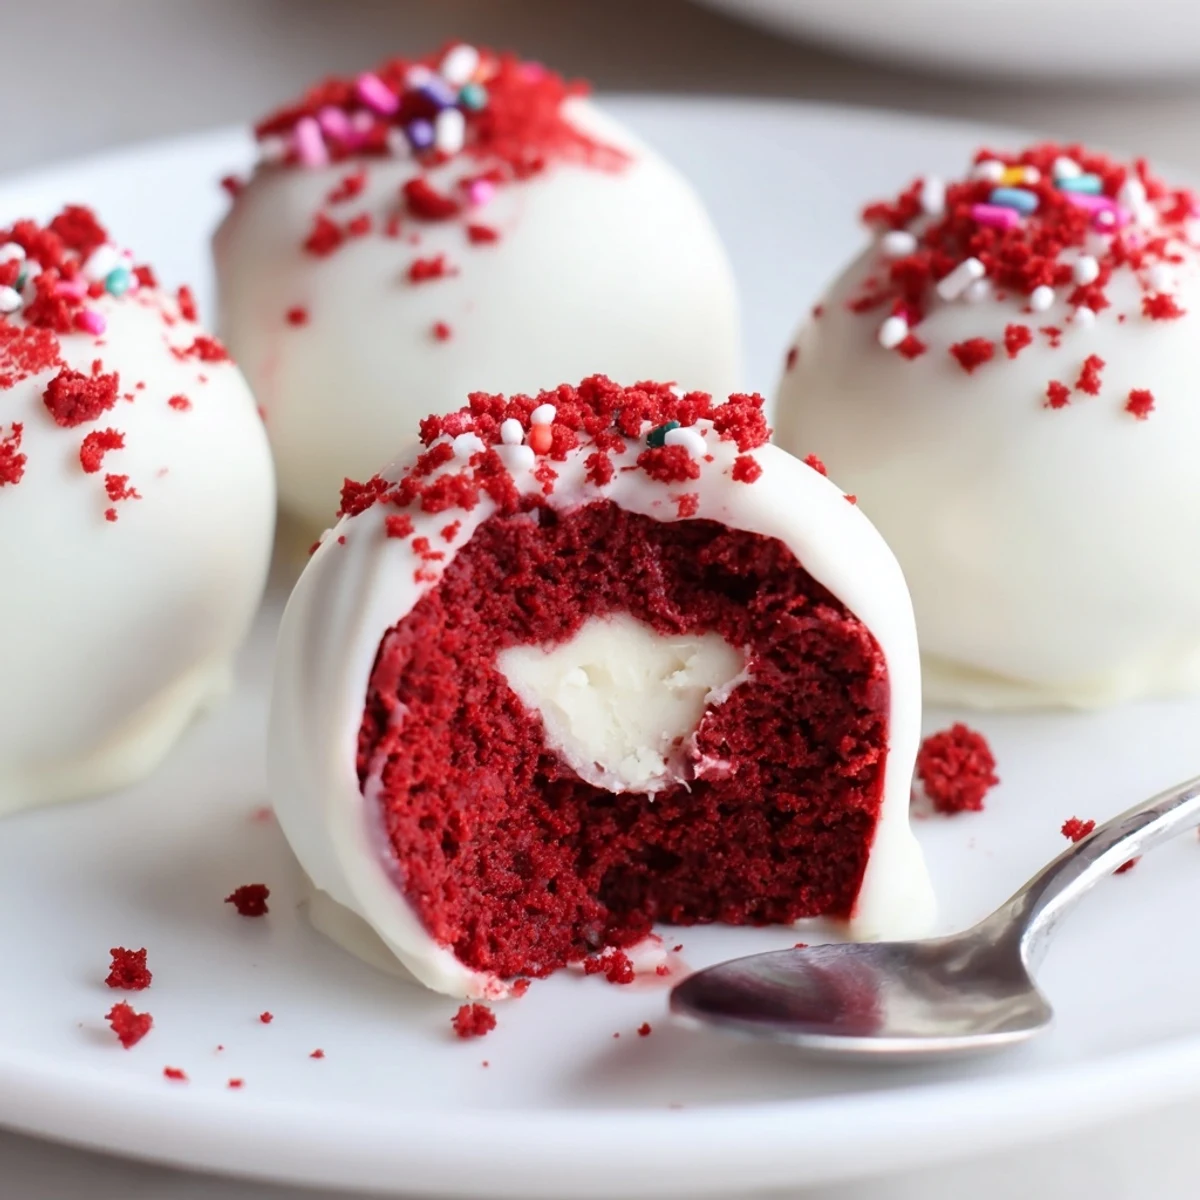
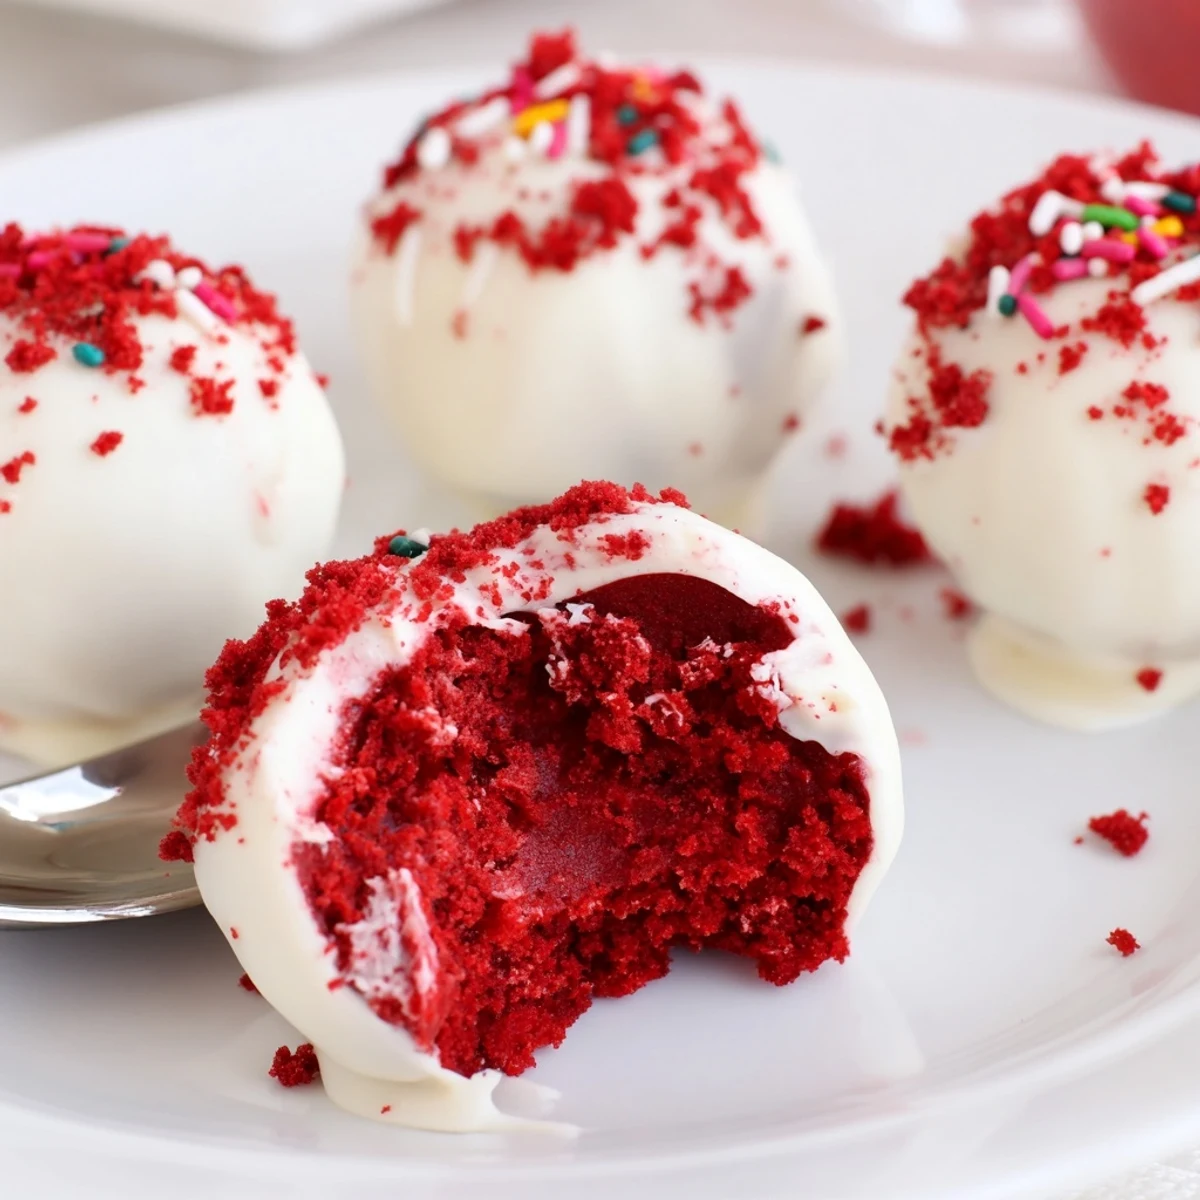
 Turn crumbled red velvet cake into creamy, handheld bites by folding softened cream cheese and powdered sugar into fine cake crumbs, shaping and chilling until firm. Dip chilled balls in melted chocolate (add a touch of red food coloring if desired), decorate with crumbs or sprinkles, and let set. Store chilled up to five days; try dark chocolate or add nuts for texture.
The kitchen smelled like a bakery had collided with a candy shop, and I was grinning like a kid who had gotten away with something. Red velvet cheesecake balls were not supposed to be my contribution to the holiday potluck, but a collapsed layer cake had other plans. Rather than panic, I crumbled the evidence into a bowl and started improvising. Sometimes the best recipes are born from beautiful disasters.
My neighbor Brenda ate four of them before asking what they were, then demanded the recipe on the spot. I handed her a napkin with messy scribbles and chocolate fingerprints all over it, which she still has pinned to her fridge.
Ingredients
- Red velvet cake (300 g): Use leftover cake or grab one from the store, just make sure it is fully cooled so the crumbs do not turn gummy.
- Cream cheese (200 g, softened): Leave it on the counter for an hour because cold cream cheese will leave ugly lumps in your filling.
- Powdered sugar (40 g): Just enough to sweeten the filling without making it cloying.
- Vanilla extract (1 tsp): A small splash that rounds out the tang of the cream cheese beautifully.
- White chocolate (250 g): Good quality matters here since cheap white chocolate can seize and ruin the coating.
- Red food coloring (optional): Tint the white chocolate for a dramatic crimson shell that matches the cake inside.
- Red velvet crumbs or sprinkles (optional): Save a handful of cake crumbs before mixing for a gorgeous finishing touch.
Instructions
- Destroy the cake:
- Crumble the red velvet cake into a large bowl using your fingers, pressing and crumbling until you have a fine, even texture with no large chunks hiding anywhere.
- Whip the filling:
- Beat the softened cream cheese, powdered sugar, and vanilla together until completely smooth and fluffy, scraping the bowl once to catch any stubborn streaks.
- Marry them together:
- Pour the cream cheese mixture over the crumbs and mix with your hands or a spatula until everything holds together like a soft, playdough-like dough.
- Roll into balls:
- Scoop about one tablespoon portions and roll them between your palms, placing each one on a parchment-lined tray with a little space between them.
- Chill out:
- Refrigerate the tray for at least one hour so the balls firm up enough to survive the dipping stage without falling apart.
- Melt the chocolate:
- Warm the white chocolate in short microwave bursts or over a double boiler, stirring gently until silky, then stir in red food coloring if you want that bold color.
- Dip and dazzle:
- Drop each chilled ball into the chocolate, roll it around with a fork, tap off the excess, and set it back on the parchment before the shell hardens.
- Finish with flair:
- Sprinkle crumbs or sprinkles on top immediately while the coating is still wet, then let everything set at room temperature or in the fridge until firm.
 Pin It
 I brought a tray of these to a friend's birthday dinner and watched a room full of adults forget about the actual cake. There is something about a bite-sized truffle that makes people lose all restraint.
Choosing Your Chocolate Coating
White chocolate gives the prettiest contrast against the red interior, but dark chocolate creates a richer, more grown-up flavor that balances the sweetness of the cake. Milk chocolate lands somewhere in the middle and is always a crowd pleaser. I usually make half the batch with white and half with dark so people can choose, and the leftovers never last long enough to compare.
Making Them Your Own
Roll the finished balls in crushed pecans, toasted coconut, or even crushed graham crackers for a completely different texture. A friend of mine presses a single chocolate chip into the top of each one before the coating sets, which looks adorable and adds a nice surprise. The base recipe is forgiving enough that you can experiment without worrying about breaking anything.
Serving and Gifting
These little balls travel beautifully, which makes them ideal for gifting in small boxes or cellophane bags tied with ribbon. I once packed them in a tin with wax paper between layers and mailed them across the country, and they arrived in perfect shape.
- Let them sit at room temperature for ten minutes before serving so the filling softens slightly.
- Arrange them in mini cupcake liners for a polished presentation at parties.
- Keep them chilled until the last possible moment for the best texture and flavor.
 Pin It
 Every time I make these, someone asks if I spent all day in the kitchen, and I never correct them. Some secrets are worth keeping, especially the delicious ones.
Recipe FAQs
- → How do I keep the balls from falling apart?
-
Use well-drained cake crumbs and the right ratio of cream cheese so the mixture is soft but not sticky. Chill the formed balls for at least an hour to firm up before dipping; pressing gently when rolling helps compact the mixture.
- → What’s the best way to melt the chocolate coating?
-
Melt chocolate slowly in short microwave bursts or over a double boiler, stirring until smooth. Avoid introducing water; if the coating seems thick, stir in a small amount of neutral oil to thin and achieve a glossy finish.
- → Can I make these ahead of time and how should I store them?
-
Yes. Once coated and set, store in an airtight container in the refrigerator for up to five days. For longer storage, freeze in a single layer until firm, then transfer to a sealed container for up to one month; thaw in the fridge before serving.
- → How can I get a vibrant red coating?
-
Use colored candy melts for bright results or add oil-based or powdered food coloring to white chocolate; water-based gels can seize chocolate, so avoid them. Alternatively, tint white melts or use red-colored cocoa butter for professional gloss.
- → What variations add texture or flavor?
-
Fold in crushed nuts, shredded coconut, or cookie crumbs into the filling for crunch. Use dark or milk chocolate for the coating, drizzle contrasting chocolate, or finish with extra cake crumbs or sprinkles for visual appeal.
- → Are there allergy-friendly swaps?
-
Use dairy-free cream cheese and dairy-free chocolate to make a vegan-friendly version, and substitute gluten-free cake or cookie crumbs to avoid gluten. Always check labels for cross-contamination risks.
