 Pin It
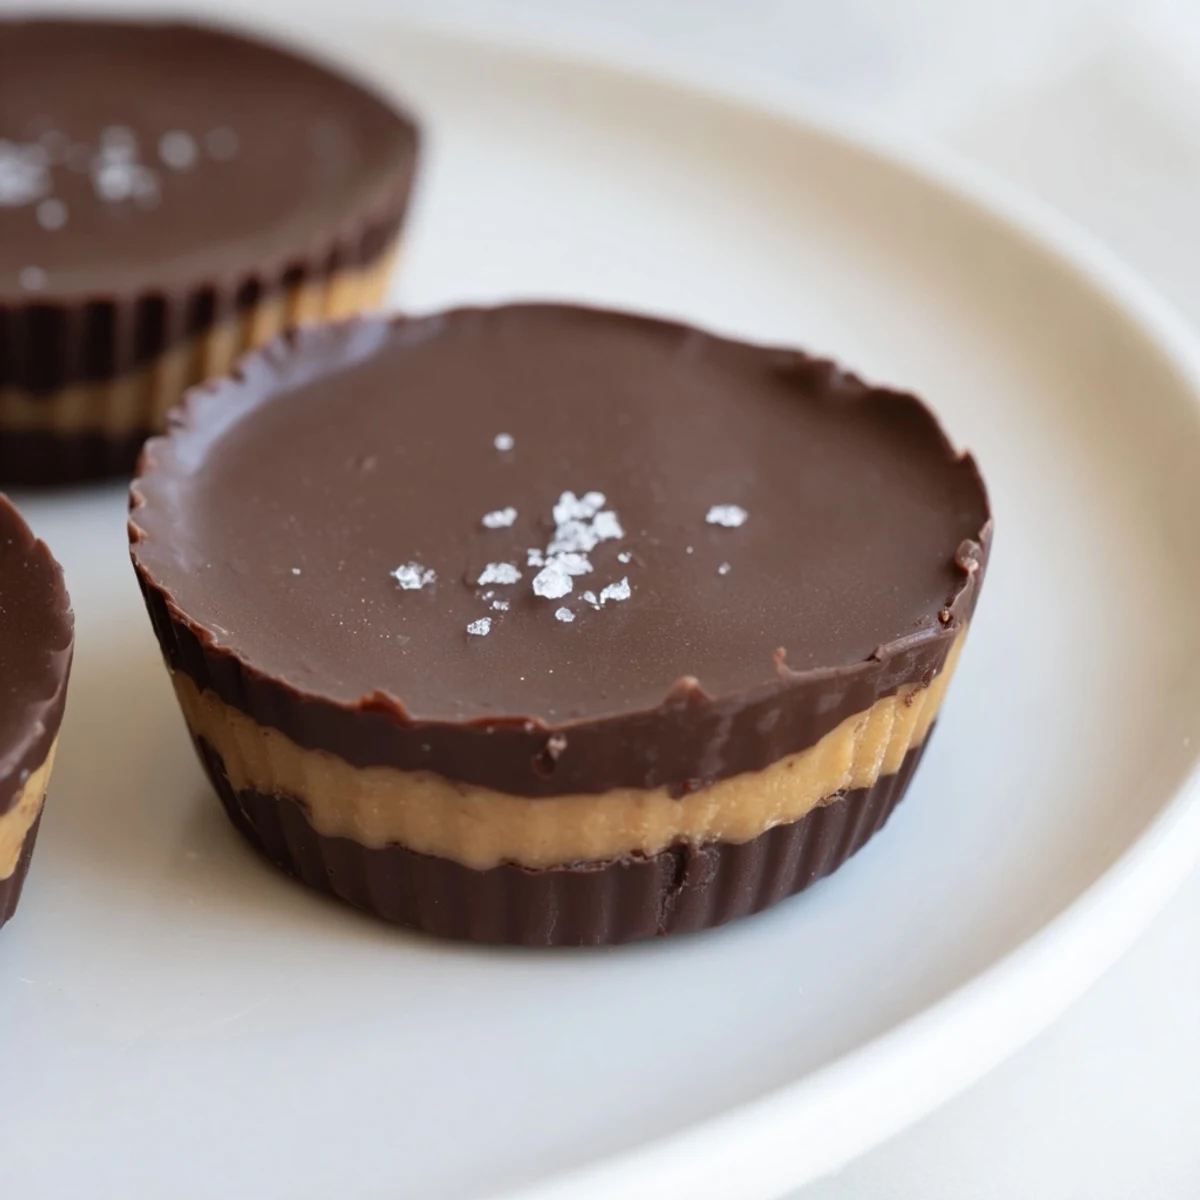
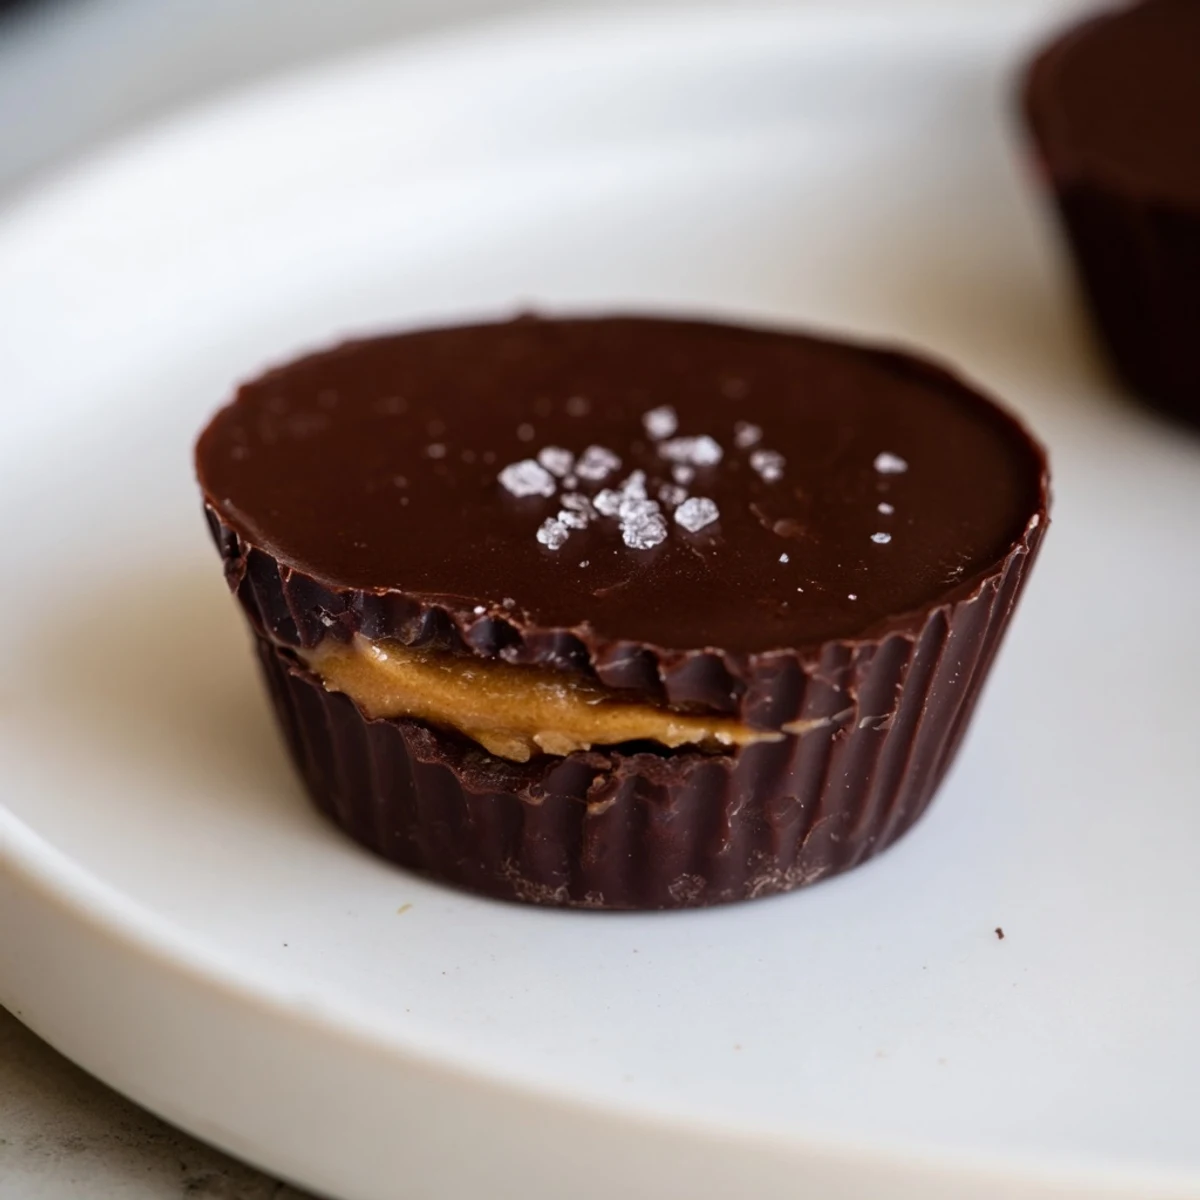
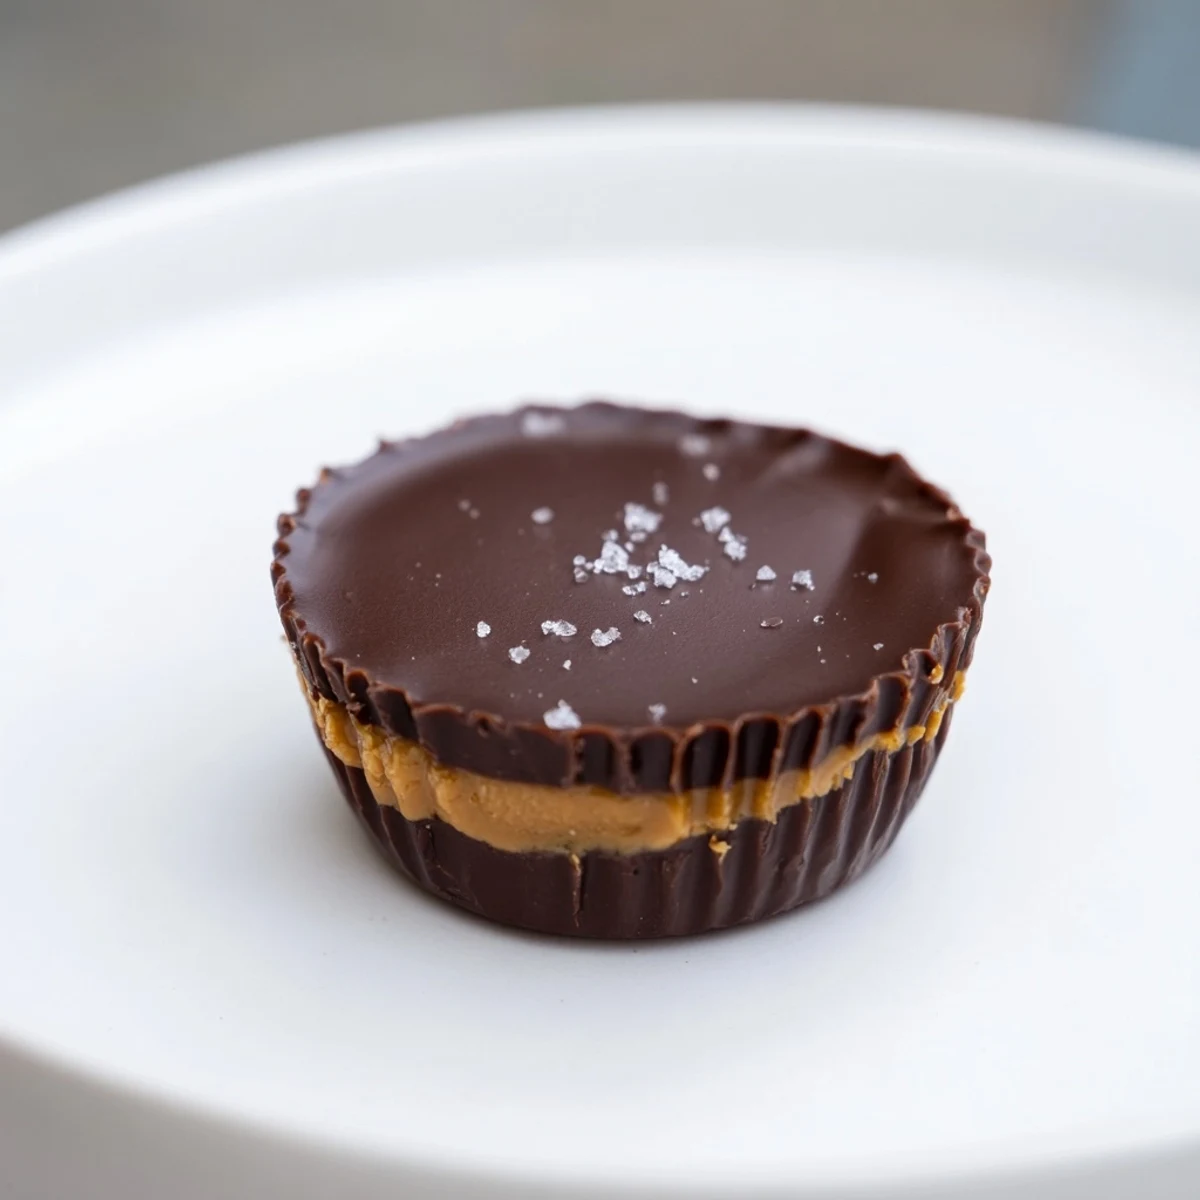
 These chocolate peanut butter cups combine a luscious peanut butter center with a smooth chocolate shell. The chocolate is melted gently and spread into liners, chilled for a firm base. A creamy filling made from peanut butter, butter, powdered sugar, and vanilla is then shaped and placed inside before being covered with more chocolate. After chilling, the cups set into rich, bite-sized delights perfect for quick preparation and satisfying sweet cravings without fuss.
Last winter, during a particularly relentless snowstorm, I found myself staring at an empty pantry that held nothing but chocolate chips and a jar of peanut butter. Instead of making the obvious cookies, I decided to recreate those candy cups I loved as a kid. The smell of melting chocolate drifting through my apartment made the power flickering feel almost cozy instead of concerning.
My friend Sarah swore she could never make candy because it seemed too fussy. I talked her through these cups over the phone one afternoon, and she sent me a photo ten minutes later of her proud albeit slightly lumpy creations. We both agreed that imperfection just makes them look more homemade and charming.
Ingredients
- Semi sweet chocolate: The quality matters here since chocolate is the main event, so use chips or bars you would eat plain
- Coconut oil: This thinning agent makes the chocolate smooth and helps it set beautifully without seizing
- Creamy peanut butter: Room temperature spreads more easily than cold from the fridge
- Unsalted butter: Softened butter creates that velvety texture we want in the filling
- Powdered sugar: Essential for sweetness and structure without graininess
- Fine sea salt: Just enough to make the chocolate sing without overwhelming
- Vanilla extract: Completely optional but adds that bakery quality depth
Instructions
- Prepare your workspace:
- Line a mini muffin tin with paper liners so your cups release easily later
- Melt the chocolate:
- Combine chocolate and coconut oil in a heatproof bowl over simmering water, stirring until completely smooth and glossy
- Create the chocolate base:
- Spoon about one teaspoon of melted chocolate into each liner, then use the back of a spoon to gently coax it up the sides
- Set the first layer:
- Freeze the tray for ten minutes until chocolate is firm to the touch
- Mix the filling:
- Combine peanut butter, butter, powdered sugar, salt, and vanilla until completely smooth
- Fill the centers:
- Roll filling into small balls, flatten into discs, and nestle one into each chocolate shell
- Seal the tops:
- Cover each cup with more melted chocolate and smooth to completely encase the filling
- Chill completely:
- Refrigerate for thirty minutes or until firm throughout before removing from the tin
 Pin It
 These became my go to holiday gift after my sister requested them instead of traditional cookies three years in a row. Something about that classic combination feels nostalgic yet special when made by hand.
Making These Vegan Friendly
Swapping dairy free chocolate and using coconut oil exclusively transforms this into a completely plant based treat. I have found that dairy free chocolate sometimes melts faster, so work quickly when coating the cups.
Playing With Texture
Crunchy peanut butter adds this incredible contrast between silky chocolate and little bits of nuts. You can also press a whole roasted peanut into the top of each cup before the final chill for extra flair.
Storage And Sharing
These actually develop better flavor after sitting for a day, which makes them perfect for making ahead.
- Layer between wax paper in an airtight container
- They keep for a week in the refrigerator
- Freeze for up to three months if you want a stash
 Pin It
 There is something deeply satisfying about making candy that usually comes in a shiny wrapper. These cups might disappear faster than you expect.
Recipe FAQs
- → How do I melt chocolate without burning it?
-
Melt chocolate gently over a double boiler, stirring frequently, or use short bursts in the microwave, stirring between intervals to avoid overheating.
- → Can I use crunchy peanut butter instead of creamy?
-
Yes, crunchy peanut butter adds texture and a satisfying crunch to the filling for added variety.
- → What’s a good substitute for peanut butter allergies?
-
Almond butter or sunflower seed butter work well as alternatives and maintain a smooth, rich filling.
- → How long should the cups chill before serving?
-
Chill the assembled cups in the refrigerator for at least 30 minutes until fully set and firm to the touch.
- → Can I make these cups vegan?
-
Use dairy-free chocolate and substitute butter with coconut oil to create a vegan-friendly version with similar texture and flavor.
